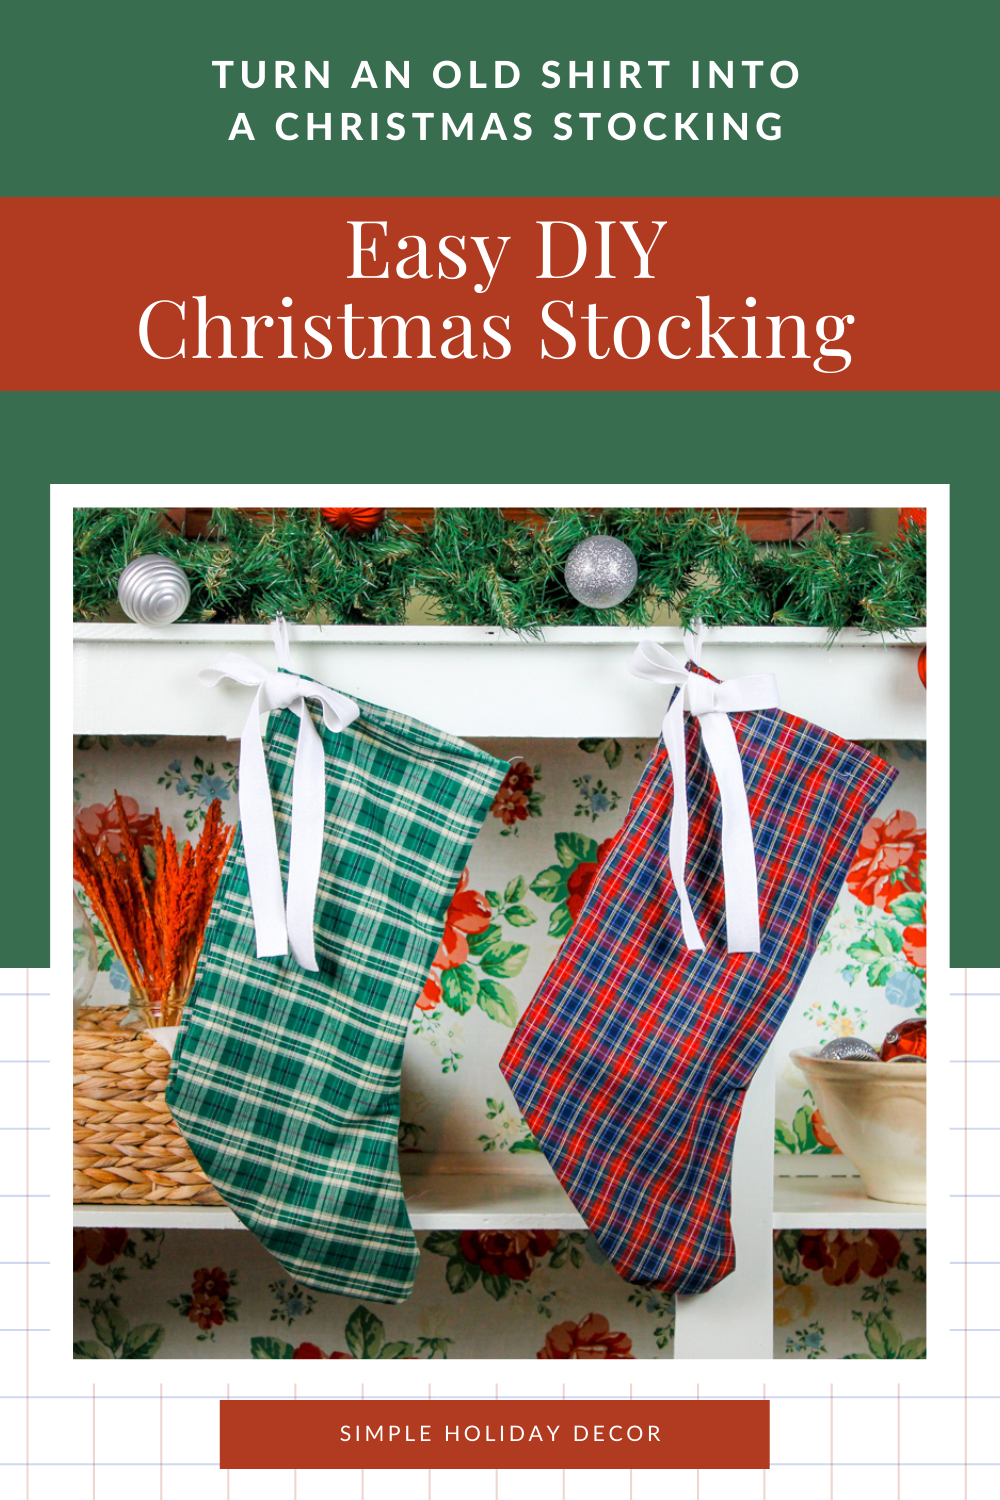
In a matter of minutes, turn an old shirt into a Christmas stocking. Makes a great, cozy addition to your holiday decor. Learn how in this simple tutorial.

“The stockings were hung by the chimney with care …”.
That is if you have a chimney, a fireplace or a mantle in your home.
We don’t.
Without a fireplace, we have to get crafty and think of ways to hang our stockings at Christmas time. For the last few years, they have hung on the large knobs of our old wooden buffet. The stockings were given to me by my Mom when my husband and I moved into our first home. The store bought stockings had your typical red and green design with Christmas characters like a snowmen, polar bears, snowflakes and snoopy. They were adorable. But this year it was time for a change.
Something homemade. Something simple.
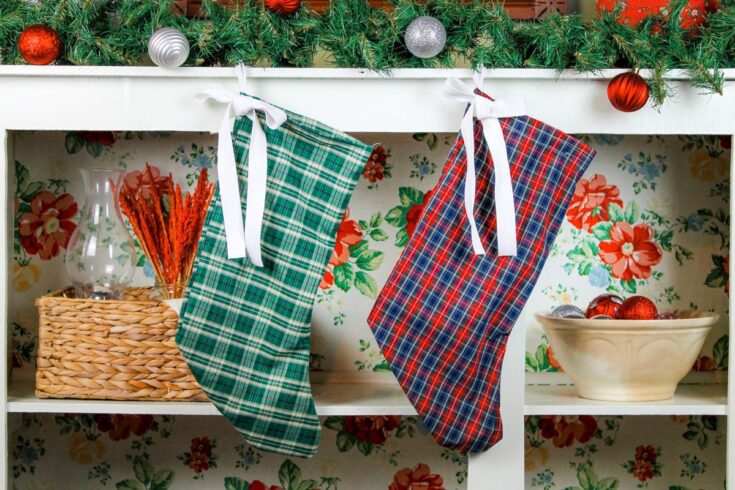
Crafting a stocking from an old flannel or plaid shirt was just what I was looking for.
Recycled Flannel Stocking
I headed to Goodwill to grab two extra large shirts — plenty of room for creating a large stocking. When I got back home I used an old stocking I already had as a pattern for the new stocking. I traced the stocking, cut the pattern out, added a loop at the top for hanging, sewed a hem and added a bow to finish it off. The entire project took less than 20 minutes to complete.
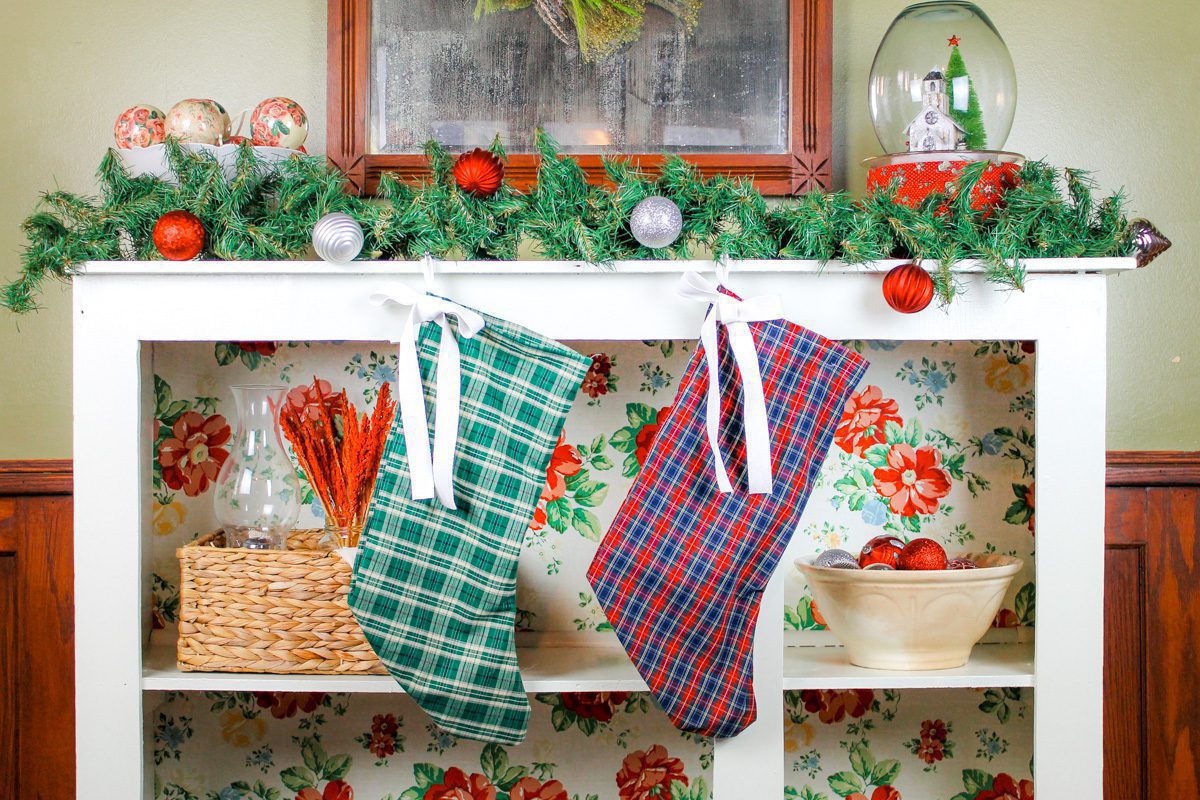
The thrifted shirts I used created a total of two stockings. One I left unlined which made for a lightweight stocking — perfect for decorative use. The second I lined with flannel, giving the stocking more stability.
If you’re looking for an easy Christmas craft, try making these homemade stockings. They’re quick, budget friendly and will make a beautiful addition to your holiday decor.
How to Make a Christmas Stocking Using an Old Shirt
Materials
Old shirt (size XL works best)
Thread
Bias tape
Ribbon (optional)
Straight pins (optional)
Flannel for lining (optional)
Hot glue gun
Sewing machine
An old stocking to use as a pattern
Instructions
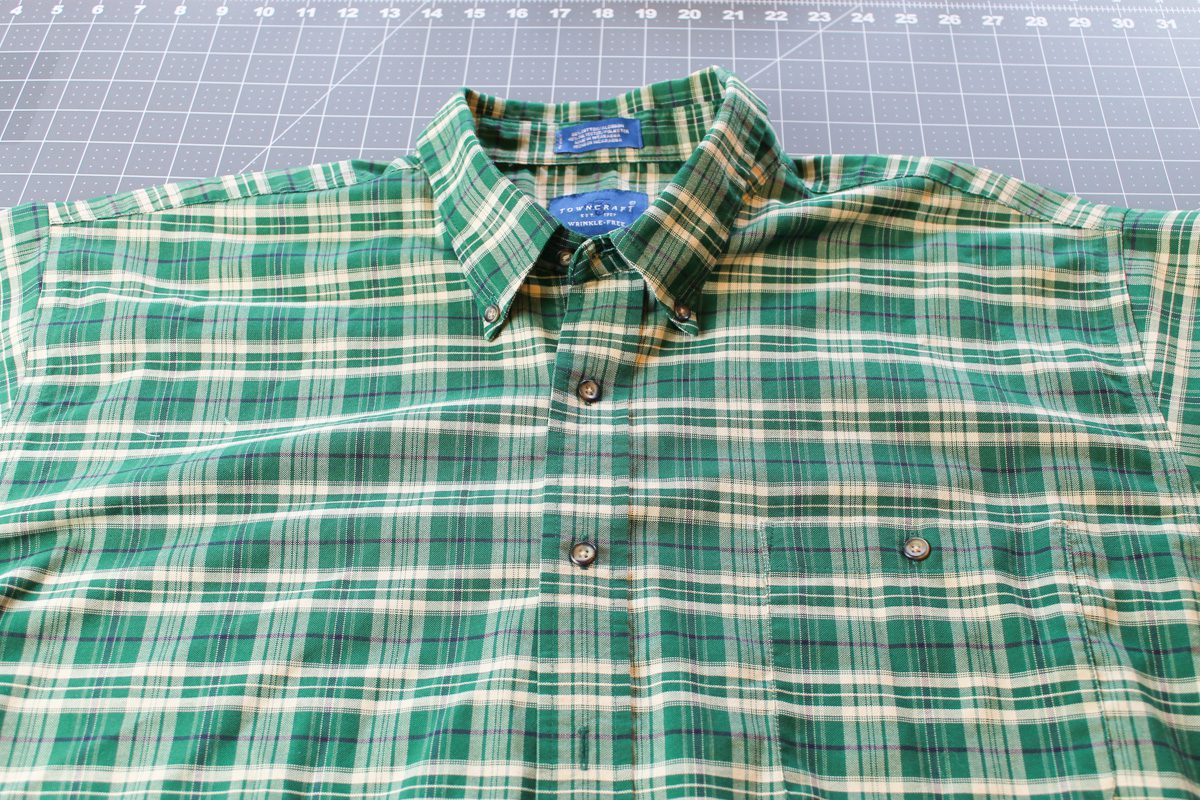
Lay the shirt out on a flat surface. Place the old stocking on top of the shirt to use as a pattern for your new stocking. Trace around the stocking, leaving about a 1/2” on the sides for the hem. Cut the pattern out.
Repeat the first step to create the other stocking piece. Lay the two stocking pieces on top of each out, with the right sides together. Trim around the edges if the sides have excess material. Secure the two pieces together with straight pins, if desired.
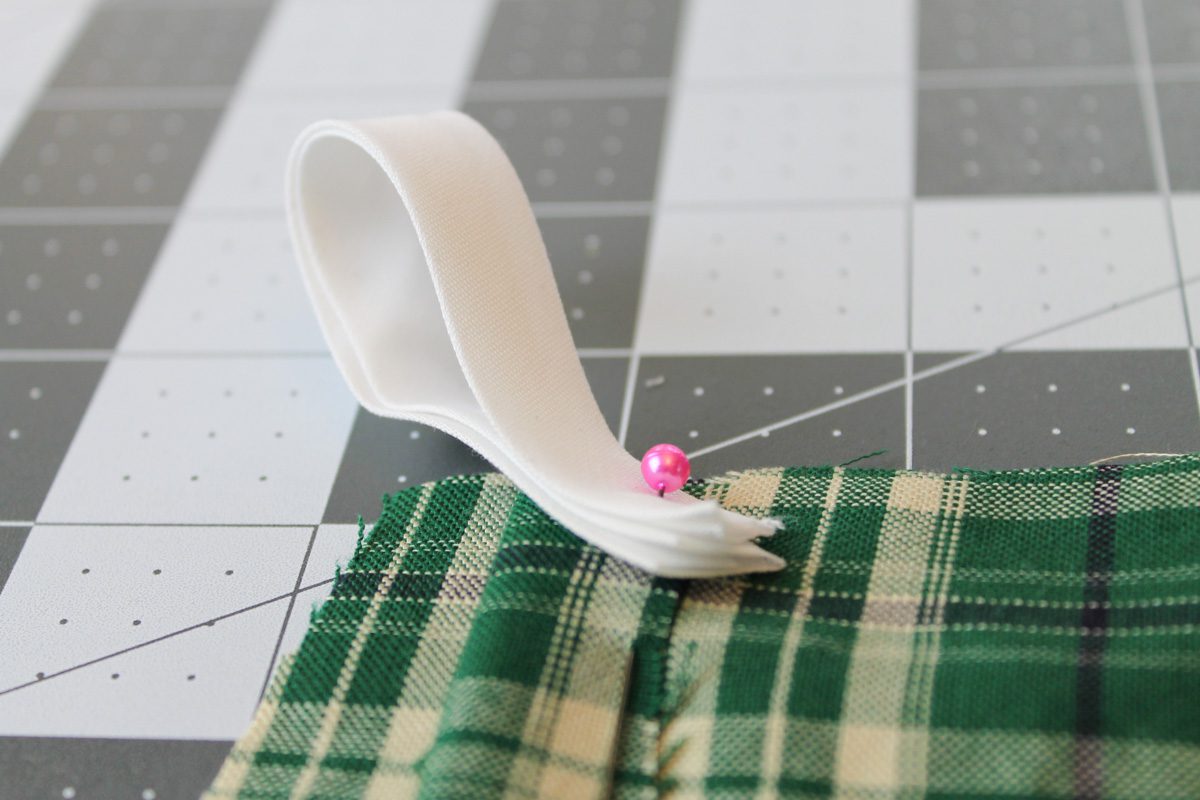
Fold the top of the stocking down 1” and pin in place. Repeat on the other side. Cut one 5” strip of bias tape and fold in half to create a loop. Pin in place at the top corner of the stocking.

Sew a 1/2” seam around the entire stocking, leaving the top of the stocking open. Make sure you catch the bias tape as you stitch the stocking together. Sew a 1/2” seam around the top of the stocking, being careful not to attach the pieces together.
Zig-zag stitch (or serge if you have a serger sewing machine) all the edges to finish off the inside of the stocking.
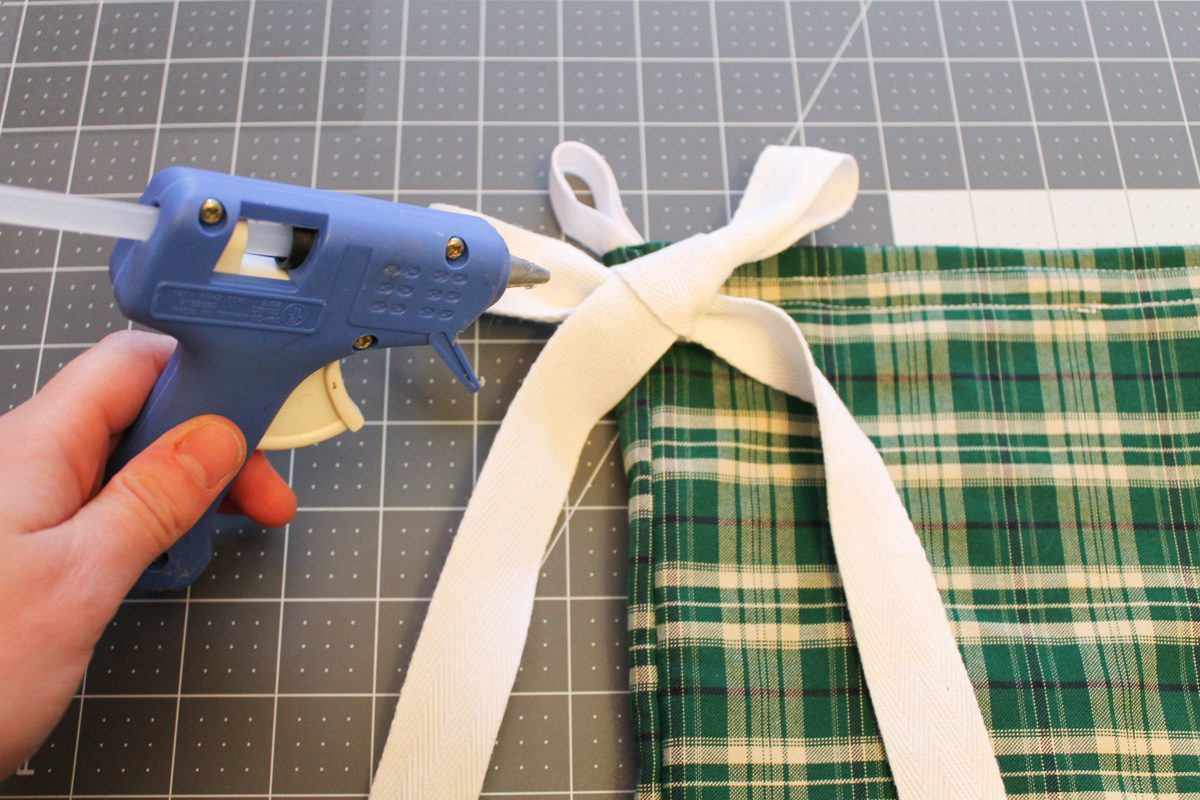
Flip the stocking inside out. Topstitch the upper top edge of the stocking to give it a finished look. Optionally, you can add a fabric bow to your stocking. Cut the ribbon to the length you desire. Tie the ribbon into a bow and secure to the top of your stocking using hot glue.
Optional Stocking Lining
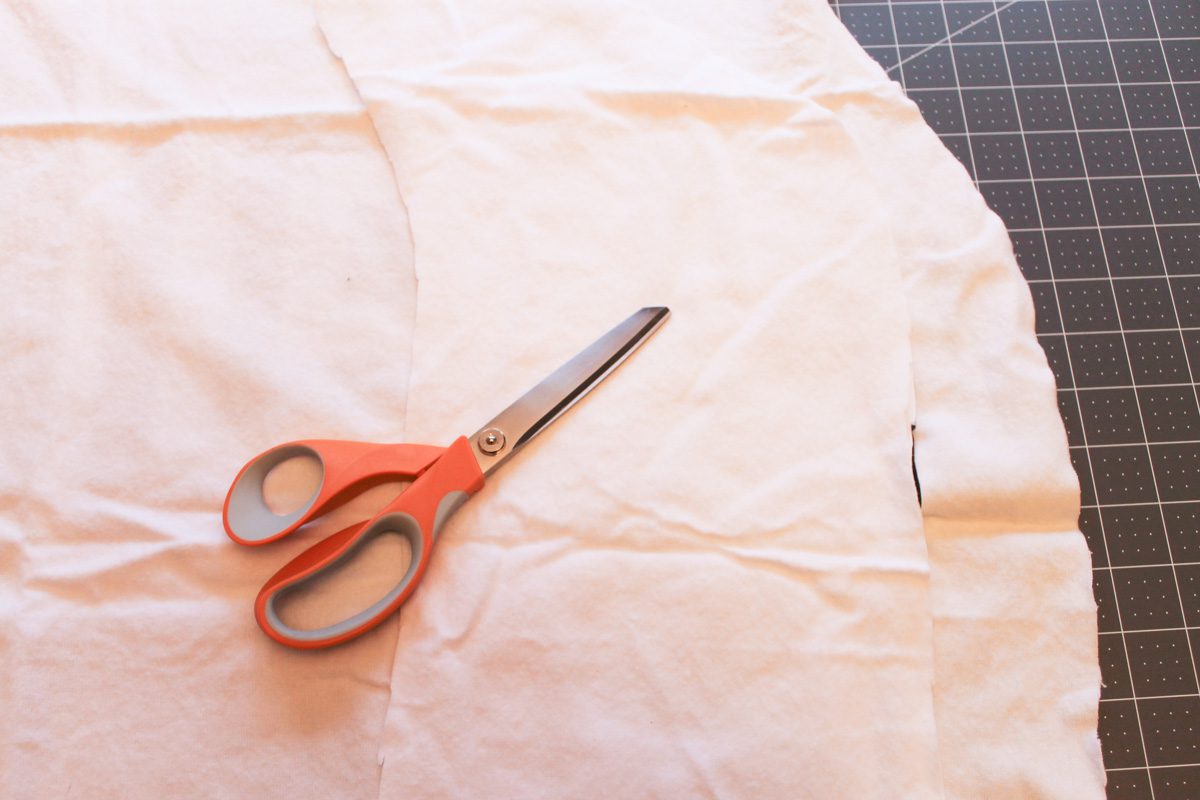
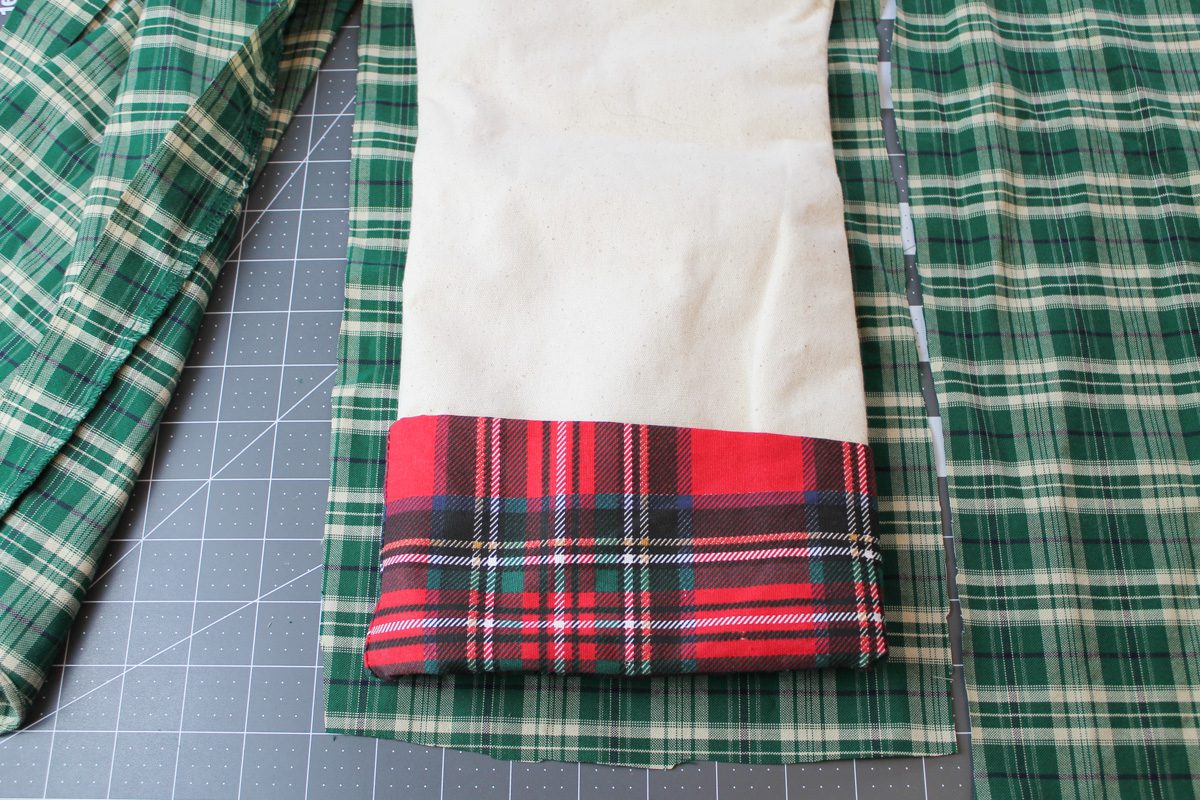
Your stocking will look beautiful unlined. However, if you want more stability or plan to fill your stocking with heavy items, lining it with some flannel fabric with give the stocking added support. Place your stocking on top of a piece of flannel. Cut two pieces the exact same size as your stocking. Stitch the flannel together, leaving the top open. Stuff the lining inside the stocking.
Where to Hang a Christmas Stocking
When you don’t have a fireplace, like us, you have to get a little creative. Here are a few ideas for hanging a stocking.
- Bookshelf using command strips
- Knobs on a piece of furniture such as an antique buffet or dresser
- Hanging from the railing of a staircase
- Tied to an old ladder
- Coat rack
- Wall hanger
- Window latch
Looking for more Christmas crafts? Learn how to make a wooden star to hang as a wreath on your front door in this tutorial.
Easy DIY Christmas Stocking From Shirts
Materials
- Old shirt (size XL works best)
- Thread
- Bias tape
- Ribbon (optional)
- Straight pins (optional)
- Flannel for lining (optional)
- Hot glue gun
- Sewing machine
- An old stocking to use as a pattern
Instructions
Lay the shirt out on a flat surface. Place the old stocking on top of the shirt to use as a pattern for your new stocking. Trace around the stocking, leaving about a 1/2” on the sides for the hem. Cut the pattern out.
Repeat the first step to create the other stocking piece. Lay the two stocking pieces on top of each out, with the right sides together. Trim around the edges if the sides have excess material. Secure the two pieces together with straight pins, if desired.
Fold the top of the stocking down 1” and pin in place. Repeat on the other side. Cut one 5” strip of bias tape and fold in half to create a loop. Pin in place at the top corner of the stocking.
Sew a 1/2” seam around the entire stocking, leaving the top of the stocking open. Make sure you catch the bias tape as you stitch the stocking together. Sew a 1/2” seam around the top of the stocking, being careful not to attach the pieces together.
Zig-zag stitch (or serge if you have a serger sewing machine) all the edges to finish off the inside of the stocking.
Flip the stocking inside out. Topstitch the upper top edge of the stocking to give it a finished look. Optionally, you can add a fabric bow to your stocking. Cut the ribbon to the length you desire. Tie the ribbon into a bow and secure to the top of your stocking using hot glue.

Pin for Later!