Get a head start on your garden this year by starting your seeds indoors. With a few supplies and knowledge such as where to buy the best seeds, when to start your seeds, how to grow seeds indoors and when to transplant your plants, you’ll be ready to grow a successful garden.
Make sure you scroll to the bottom of this post to grab your FREE printable garden labels.
This post contains affiliate links, which means I make a small commission at no extra cost to you. In any case, I only link to products we actually use on our homestead and that I believe can truly benefit to you. See my full disclosure here.
It’s that time of year again.
Seed starting time.
The season of winter is finally coming to a close. Just the other day I noticed the crocus flowers starting to bloom in our front lawn and knew that spring was on the horizon. These little beauties seem to the lead the way into the growing season. Gazing upon their purple petals is a sign that the cold is ending, the long, dark, dreary winter days are coming to a close and a new season full of sunshine, warmth and growth is near.
A few months ago as my husband and I flipped through the seed catalogs, like a pair of kids on Christmas morning. I have visions of what our garden would look like this year. Lush, vibrant green plants filled with veggies and fruit and a bountiful harvest season. Those kinds of thoughts are what gets you through the sometimes bleak days of winter. But now it is officially spring and that means it is time to start planting our seeds indoors.
Alongside our usual tomato, pepper and lettuce plants we decided to sow a variety of flower seeds this year in order to start a cut flower garden as well as a dried flower garden. Starting seeds indoors allows us to get a head start on the growing season. There are a variety of ways to sow seeds inside including soil blocking, seed trays, planting pots and even in plastic cups. But don’t worry, this might sound overwhelming but the process of seed starting is simple. A little bit of quality soil, light, water and some love goes a long way to get those seeds to grow. Before we get started there are a few things to consider such as where to buy quality seeds? How to plant a seed? How to harden off the plant? And when to transplant a seedling? Below are our tips and tricks to starting seeds indoors that we have learned over the years.
A little advice, not all seeds will germinate. Be prepared for some seeds to have trouble sprouting and some seedlings to struggle to survive. It’s best you know this fact up front so that you won’t feel like a gardening failure. It happens to all of us.
Where to Buy Garden Seeds
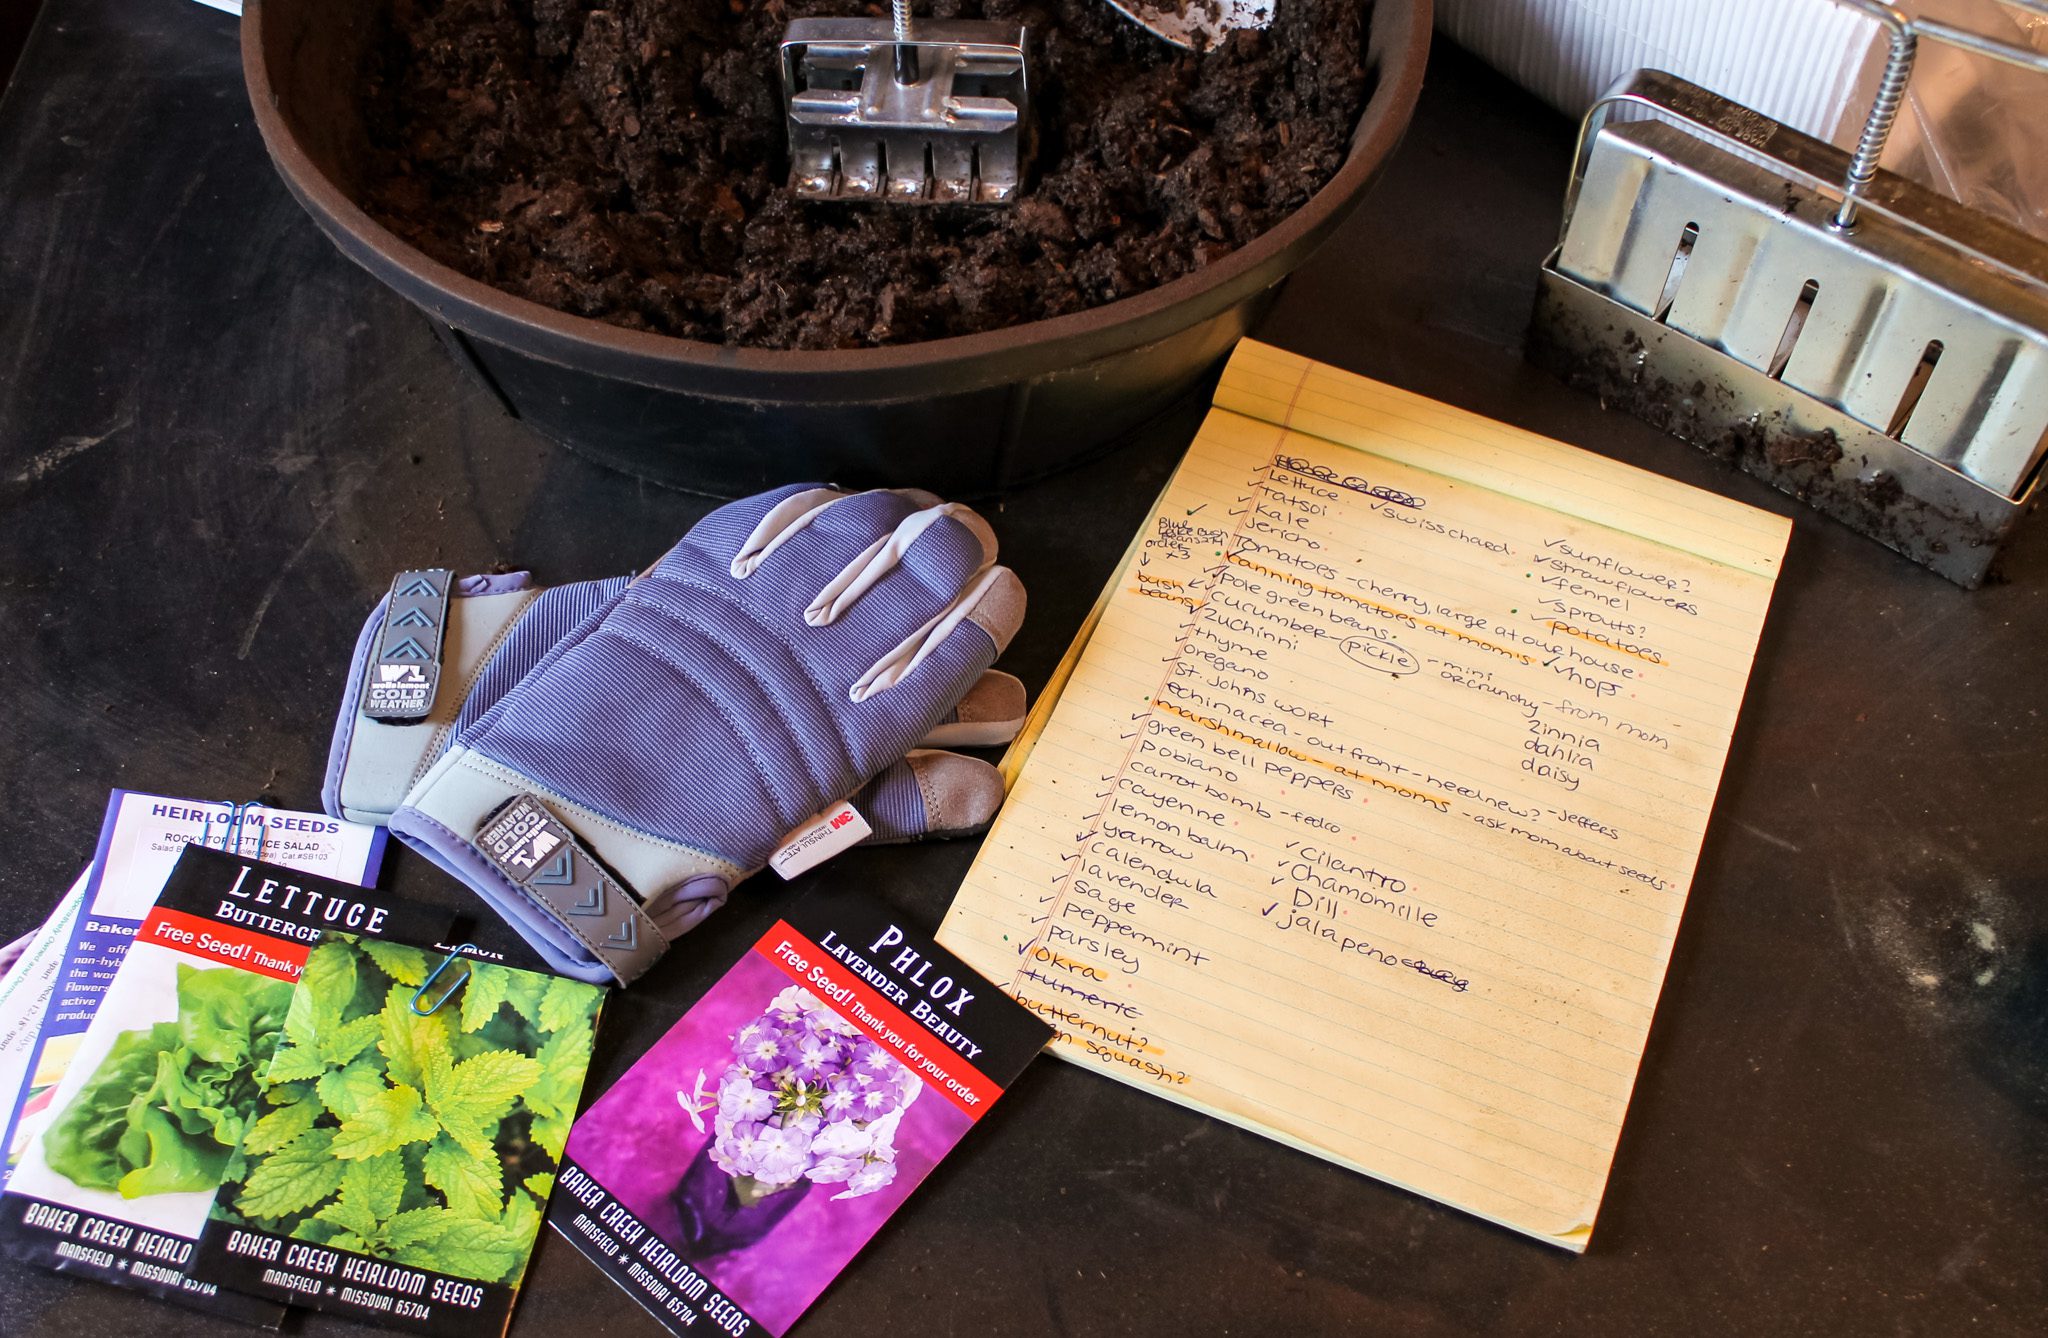
There are plenty of places to purchase your seeds from like your local hardware store, Tractor Supply or sometimes even a grocery store. We always purchase our seeds online from trusted seed companies that have a high germination rate such as MI Gardener, True Leaf Market, Strictly Medicinal Seeds, Johnny’s Seeds and occasionally Seed Savers.
What Kind of Seeds to Start Indoors
There are many plants, such as tomato and peppers that will have a far superior growing capability if started indoors. Some seeds do not sprout if the soil is too cold. If you were to plant a tomato seed into the ground in mid May, by the time it would be ready to yield ripened fruit in the late summer/early fall, the first frost would be all too near and chances are you would receive little to no harvest. The best way to determine if you should start a seed indoors is to look on the back of a seed packet. There you will find information about how long it takes the seed to sprout, the ideal temperature the plant likes to grow in and when to expect to harvest the plant.
Here are a few of the most popular seeds to start indoors:
- Tomatoes
- Peppers such as bell peppers, jalapeños, cayenne and poblano
- Lettuce
- Kale
- Okra
- Broccoli
- Herbs such as comfrey, cilantro, lemon balm, calendula and chamomile
- Some flower varieties
With those suggestions in mind, not all seeds should be started indoors. Many seeds do better when planted directly into the soil outdoors because starting them early can stunt or stress them out. We have found that beans, carrots, corn and zucchini do best when seeded into the garden.
When to Start Seeds Indoors
The timeframe of when to start your seeds indoors depends on where you live. It is best to begin your seeds about 45-60 days before your last frost date. In Ohio our last frost date is generally Mother’s Day. Before you sow your seeds, you will need to determine your zone number. Every region has a different climate. Knowing what zone you are in will not only help you to know when to begin planting your seeds indoors but it will also help you determine what plant thrives in your area and what does not.
Watch Video Tutorial
How to Plant Seeds in 4 Easy Steps
Step 1: Select a Container
Most of our seeds are started on a styrofoam tray. We use a 3/4” soil blocker to plant our small seeds. Then place the cubes onto the tray.
We’ve also used black plastic trays to sow seeds into. This year we added some Burpee reusable seed starting trays into our gardening supplies and plan to start our flowers in them.
Other great containers to use to start seeds in are plastic seed starting cells, winstrip trays, Solo cups, gardening pots or even a styrofoam coffee cups. Some gardeners prefer to plant directly into a peat moss pellet but this way isn’t very sustainable and can get pricey if you have a large garden and plan to start lots of seeds indoors.
Step 2: Prepare the Soil
Once you’ve selected a container it is time to fill it with dirt. There are an assortment of DIY potting mix recipes out there. But if you’d prefer to save time, we have had great success with Master Nursery Bumper Crop Potting Soil.
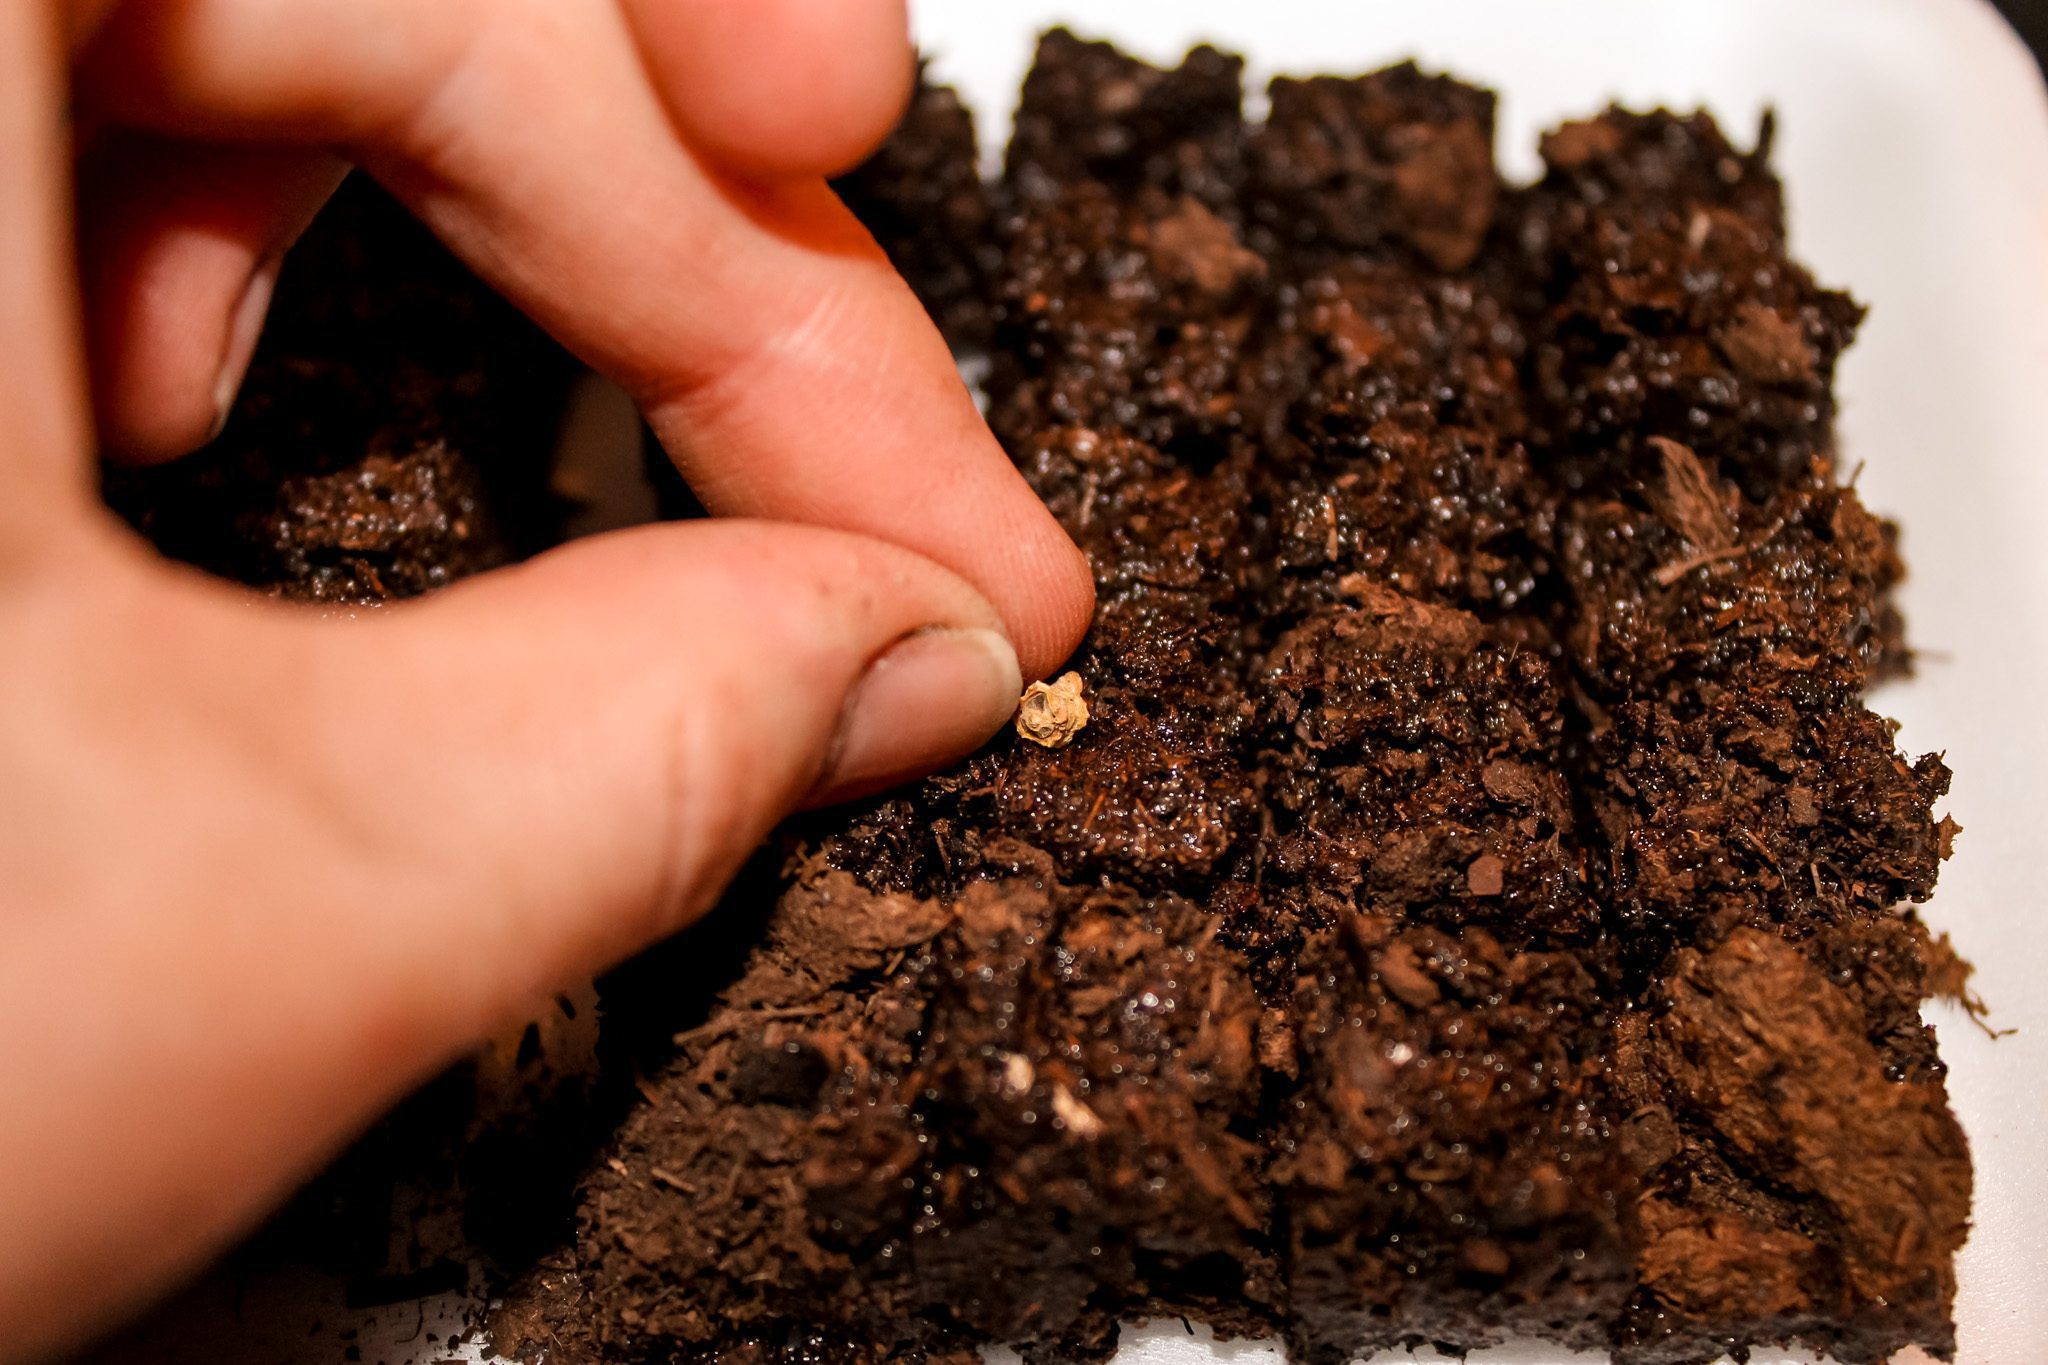
Fill your chosen container with dirt, place your seed into the center and cover with a light layer of soil. Gently sprinkle with water and add a covering over the pot such as plastic wrap. The plastic wrap acts as a greenhouse, keeping the soil moist and warm until the seed sprouts. Upon sprouting, you can remove the cover.
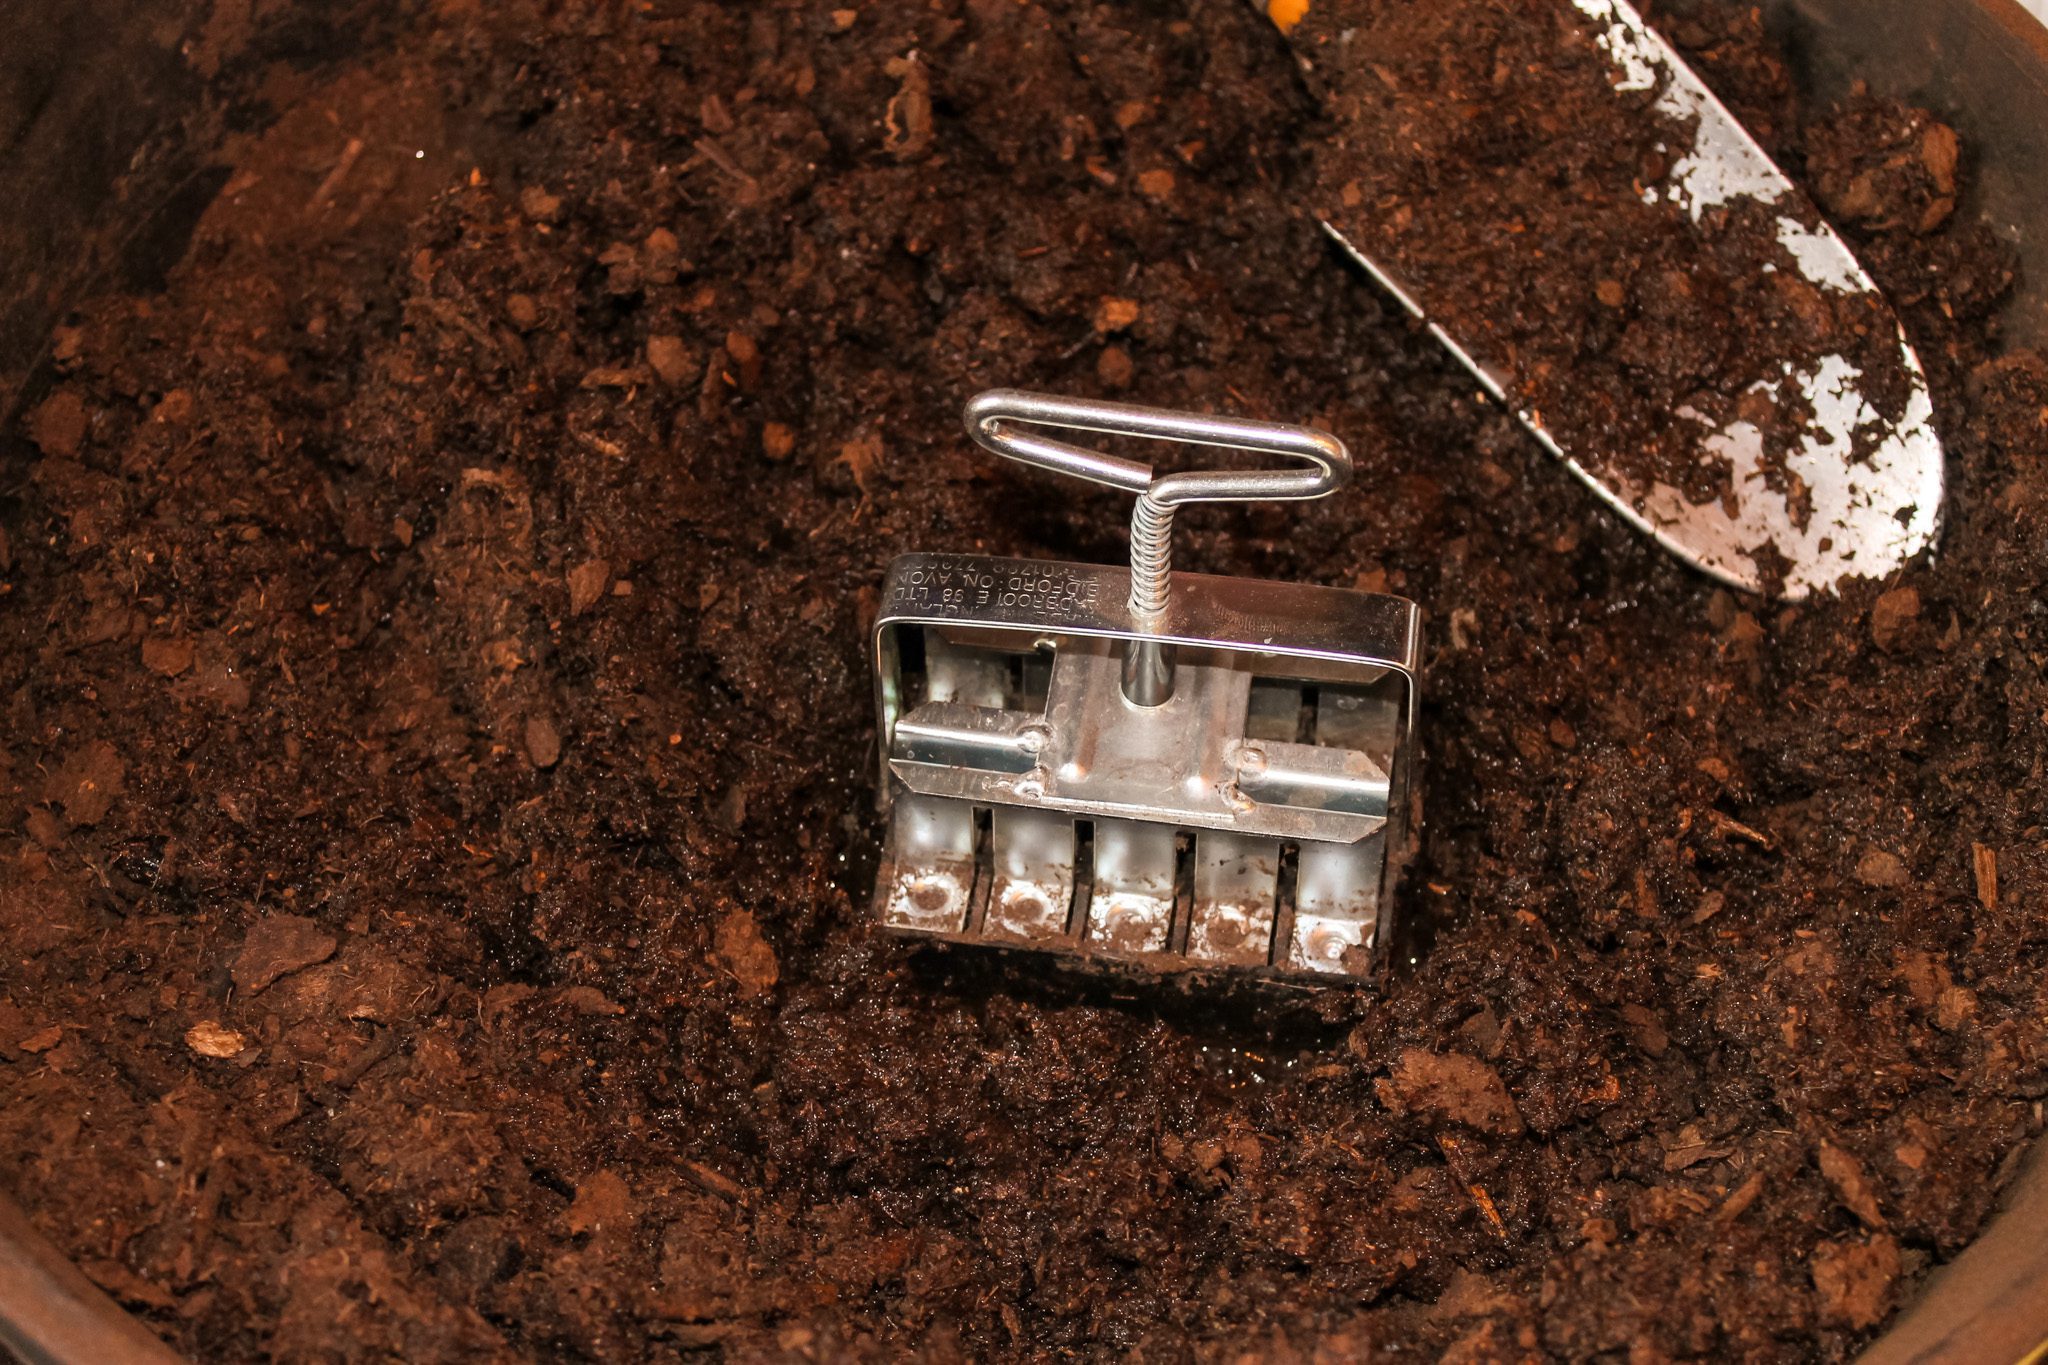
How to Use a Soil Blocker
If you plan to use a soil blocker like we do, start by placing your soil in a large container. Add enough water to make the soil form into a ball when grasped in your hands. Damp but not muddy is perfect. Place the soil blocker into the center of your container and push down gently to fill the cubes with dirt. Eject the cubes on your tray by pressing done on the top lever. Place the seed in the center of the cube and press into the dirt until it is lightly covered. Add a layer of plastic wrap to your tray to keep the soil warm and moist. This idea is similar to using a greenhouse. Once the seed has sprouted, you can toss the plastic wrap.

Garden Label Ideas
Don’t forget to label your seeds. Nothing is worse than not knowing what you planted. Some garden label ideas are writing with a sharpie directly onto the styrofoam tray, adding a popsicle stick into the dirt with the name of the plant or you can download the free plant markers at the bottom of this page. The printable garden labels include 12 tags for the most common plants to grow as well as a sheet of blank labels for you to print and fill in the name of whatever you’re growing this season.
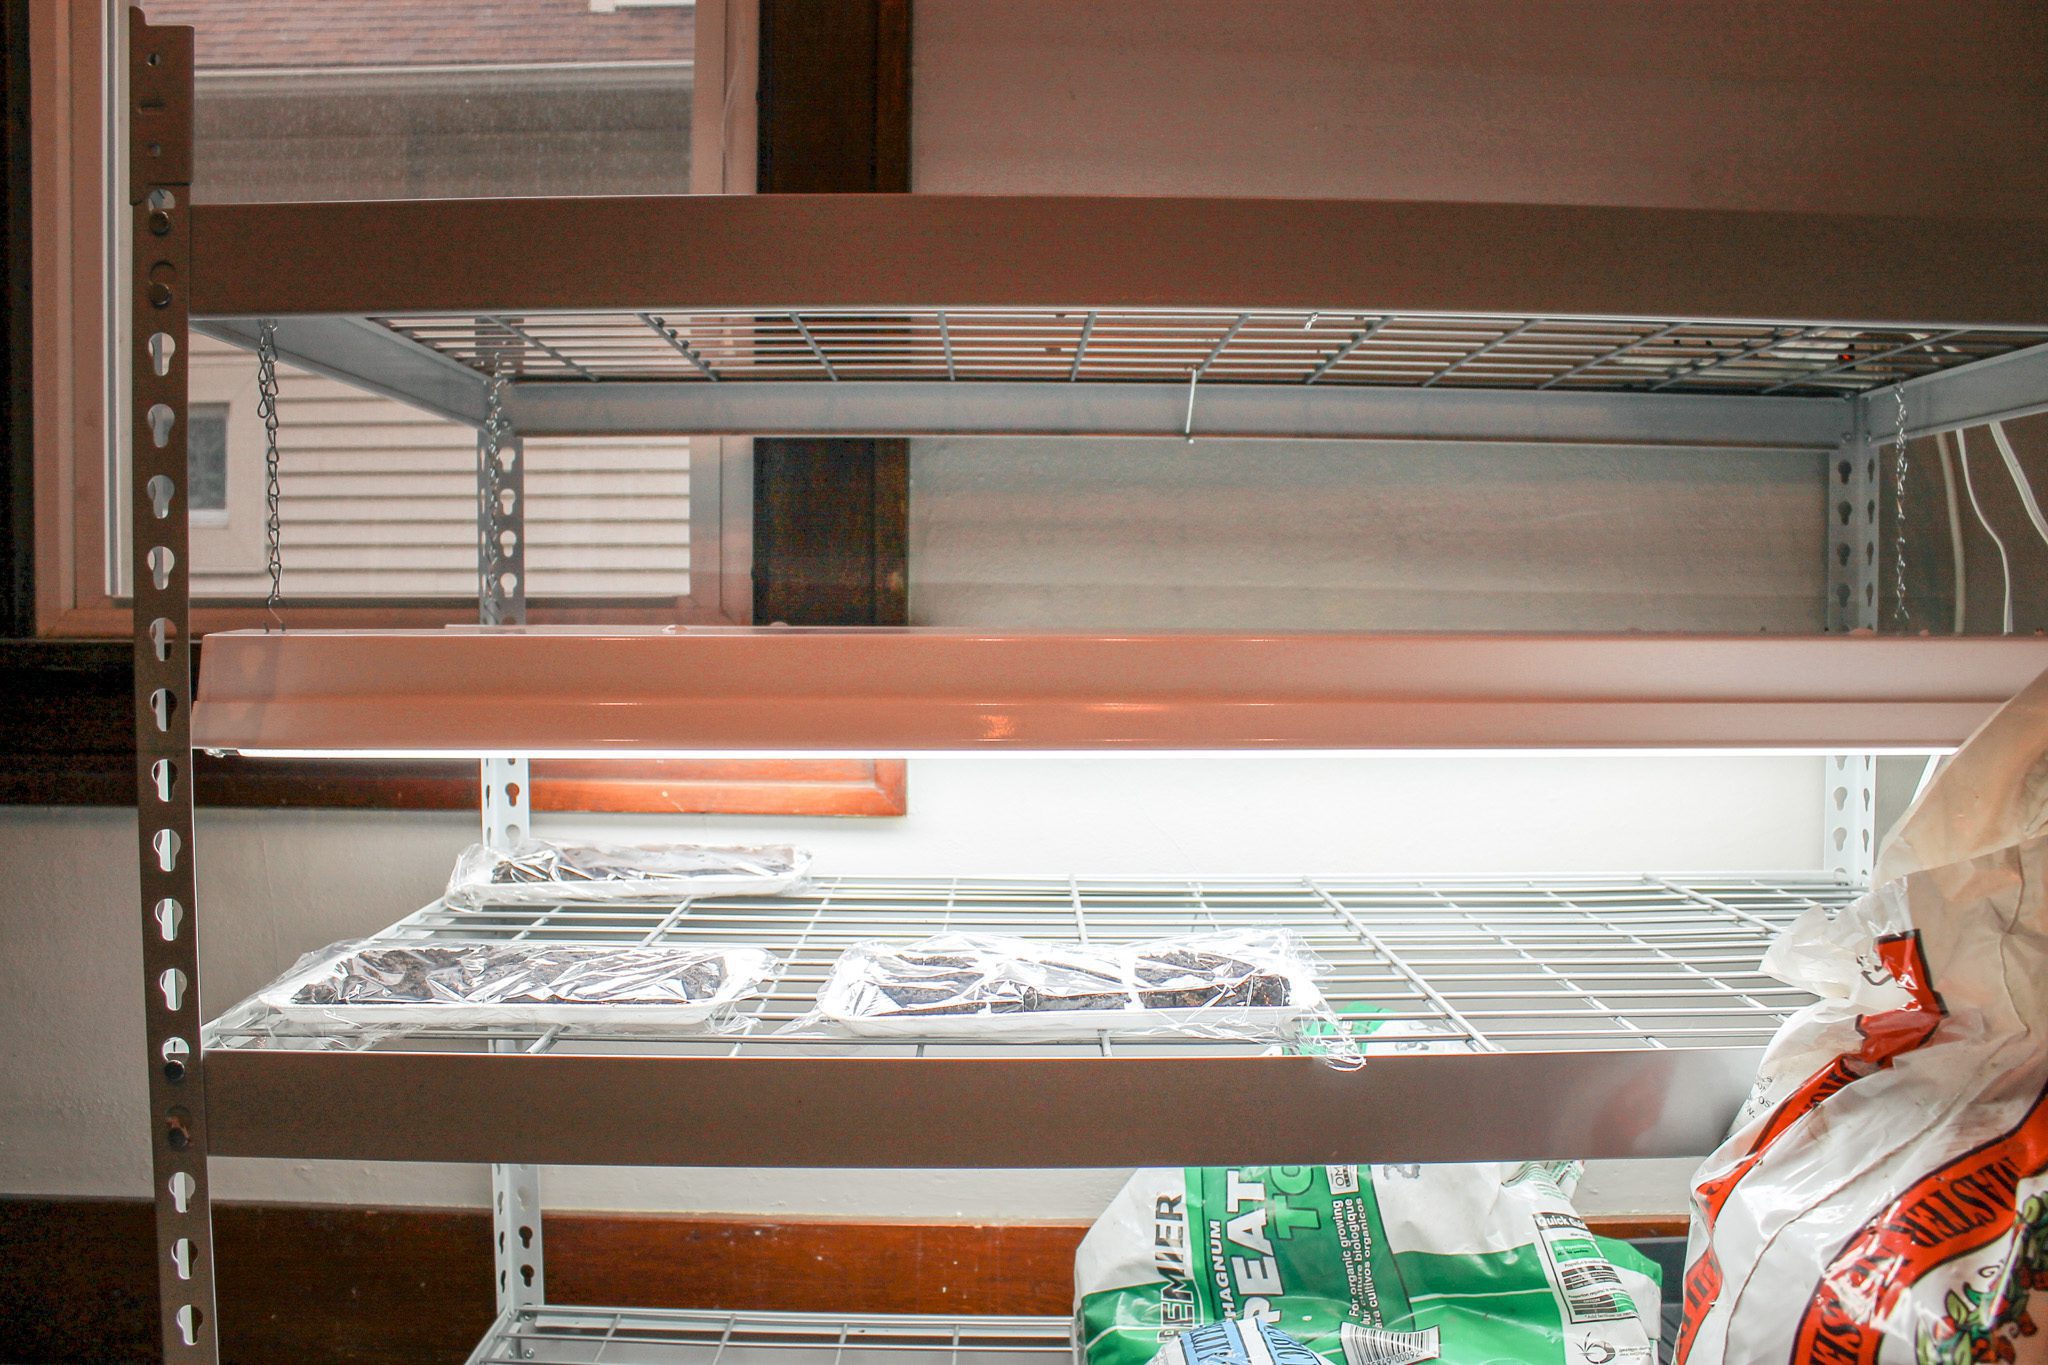
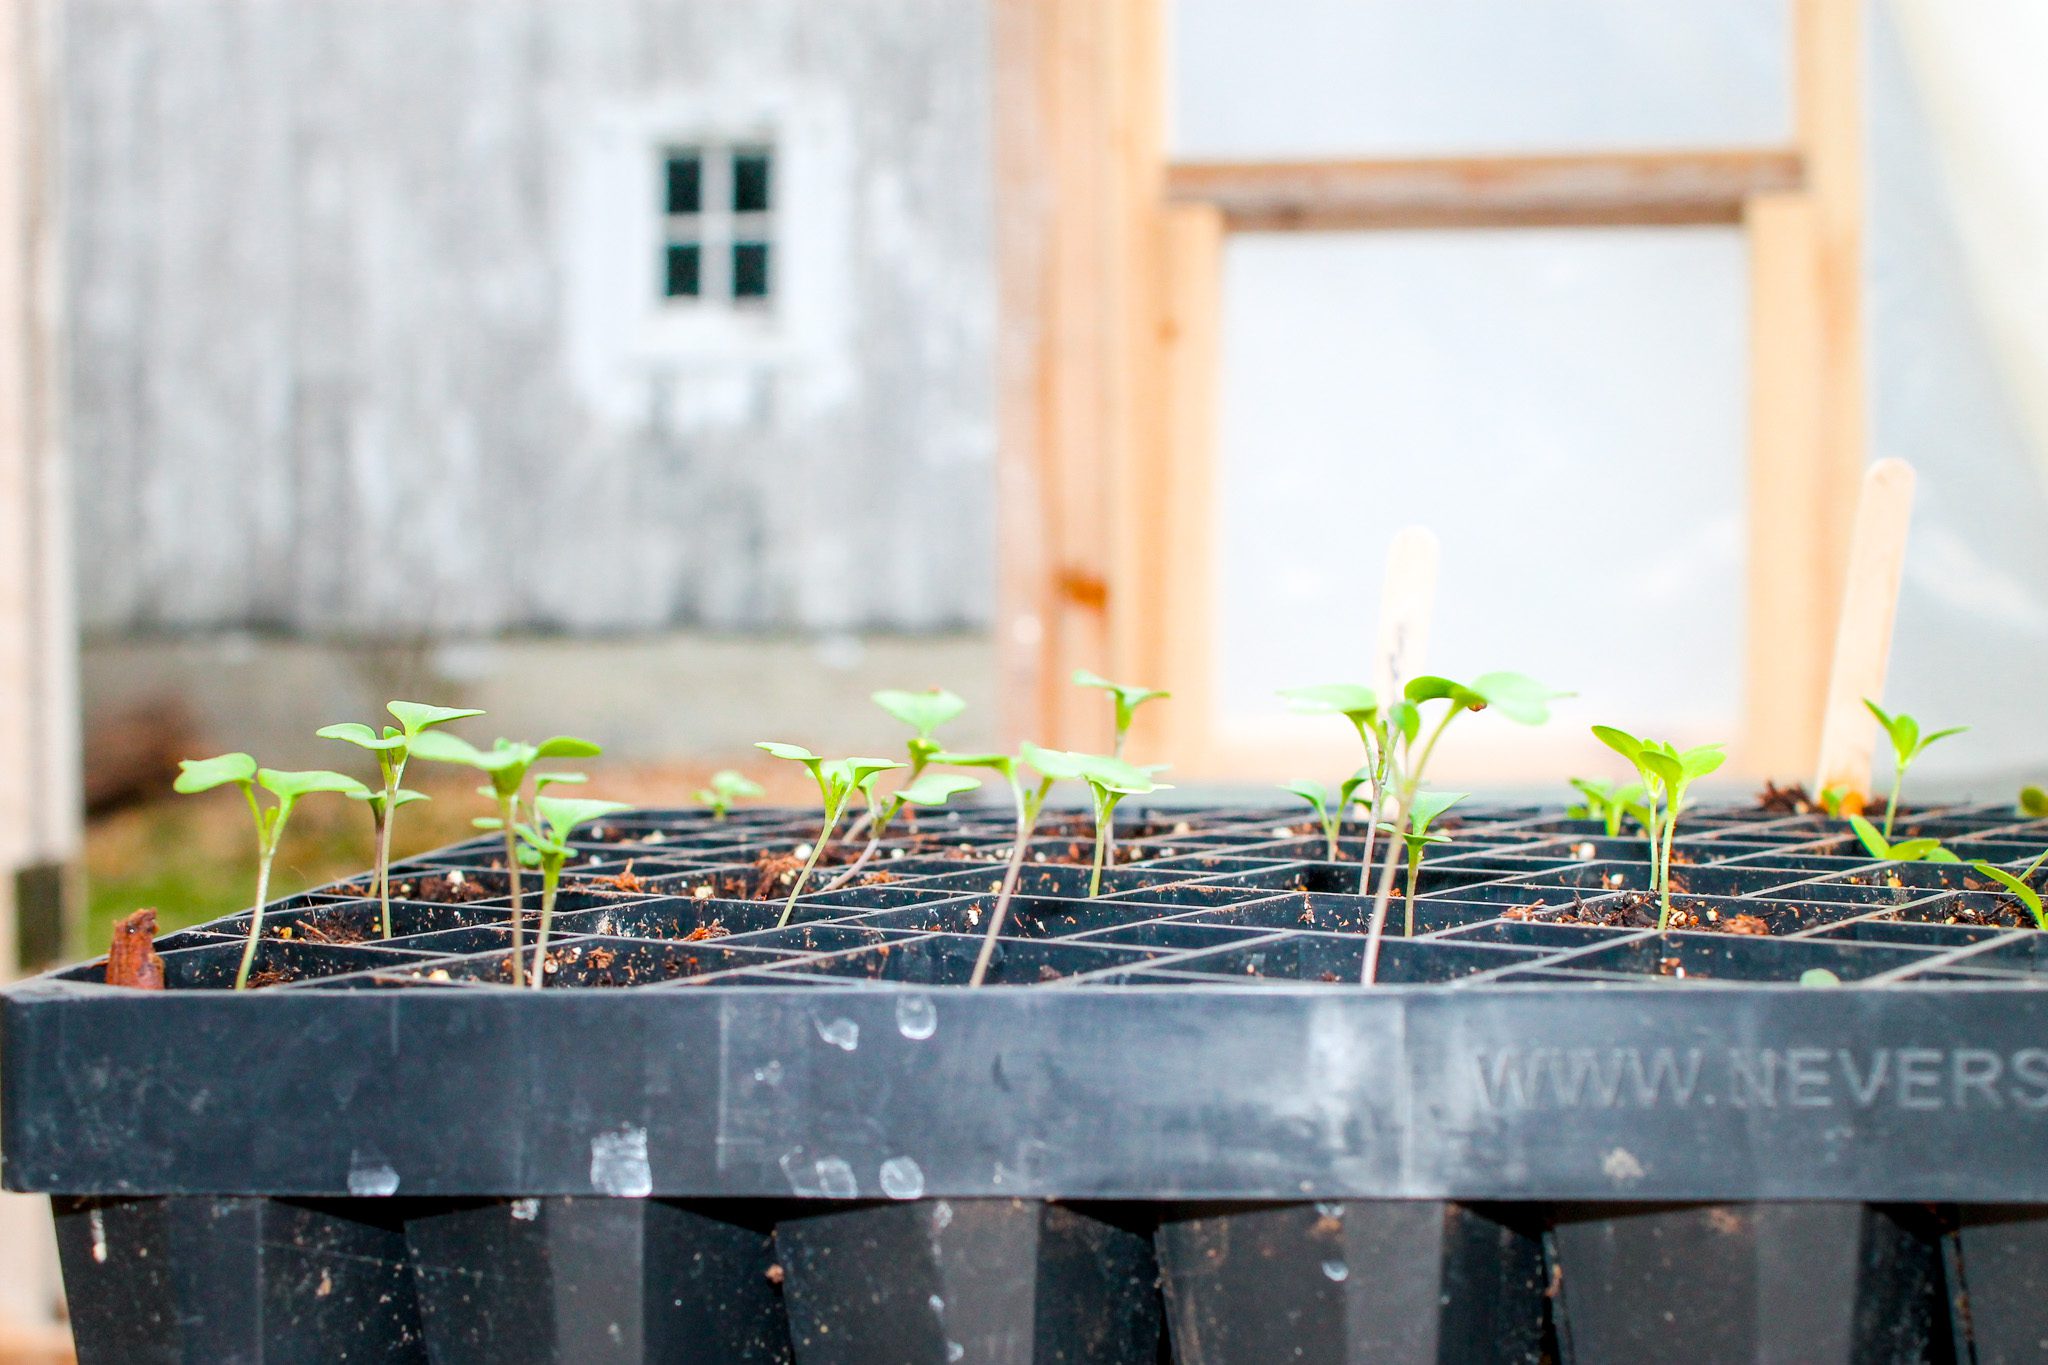
Step 3: Add Light
Place your trays or containers either next to a south facing window with plenty of sunlight or under a set of grow lights. Grow lights can be a hefty investment. Instead we purchased some daylight fluorescent lighting from Lowe’s that has a similar effect to grow lights. Our lighting system hangs on a chain from the top of our metal shelving unit. The lights start out pretty close to the seedlings in the beginning and as the plants grow, we move the lighting system higher, one chain link at a time. We leave the lighting on for approximately 12-16 hours a day.
Step 4: Caring for Your Seeds
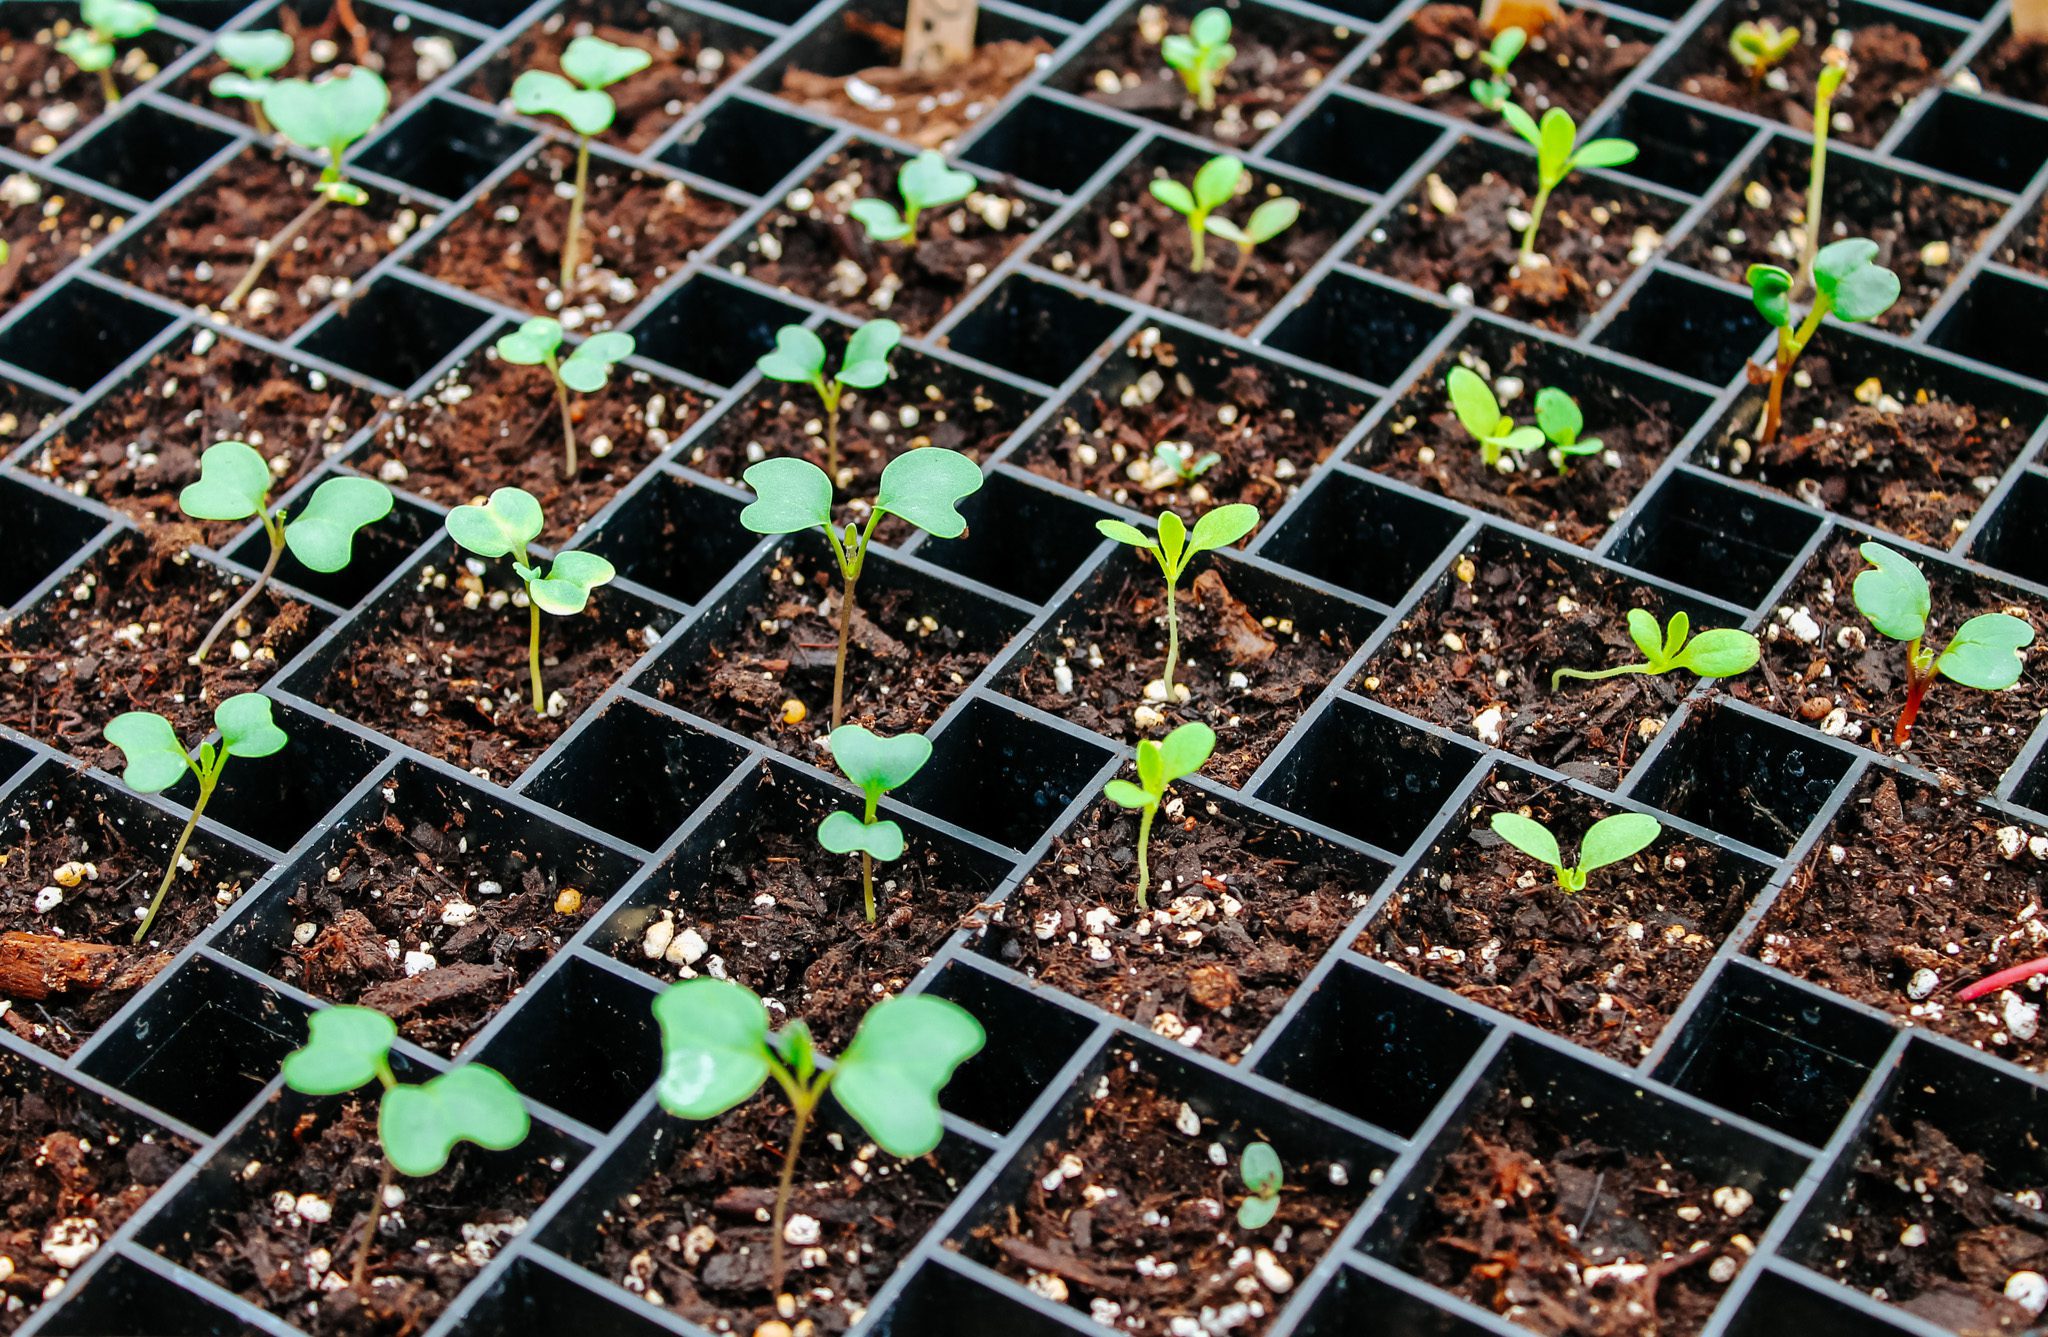
Now that your seeds have been planted, it can take a few days or up to a couple of weeks for the seeds to sprout. As your seedlings grow, it is important to nurture them. Keep your seeds moist and your sprouts watered. But do not overwater. It is best to water from the bottom of the tray or container to build up a strong root system.
Some plants prefer a warm environment, like tomatoes and peppers, so we set them on a seedling heating pad while they sprout. The heating pad tends to dry the soil blocks out quickly so keep on eye on them.
A few other tools we like to use when starting seeds indoors are a thermometer, an electric oil filled heater and a watering bottle.
How to Harden Off Seedlings
Prior to planting your plants into the garden or an outdoor container, you will need to harden them off. When a plant has been grown indoors, it is not use to the full strength of the sun. If you do not harden off your plants, they will have a slim chance of survival. Though the process of hardening off the plants is a long and tedious task, it is well worth the effort in the end.
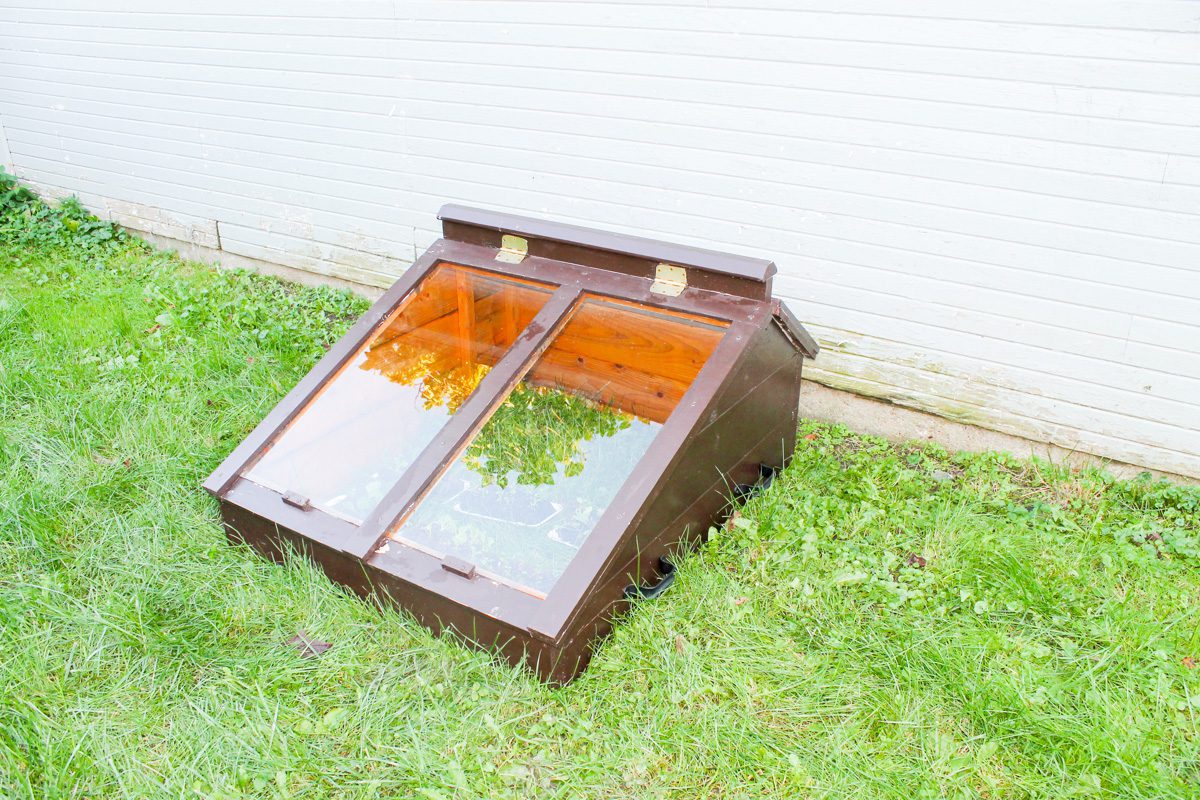
To begin the hardening off process, set the plants outside in the yard or on the back deck for a couple of hours and then bring them back indoors. Another option is to place them in slightly sheltered spot such as a cold frame. The glass door of the cold frame allows them to get the needed sunlight without frying them. This option allows me to leave the plants outdoors longer when I am busy doing other things during the day.
Transplant Your Plants Into the Garden
To begin the process of planting your seedling into the garden, start by digging a hole into your chosen garden bed that is just slightly larger than the transplant. Carefully pull apart the root system at the bottom of the plant so that the root system will grow out instead of in the shape of the container it was in. Place the plant into the ground along with a little compost (if you have some) and some soil. Cover with dirt and a layer of mulch. Give the plants a thorough drink of water but do not drown them. Keep them moist throughout the next few days as they transition into their new home.
For more gardening how-tos, check out these blog posts:
How to Start an Herb Garden
6 Tips to Make Your Garden More Efficient
Raised Garden Bed Idea
4 Ways to Use Cattle Panel
Grab Your FREE Printable Labels

Pin for Later


Trackbacks/Pingbacks