Growing a simple cut flower garden doesn’t have to be complicated or time consuming. Learn how to start your own cut flower garden in this easy-to-follow tutorial. You’ll discover what types of flowers to plant, how to grow them and keep the flowers blooming for longer, when to harvest and how to arrange them into a beautiful bouquet.
This year while planning out my garden, I made a list of what to plant.
Tomatoes. Cucumbers. Green peppers. Jalapeños. Zucchini. Lettuce. Kale. And a variety of herbs was what I wanted to plant in our small backyard garden.
At my parents place, in our second gardening plot, I had decided to sow some space loving plants.
Bush beans. Canning tomatoes. Okra. Fennel. And several other various veggies and herbs.
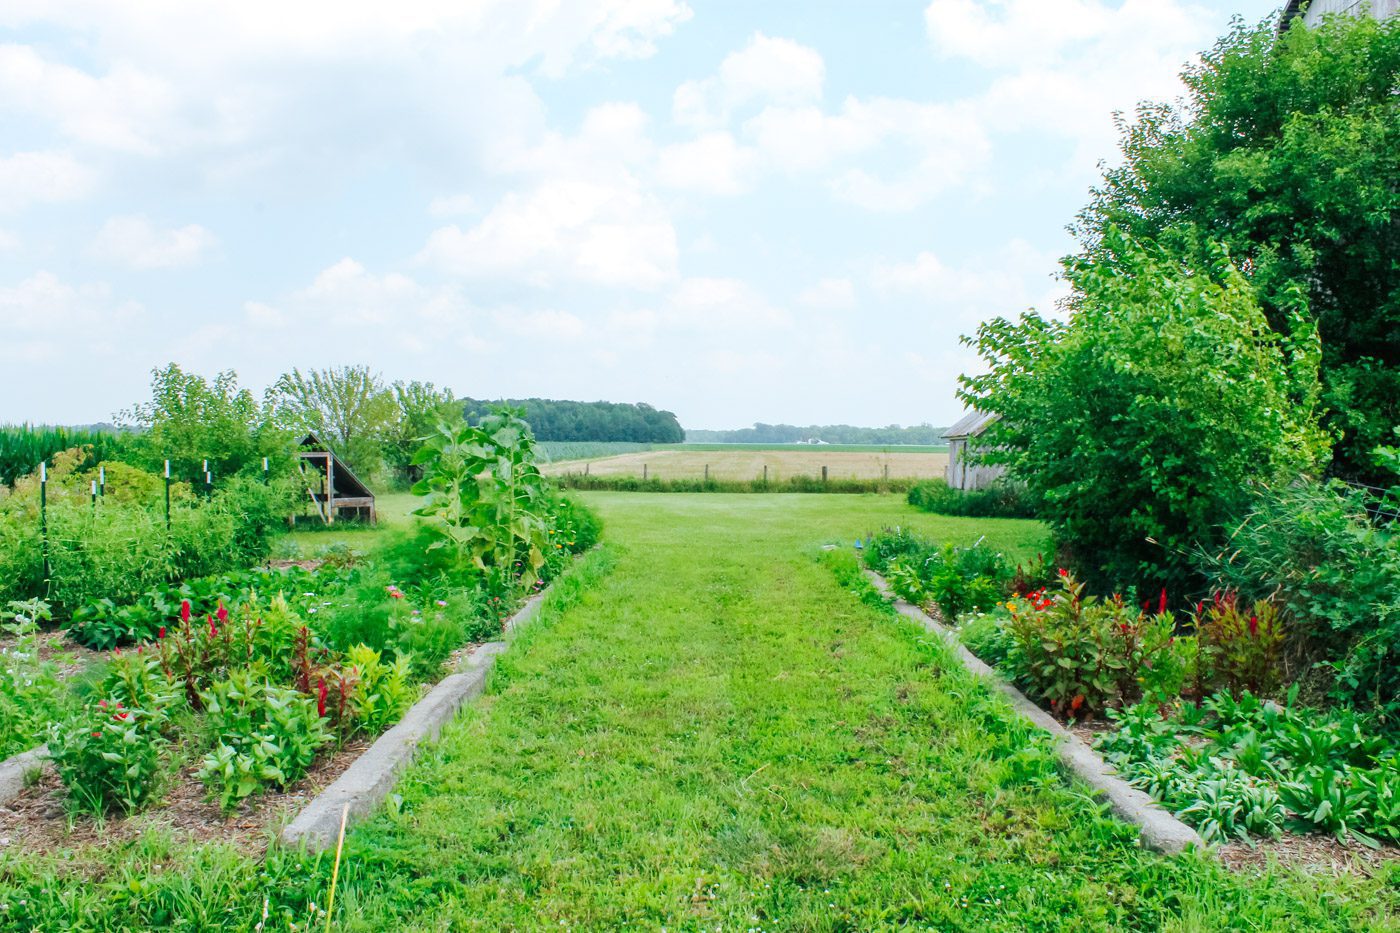
Beside our garden on my parents’ land are two wide strips of land, what we like to call the bunkers. Supposedly they were once the foundation for chicken coops. Today only cement slabs remain, leaving bare ground full of possibilities.
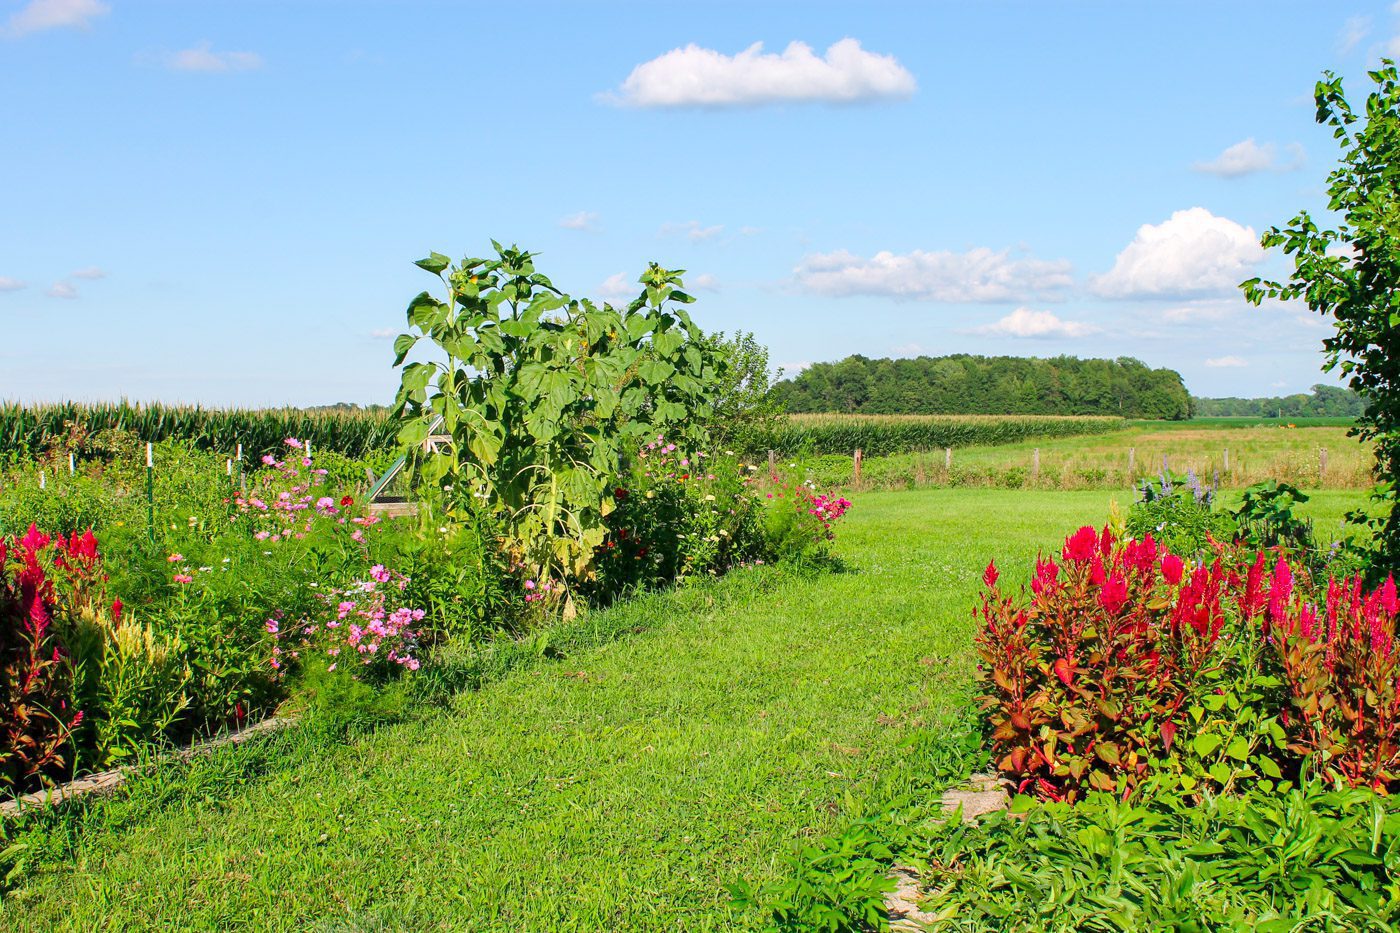
In the past growing seasons, we have filled those bunkers with beautiful flowers, making the homestead a spectacular site to behold. We wanted to do the same this year. However, with all of the food shortages happening and the need for better, more nutritionally dense food, I thought spending time to create a cut flower garden was frivolous. All of my energy and effort should be spent working in our vegetable garden.
But this thought couldn’t be more wrong.
Flowers bring people joy.
Flowers are cheery, peaceful and magnificent. They are a must-have. For us and pollinators. And after all our society has been through these last few years, everyone — friends, family, neighbors and kindred spirits — could use a freshly cut bouquet of joy!
So thus, a cut flower garden was planted.
And I must say, it has brought many, including myself, a tremendous amount of joy into our lives. Every time I see the flower beds or decorate my home with various vases of flowers, I am filled with great pleasure.
If you’d like to bring that same bliss into your home, I highly recommend starting your very own cut flower garden. You don’t need a large space to begin. Just a few blooming beauties will provide you with fresh flowers all summer long. Learn how to create a simple, low-maintenance cut flower garden by reading the steps below.
What is a Cut Flower Garden?
There are a variety of different kinds of gardens. Some gardeners grow vegetables, while others create gardens purely for medicinal purposes. Then there are those that have gardens full of fruit trees, raspberry bushes and grape vines. A cut flower garden is a type garden in which plants are grown specifically to harvest. This is different from the flowers used for landscaping homes. Often cut flowers are used to create bouquets, wedding arrangements or just simple vases to decorate ones home. Cut flowers tend to have longer stems to make them easier to trim and create bouquets, wreaths or garlands.
Best Cut Flowers to Grow
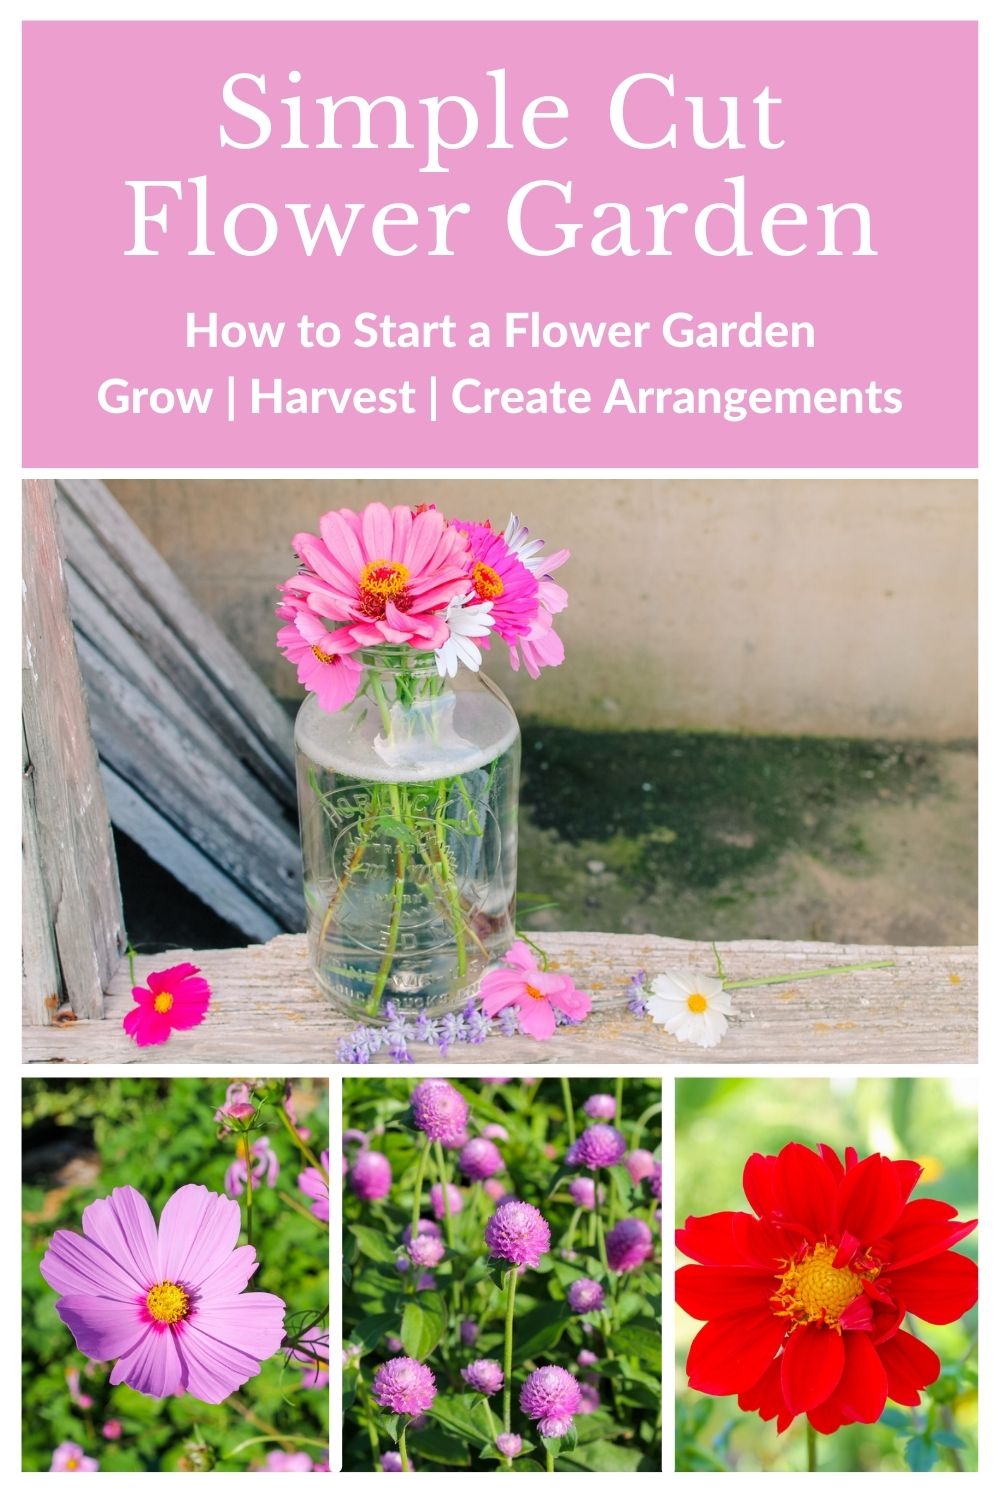
If you’re planning to grow a cut flower garden, you’ll want to select a type of flower that will fill your garden will beautiful blooms all summer long. Here are a few of the best cut flowers to grow in your garden:
- Sunflower
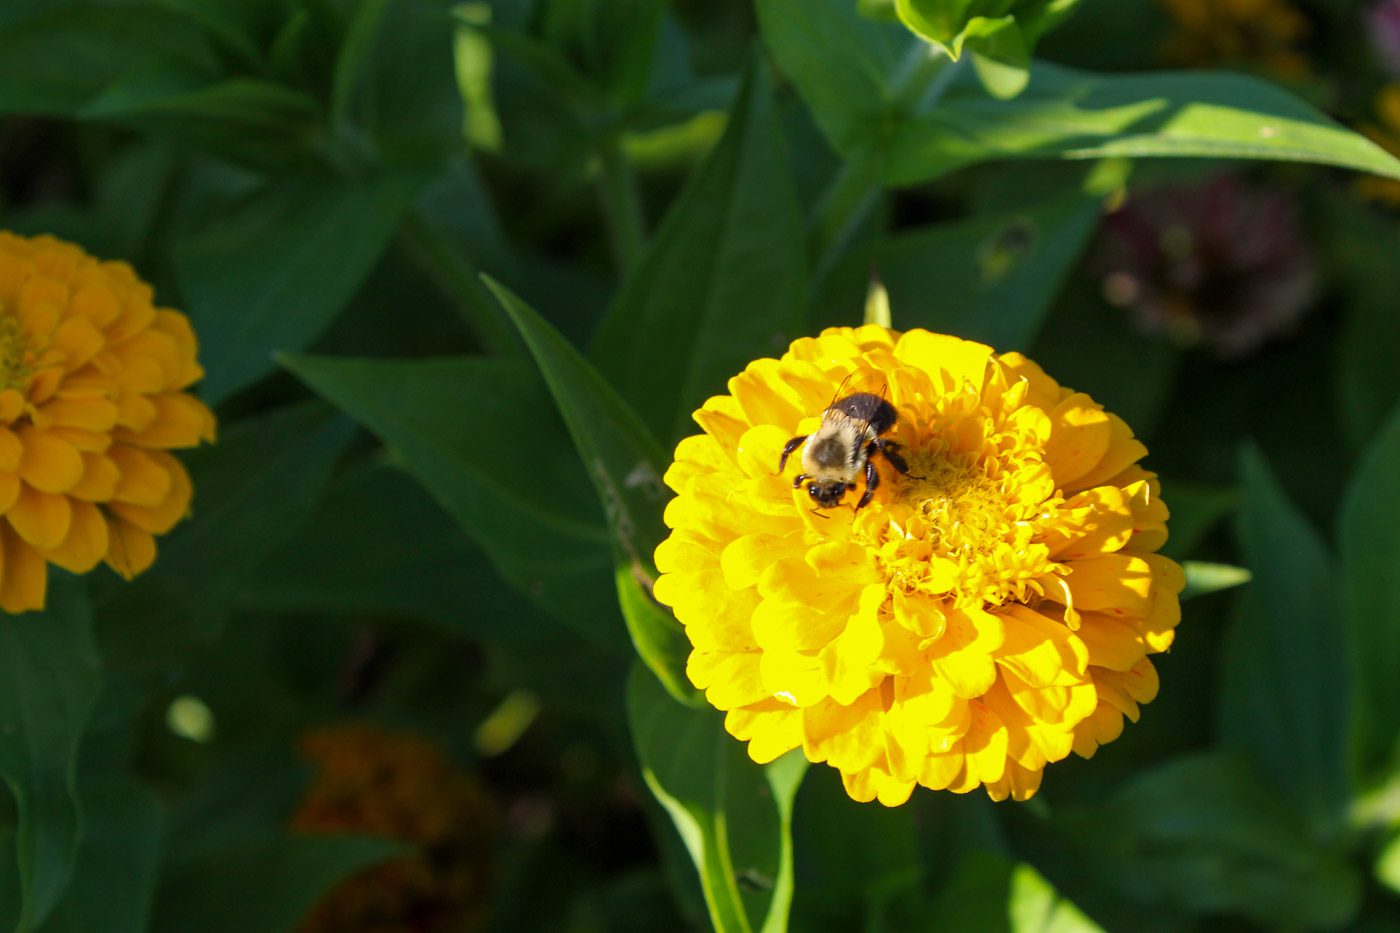
- Zinnia
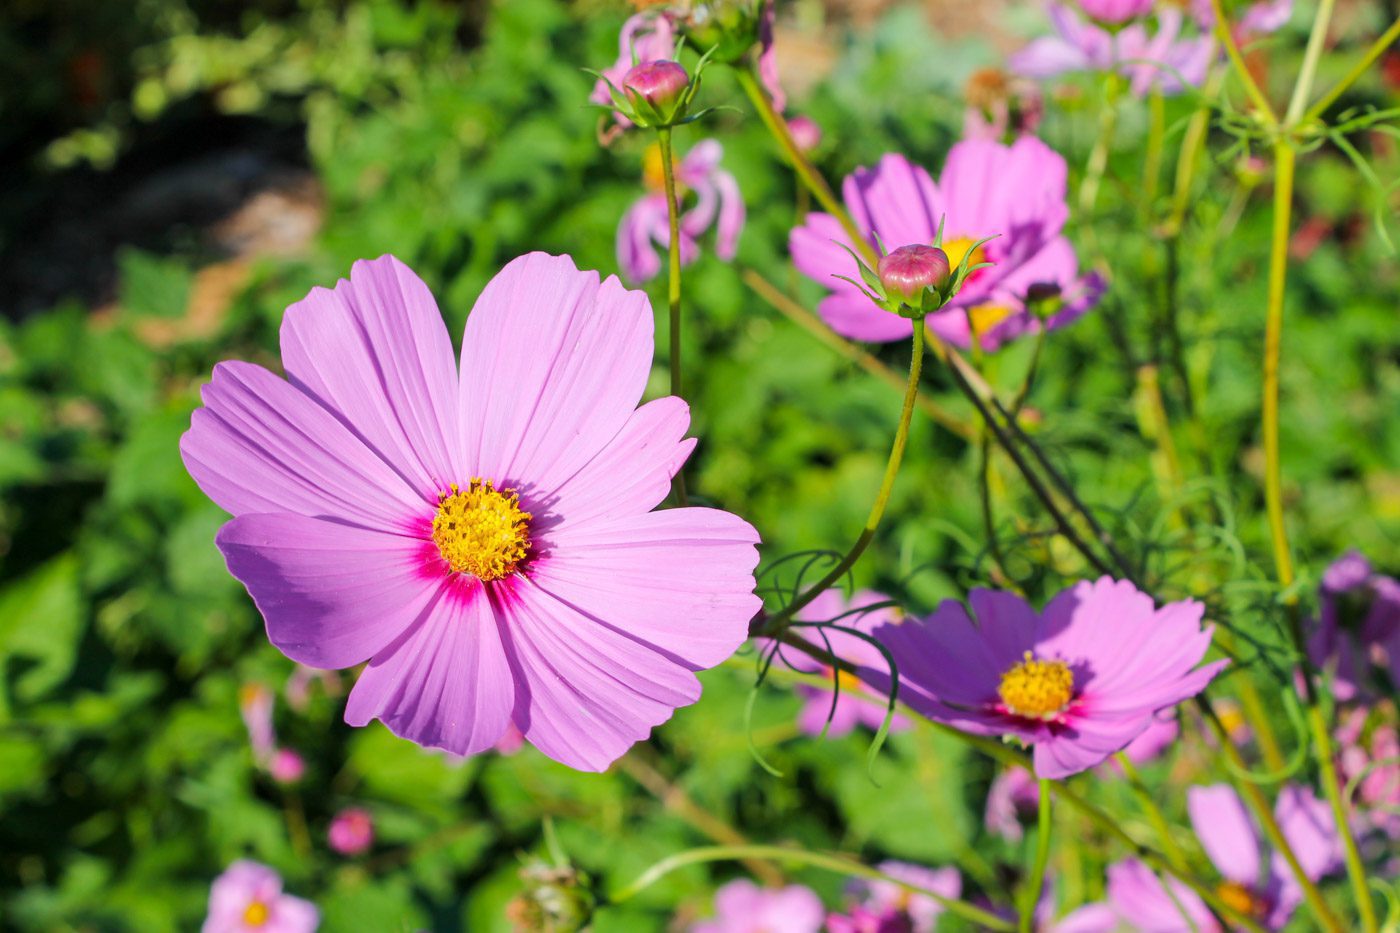
- Cosmos
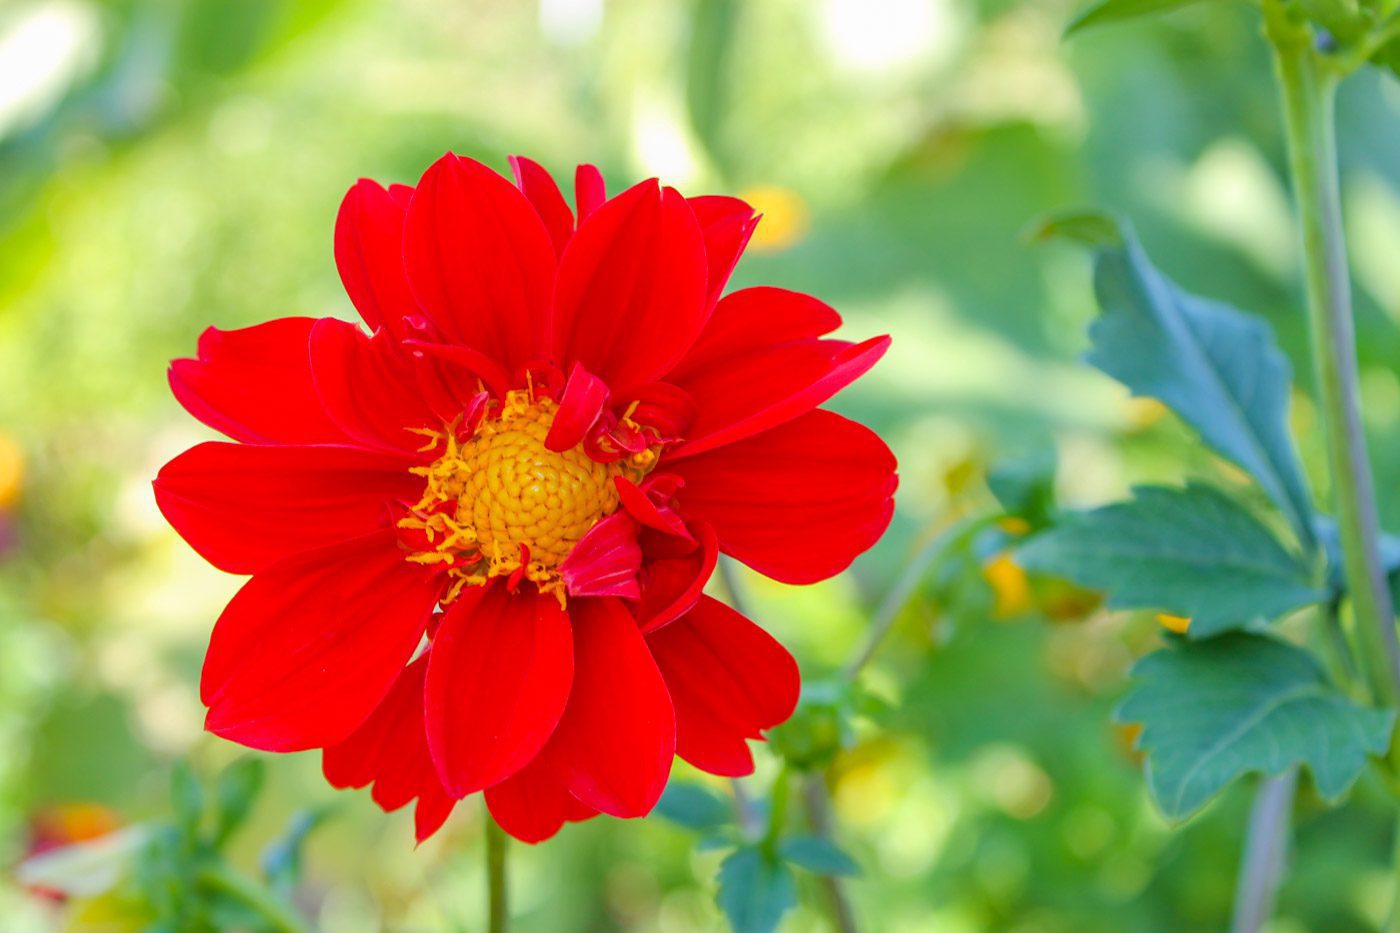
- Dahlia
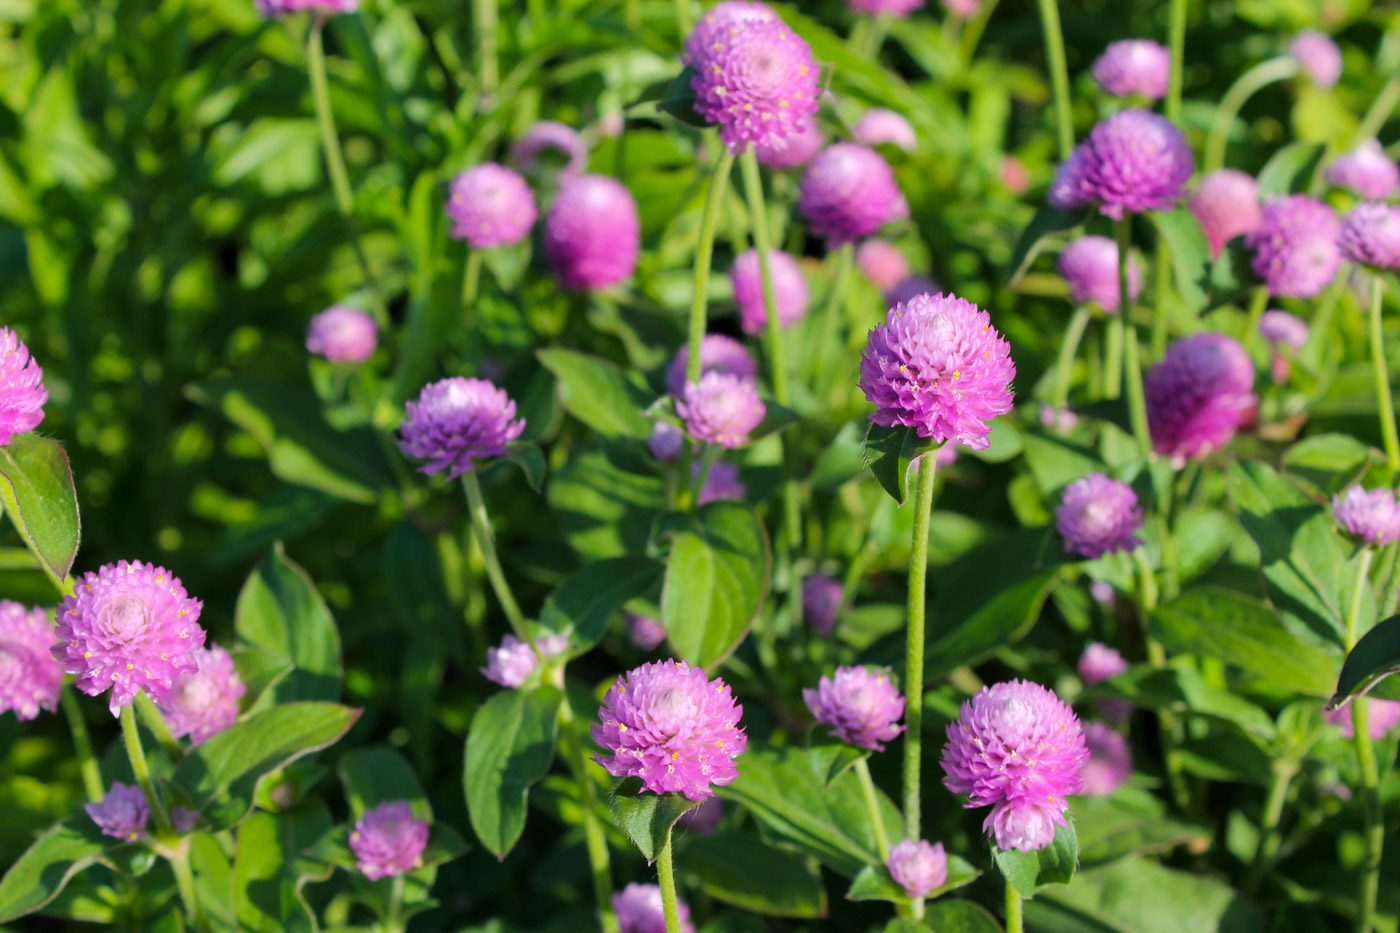
- Globe amaranth
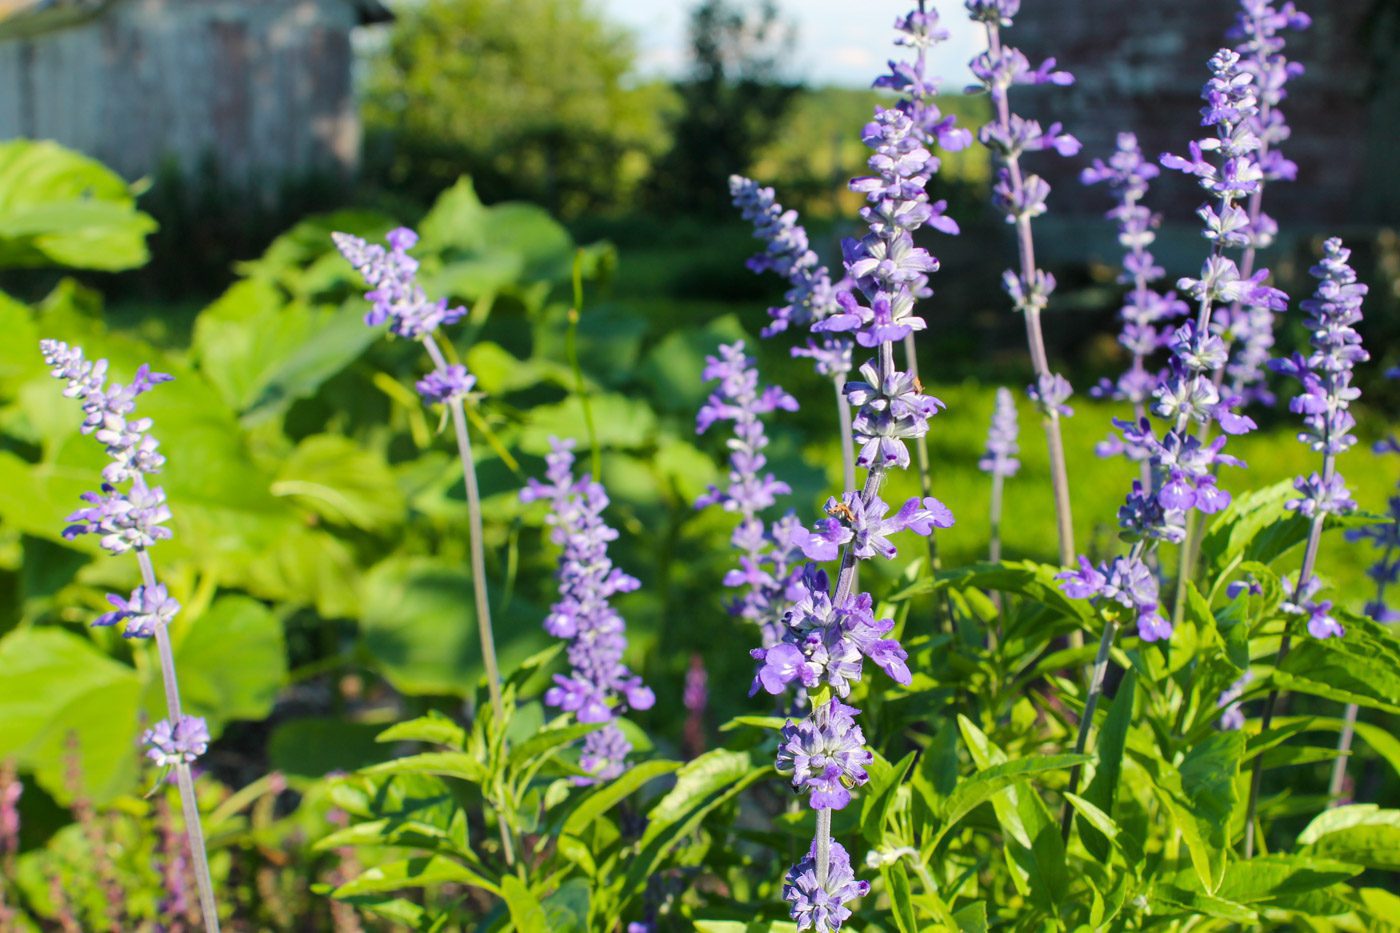
- Salvia
- Peony
- Wildflowers
- Hydrangea
- Strawflower (great for cut flowers as well as a dried flower to make a wreath)
- Echinacea (can also be used for medicinal purposes)
- Black-eyed Susan
- Celosia
- Calendula (can be used for medicinal purposes)
What Makes a Good Cut Flower?
When choosing the best cut flower, you will want to look for a few key characteristics. These will include:
- Long stems
- Stiff, strong stems, if possible (not all cut flowers will have this, such as cosmos but they make beautiful cut flowers)
- Drought hardy
- Love lots of sunshine
- Have a long blooming season
- Can last several days after being cut (see tips below to learn “how to make cut flowers last longer”)
- Holds their shape and form after being cut or hung to dry
Watch Video Tutorial
When to Start a Cut Flower Garden
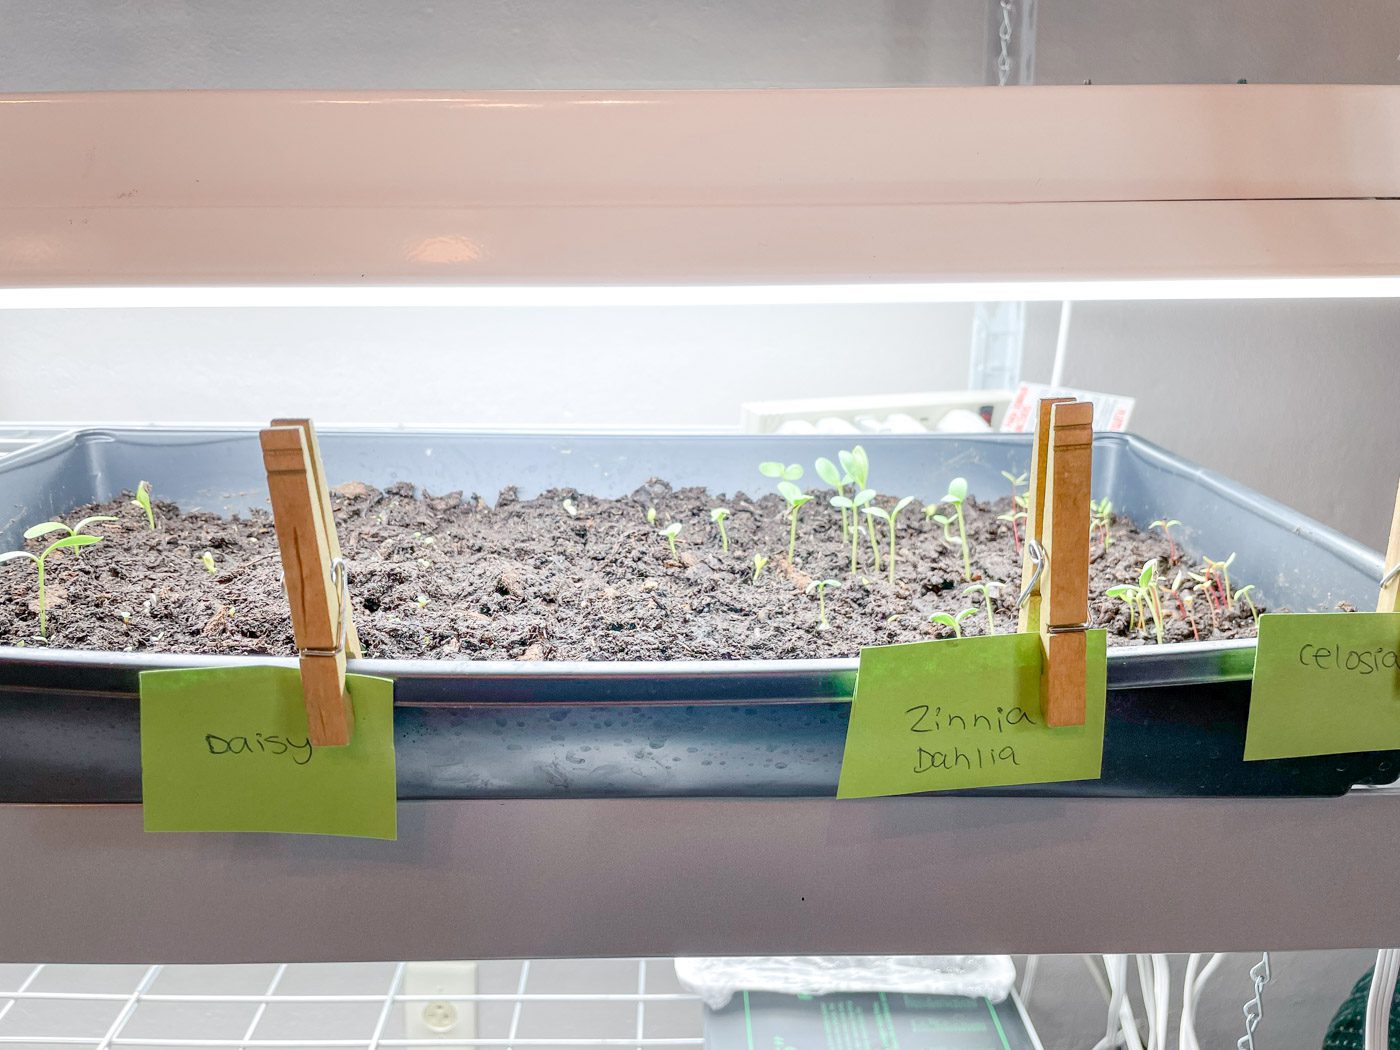
Many cut flowers can be direct sown into the garden come springtime. But if you want to get a jump start on growing, you can start your flower seeds indoors.
The timeframe of when to start your flower seeds indoors depends on where you live and what variety you are planting. Generally, it is best to begin your seeds about 45-60 days before your last frost date. In Ohio our last frost date is generally Mother’s Day. Before you sow your seeds, you will need to determine your zone number. Every region has a different climate. Knowing what zone you are in will not only help you to know when to begin planting your seeds indoors but it will also help you determine what plant thrives in your area and what does not.
Where to Buy Flower Seeds?
It seems like every shop, hardware store or even the grocery store sells seeds these days. While I have purchased flower seeds from big time retail shops like Home Depot, and they have germinated, I prefer to purchase my gardening seeds from places like MI Gardener and True Leaf Market.
How to Prevent Weeds in Your Flower Garden
Weeds in a garden are bound to happen. Some weeds are worse than others, like the dreaded bind weed while weeds such as dandelions may be annoying but can easily be pulled up from the soil. If dedicate a few minutes every couple of days to weed in the beginning of the gardening season, you will save yourself the hassle of constantly battling weeds throughout the summer.
There are some natural weeds sprays out there, but I have found that the most effective way to reduce weeds it to create a Back to Eden garden. The Back to Eden garden method is a regenerative organic gardening style. First you lay down paper or cardboard to suffocate any difficult weeds. On top of the cardboard, you place a thick layer of mulch as a “cover” for the soil. By adding mulch to your garden, you will not only reduce the amount of weeds in your garden, you will also be creating potential for a rich, nutrient dense soil.
How to Keep Your Flowers Blooming All Summer Long
As soon as you see the flower starting to wither and die, simply snip or deadhead the flower. This can be done with a pair of clippers, pruners or a pair of gardening scissors. By removing the dying flower, the plant can focus on creating more blooms instead of putting its strength into producing seeds.
Note: Not all flowers need to be deadheaded. Many cut flowers varieties will continue to produce when the dead flowers have been removed but some types, such as peonies will not continue to grow new blooms if you deadhead them.
How to Create a Simple Cut Flower Bouquet
When creating a stunning flower bouquet, think creatively. Keep these tips in mind.
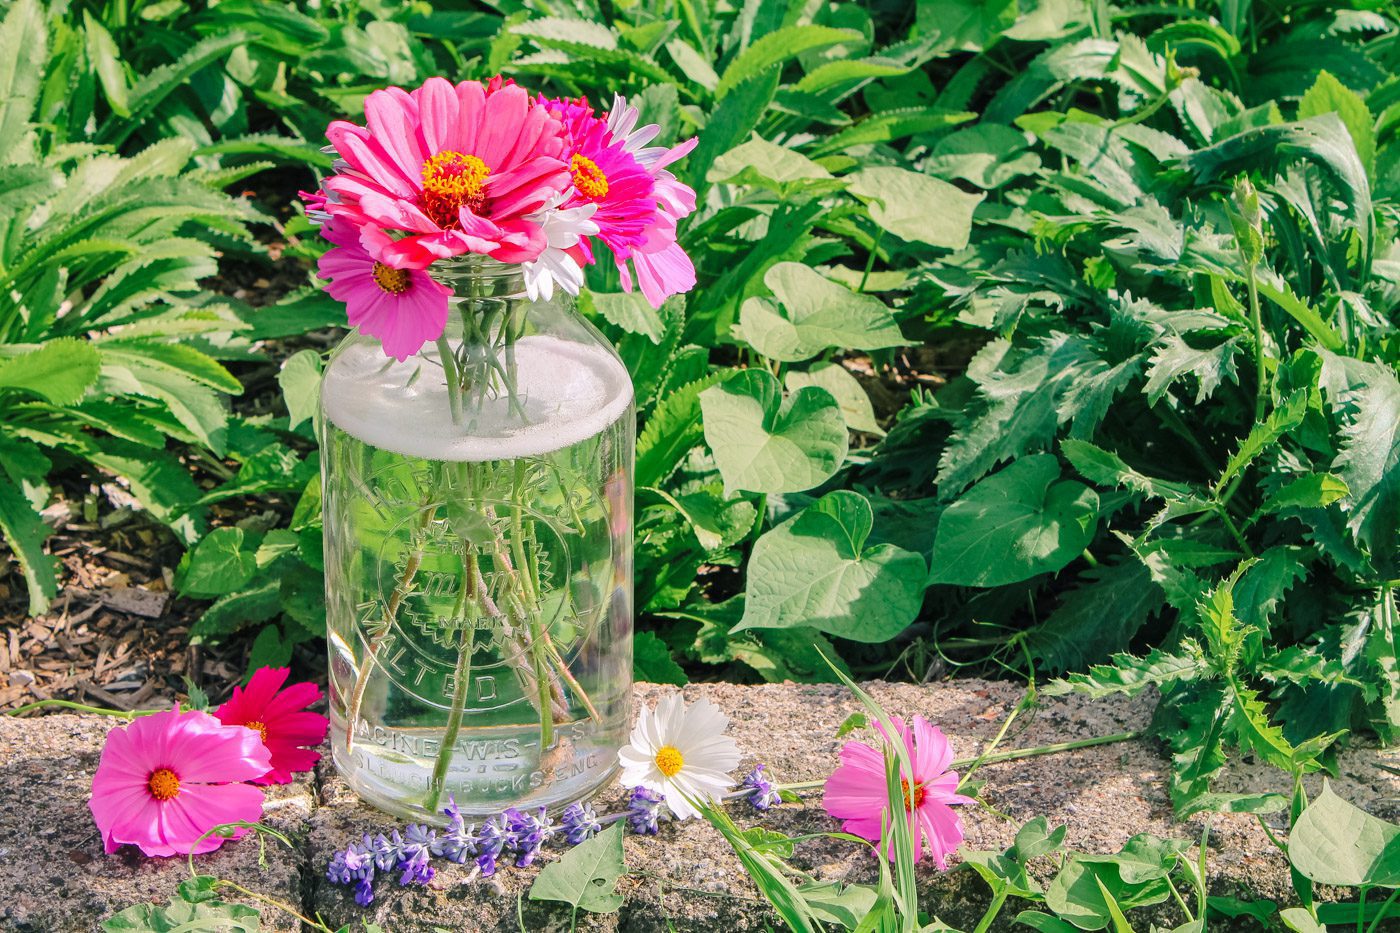
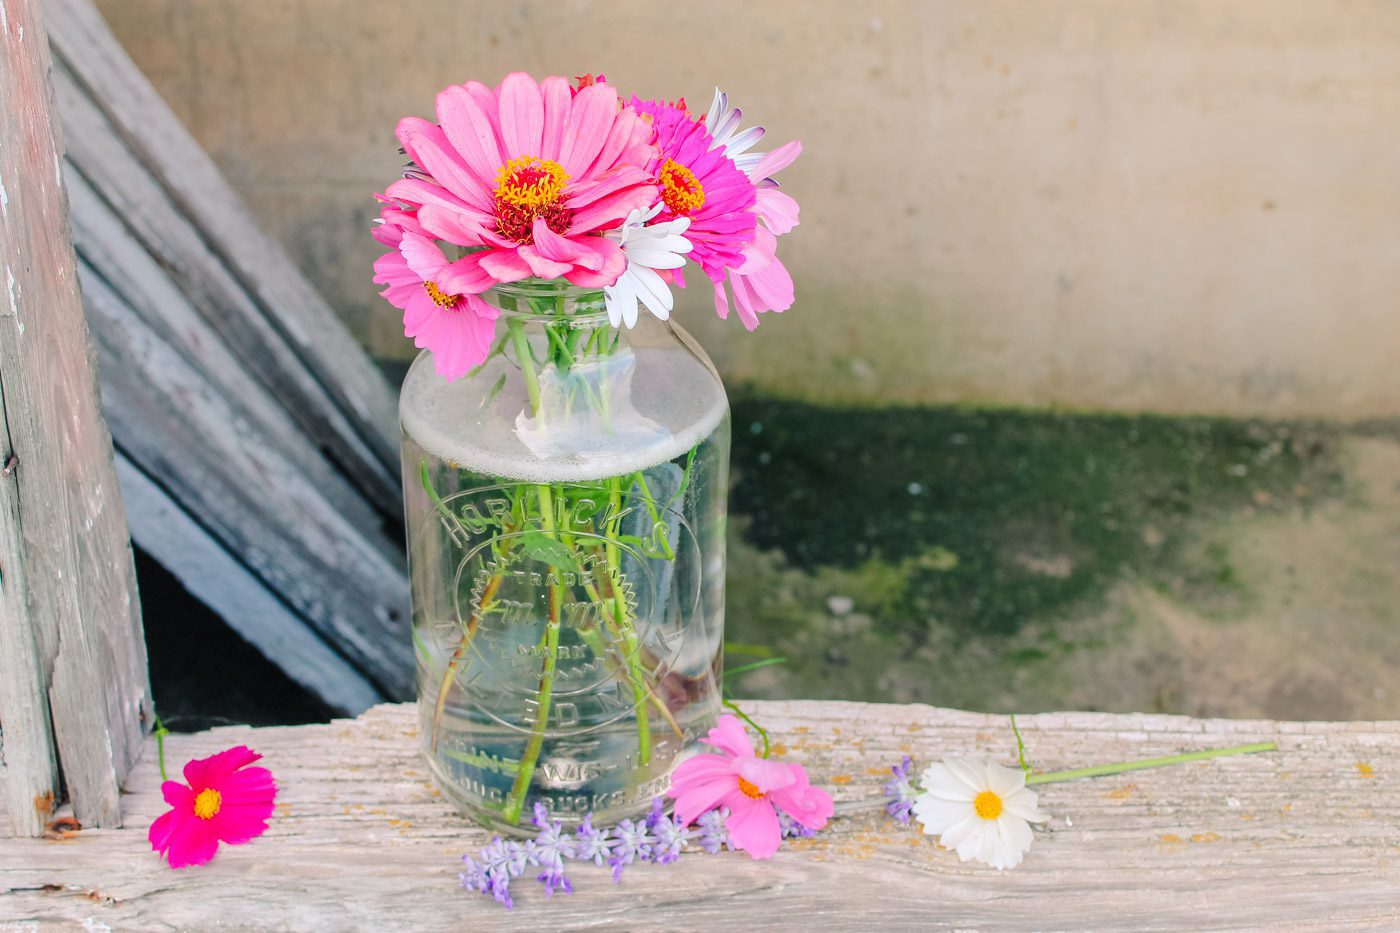
Select a Vase – Use a vase that is large enough for the type of flowers you cut. Ideally, the vase should have a wide mouth to provide ample air circulation. Vases don’t just have to be plain, traditional glass vessels. You can use pitchers, vintage measuring cups, antique glass storage containers, mason jars, metal buckets or small crocks.
Remove Leaves – Trim off the bottom half of the foliage. Any leaves that sit below the water line can rot or mold.
Nourish Flowers – Place a small amount of sugar into the vase to nurture the freshly cut flowers. A splash of bleach added into the water will help prevent bacteria from forming as well as boost the lifespan of the flowers.
Add Depth to the Bouquet with Greenery – Greenery such as herbs can add variety and depth to a vase of flowers. Try enhancing the bouquet with holly, ivy, Queen Anne’s lace, prairie grass or cedar branches. Herbs also make nice fillers. If you have them growing in your garden, add a little mint, yarrow, sage or chamomile in.
Mix it Up – Create the most gorgeous bouquet by varying the heights of the flowers. Sunflowers, salvia and echinacea add height which is very pleasing to the eye. Daisies, calendula and cosmos add a delicate touch. Big blossoms like peonies, zinnias and dahlias are showstoppers. To create a bouquet, add the tallest flowers into the center of your bouquet. Next, place the other smaller flowers around the center. Fill in the outside or empty spaces with greenery. Be sure the bottom of all of the stems are cut to the same height and placed into the water.
How to Make Cut Flowers Last Longer
To increase the lifespan of your flowers after they have been cut, follow these tips:
- Cut flowers in the early morning or evening. The afternoon heat and sun is stressful for the plants.
- Use a sharp knife or pruners to cut the flowers. Do not use your hands to snap the stems off.
- Immediately place your flowers into a bucket of room temperature water.
- Remove excess leaves that may be submerged into water.
- Create a homemade flower preservative by adding a 1/4 tsp of bleach to a quart mason jar.
- Change the water in the vase frequently (although I am not always very faithful about doing this)
Cut Flower Garden Resources
This post contains affiliate links, which means I make a small commission at no extra cost to you. In any case, I only link to products we actually use on our homestead and that I believe can truly benefit to you. See my full disclosure here.
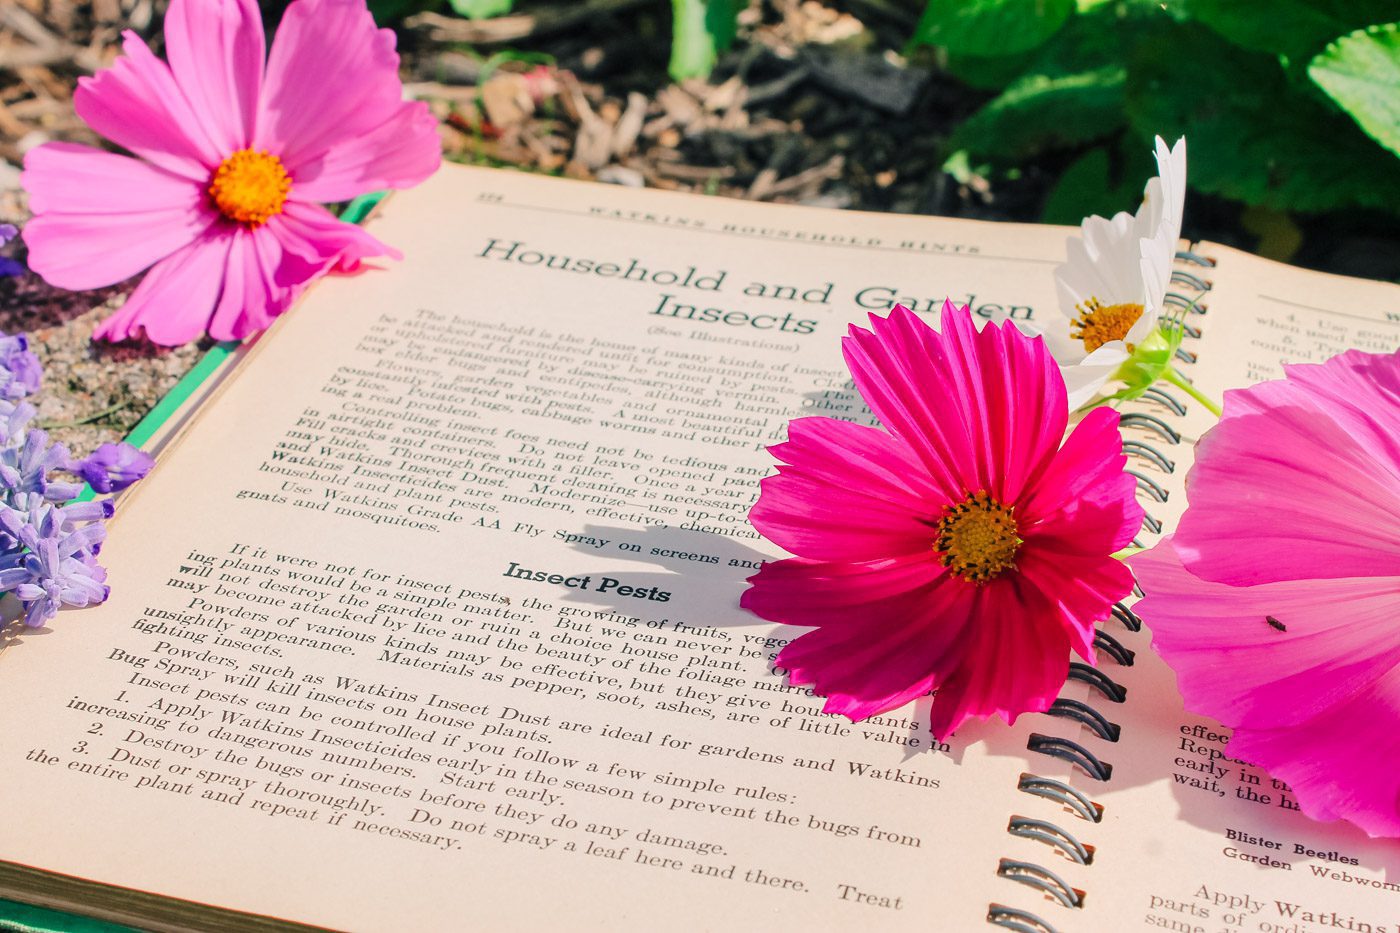
Are you ready to grow the cut flower garden of your dreams? There is a lot of valuable information online regarding starting a cut flower garden, however, I can’t deny my love for a good book. Here are a few flower gardening books packed full of everything you need to know about growing a cut flower garden, maintaining healthy flowers, harvesting and creating vases full of beautiful blooms.
The Flower Farmer by Lynn Byczynski
Cool Flowers by Lisa Mason Ziegler
Floret Farm’s Cut Flower Garden by Erin Benzakein




Such wonderful insight! Can’t wait to start growing some beautiful flowers!❤️