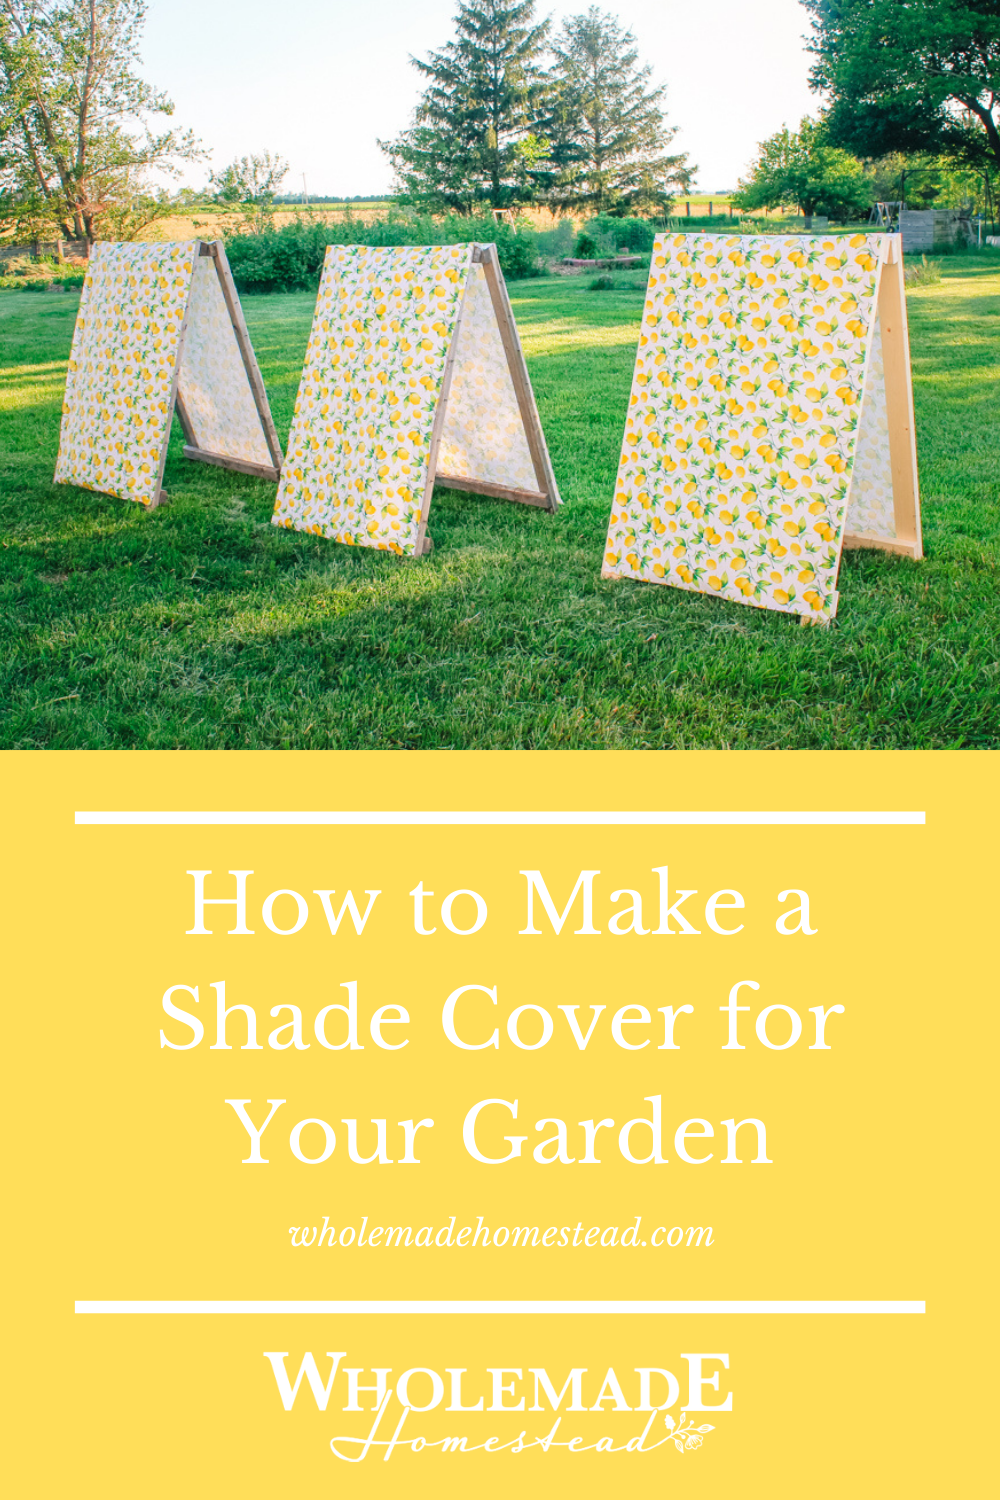
Excessive heat in the summer can destroy vulnerable plants in your garden. Protect them with a handmade garden cover. In this simple tutorial, you’ll learn how to build a protective shelter to block sunlight and save your plants from wilting or turning bitter.
I love summer! It’s one of the busiest seasons on the homestead. Planting. Gardening. Days full of sunshine. Taking long walks. Grilling. Corn on the cob. And iced tea.
What I don’t like is the excessive heat. I’m talking about 90+ degrees. While many people flock to Florida in the winter because they love warmth, I must admit, around mid summer after weeks of endless heat, the thought of fleeing north to a cooler climate such as Canada has crossed my mind a time … or two.
While summer heat can be hard on people, it can be devastating for certain plants in your garden. Many varieties of lettuce prefer cooler temperatures. The optimal temperature for growing lettuce is between 60-70 degrees F. When the heat soars, it can turn lettuce bitter and cause the leaves to wilt. And who wants a bitter, sad little leaf on their salad? Not I!
So how can you prevent your cool-weather crop from turning bitter?
Shade it.
Using a protective shading system will shelter vulnerable crops from sunlight.
How to Create a Homemade Shade Cloth
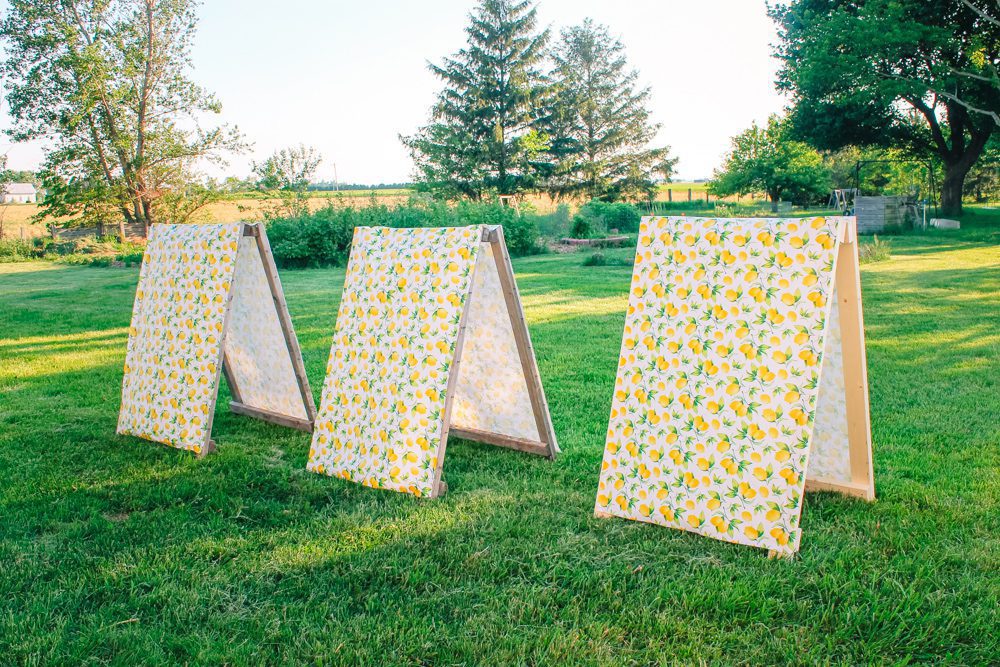
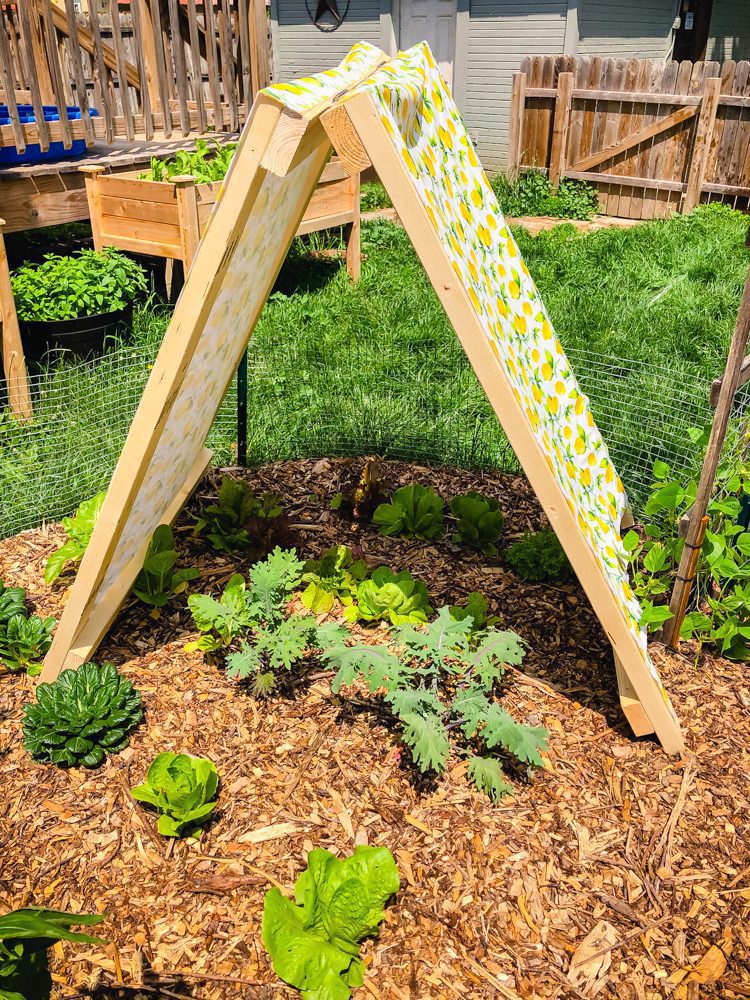
Though it is only June here in Ohio, we recently went through a long heat spell. In order to protect our lettuce plants, we created a garden shade cover in the style of a tent. It blocks out the heat from the sun while still providing plenty of ventilation for the crops.
Materials
4 – 2x3x10 wood boards (untreated)
2 – 3 inch hinges plus screws
16 – 2.5 inch wood screws
Staples
2 yards of 48” wide waterproof material (We used tablecloth material from Walmart)
Instructions
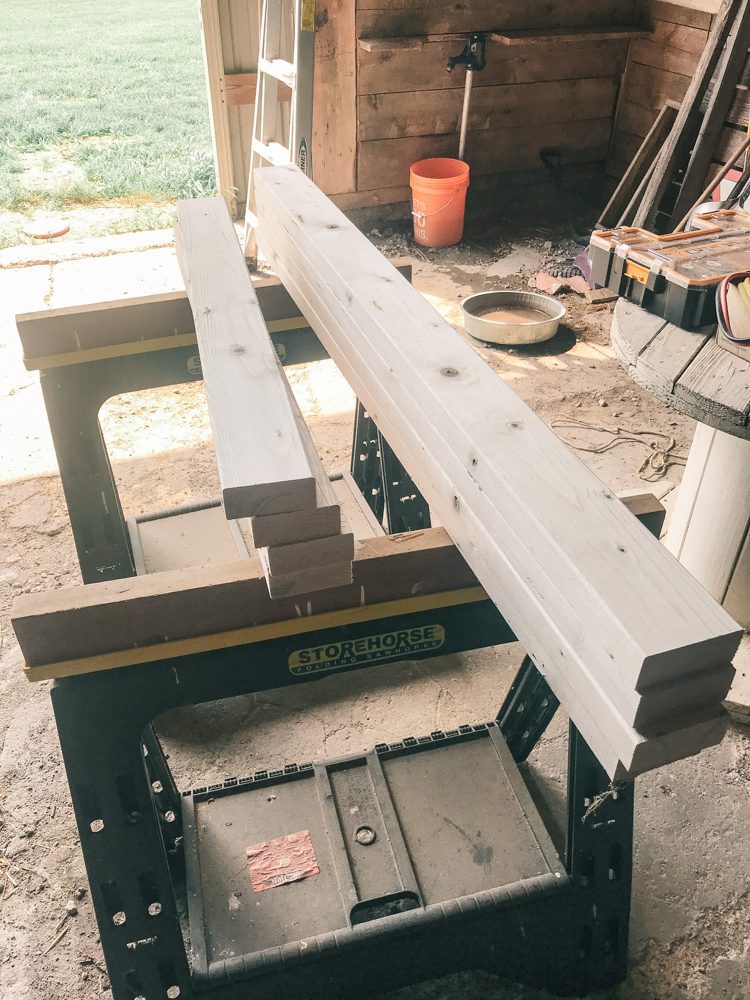
Building the Frame
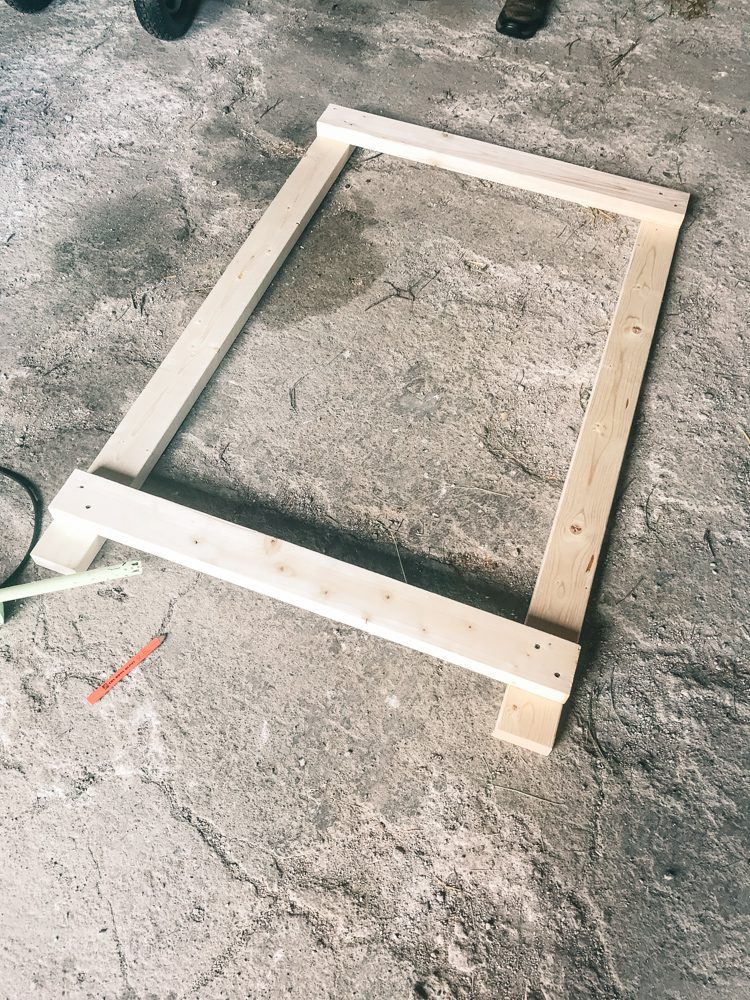
To build the shade cover for your garden, start by creating the main frame. Cut the wood boards into four 36” pieces. Next, cut the remaining wood into four 54” pieces.
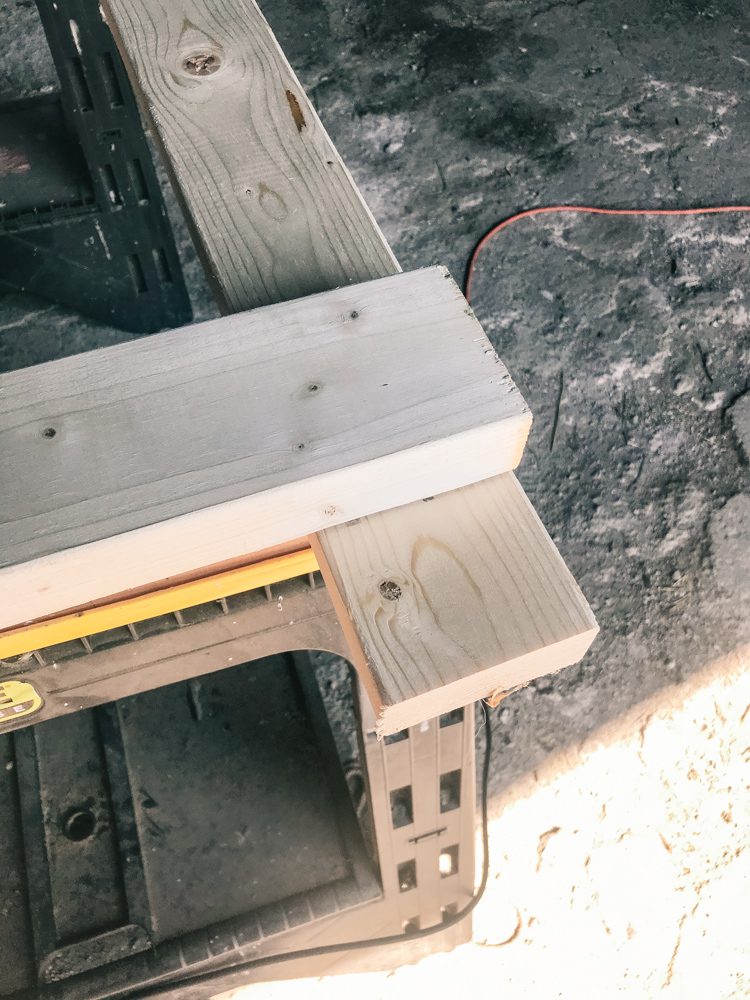
Lay one three foot board across the top of two 4.5 foot boards. Secure with two screws in each corner.
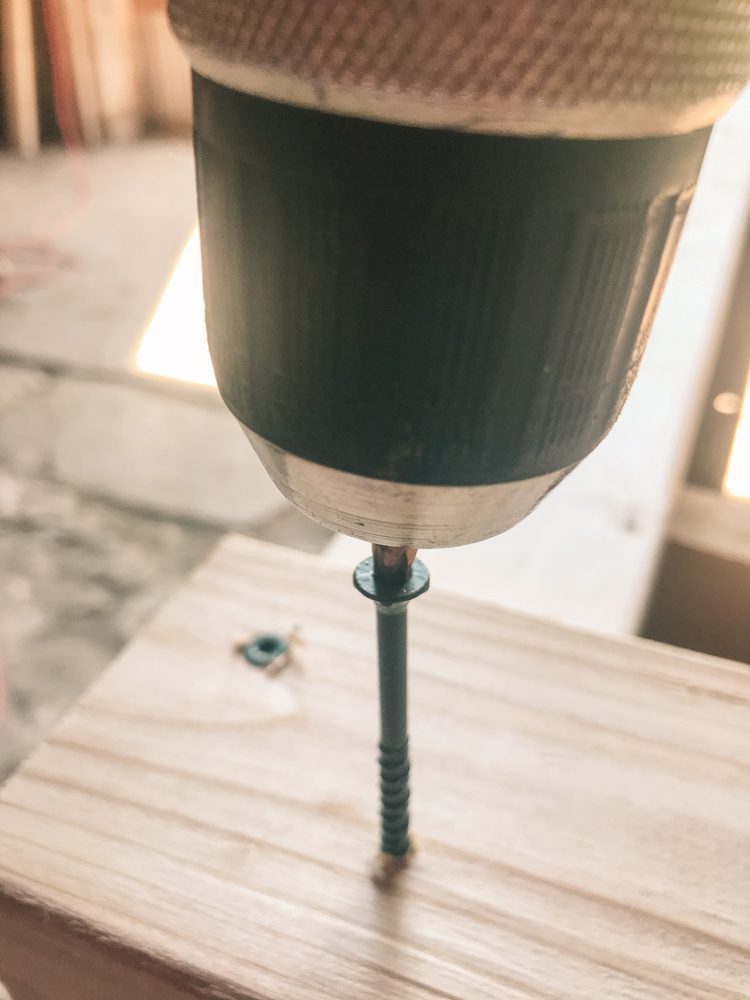
Next, place the second three foot board 6 inches from the bottom of the two 4.5 foot boards. Screw into place.
Repeat the first three steps to build the second frame.
Once both frames have been built, lay each on the ground. Be sure the tops facing each other and the flat sides of the frame are facing down.
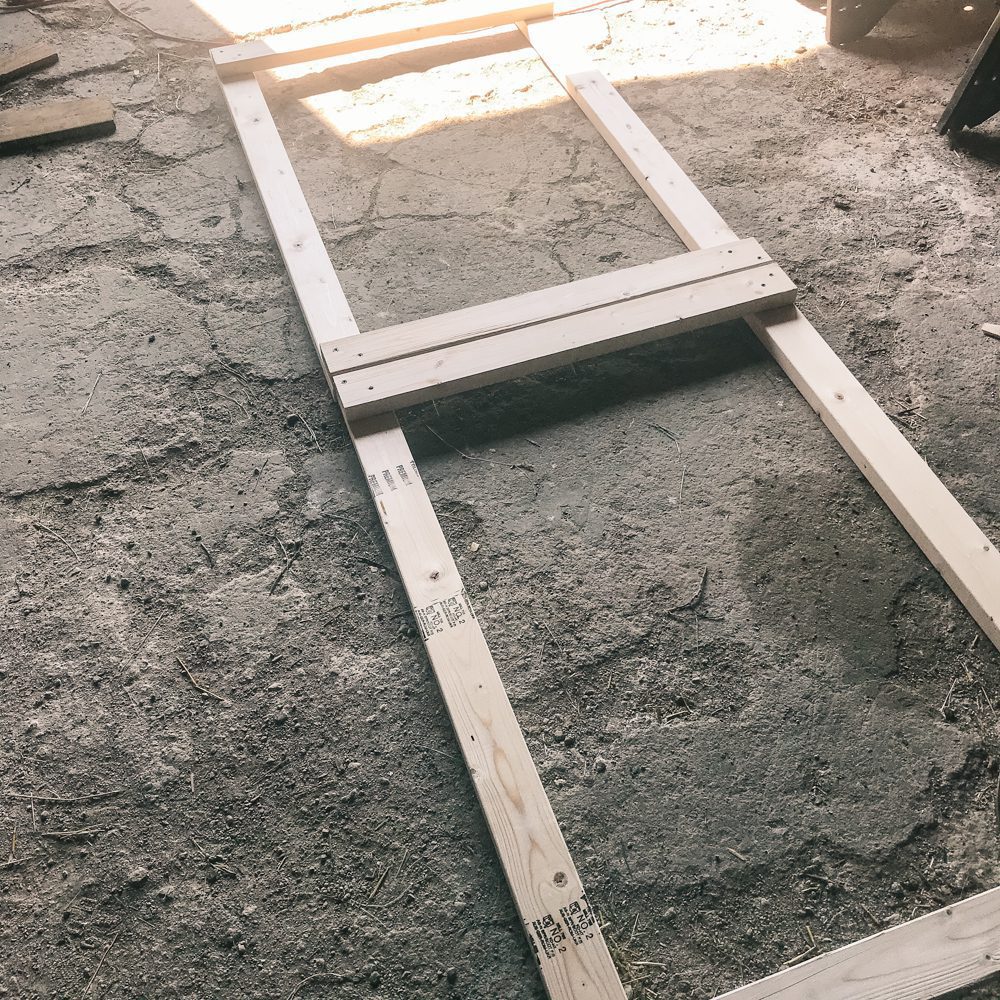
Place the hinges in the center of the boards spacing them about 1.5 feet apart. Screw the hinges into place.

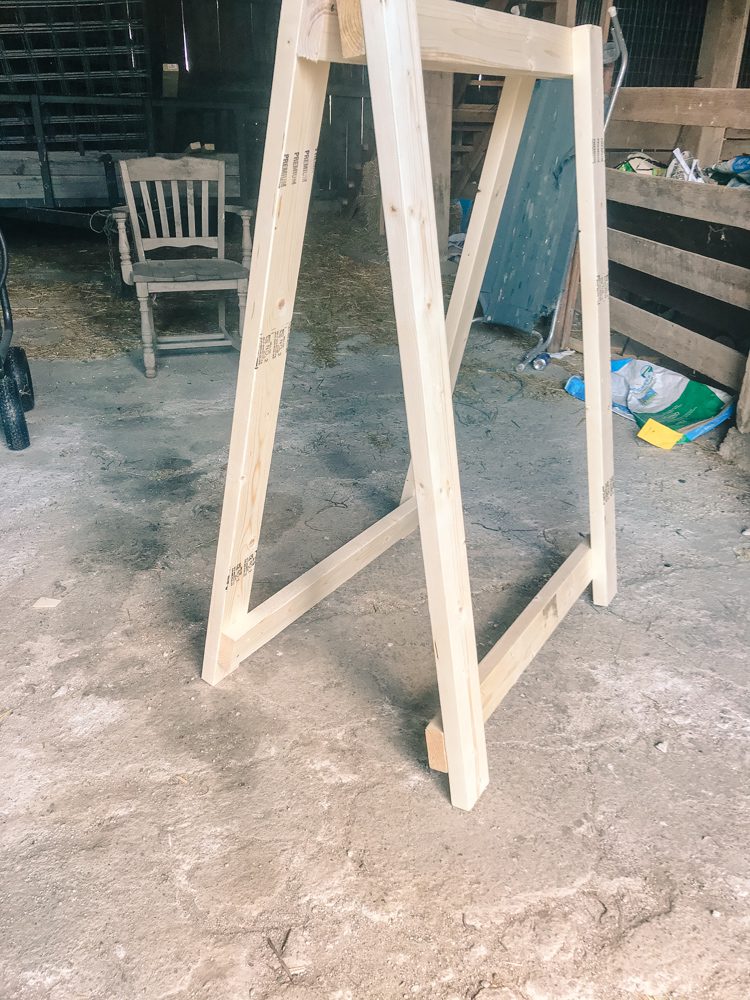
The frame is complete! Stand the frame upright to begin attaching the material to the outside of the frame.
Adding Material
Cut the material in half so that you are left with two 36”x48” pieces.
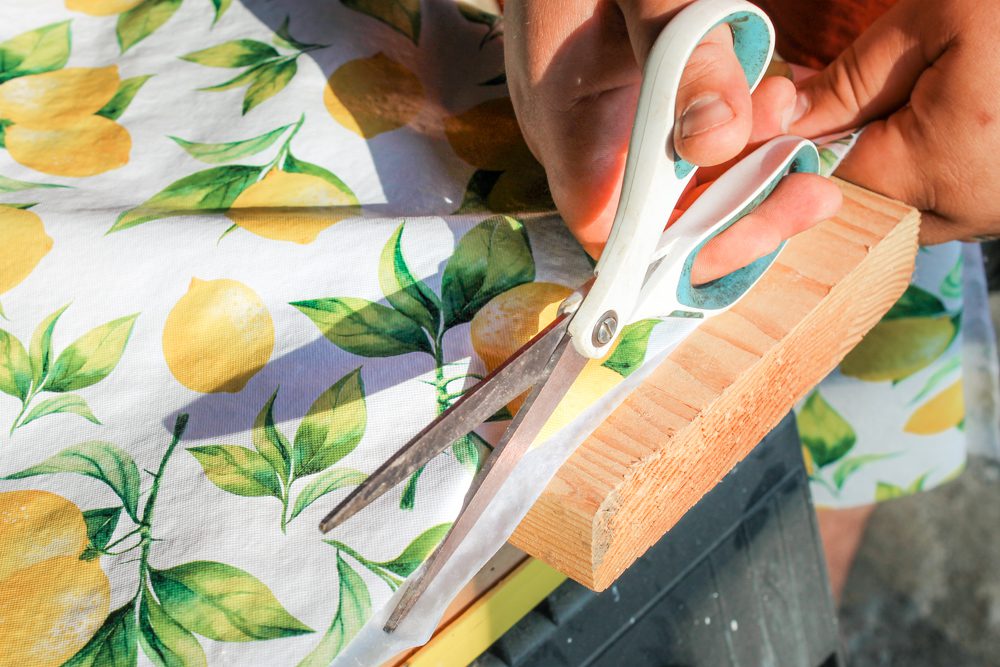
Using a staple gun, attach the material to the outside of the frame. We found it easiest to start at the top and work your way down to the bottom.
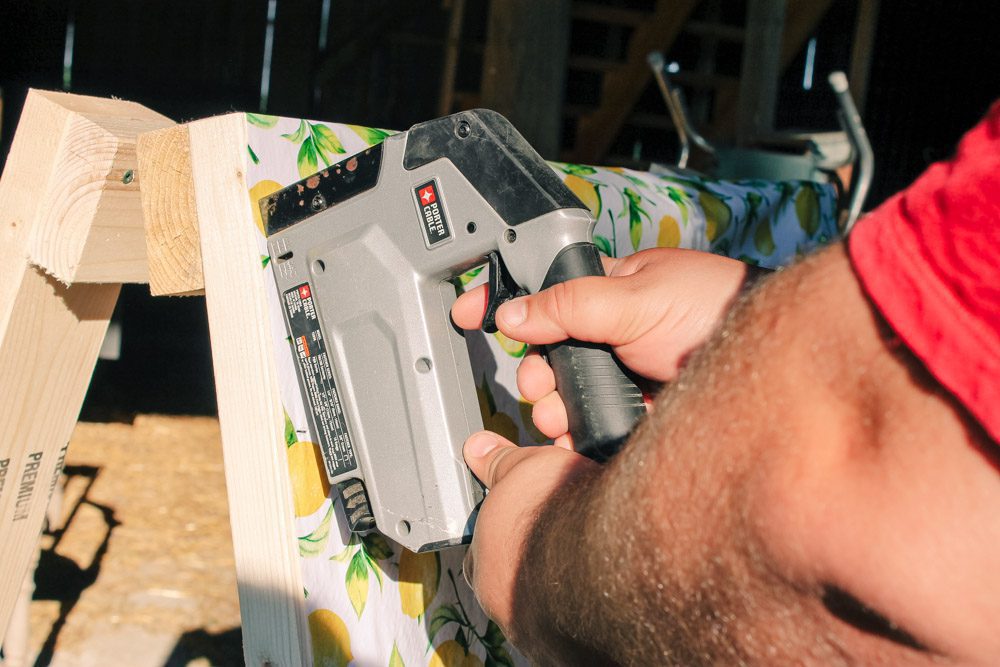
Repeat the process on the second side.
Your garden cover is complete!
Pin for Later!


Trackbacks/Pingbacks