Grow vegetables, herbs or plants in this DIY planter box. Simple and easy to build, this wooden planter can be created in less than an hour with just a few supplies. Great for beginners! Get the step by step planter box plans below.
Every spring I seem to add a new pot or planting container to my homestead. Last year it was a plastic planter that looked like a wooden barrel. We planted lavender in it and it thrived all summer long. This year we added some large planter pots next to our back deck with a couple of blueberries bushes. Most of our pots are made of plastic but I do prefer the look of wood. Especially when it’s an antique crate made with weathered looking wooden boards.
While surfing the internet the other day, I discovered a beautiful wooden box made with white slatted panels. The square crate had a rustic farmhouse look that reminded me of shiplap. Inspired by the box design, I saved the image and decided to make my own.
Simple Planter Box Idea
With the cost of lumber being so high, I wanted to create an outdoor planter box with inexpensive, easily accessible wood that had the appearance of an old crate. Furring strips checked off all the boxes on my list. What is a furring strip? A furring strip is a long piece of wood generally used to level or finish off a surface such as a ceiling, wall or installation of insulation. Priced at less than $2.00 a board, I knew I’d have plenty of budget to decorate the wooden box.
After drawing up the plans (which had to be simple since I am no carpenter), I headed to the tool shed to build the planter. Using a chop saw and nail gun made the do-it-yourself project super quick. If you don’t have those tools, a hand saw and a trusty hammer will do the trick. Once the box was built, I added one coat of dark stain. While the wood stain was still damp, I used a paper towel to remove any excess stain, giving the wooden planter box a rustic, worn look.
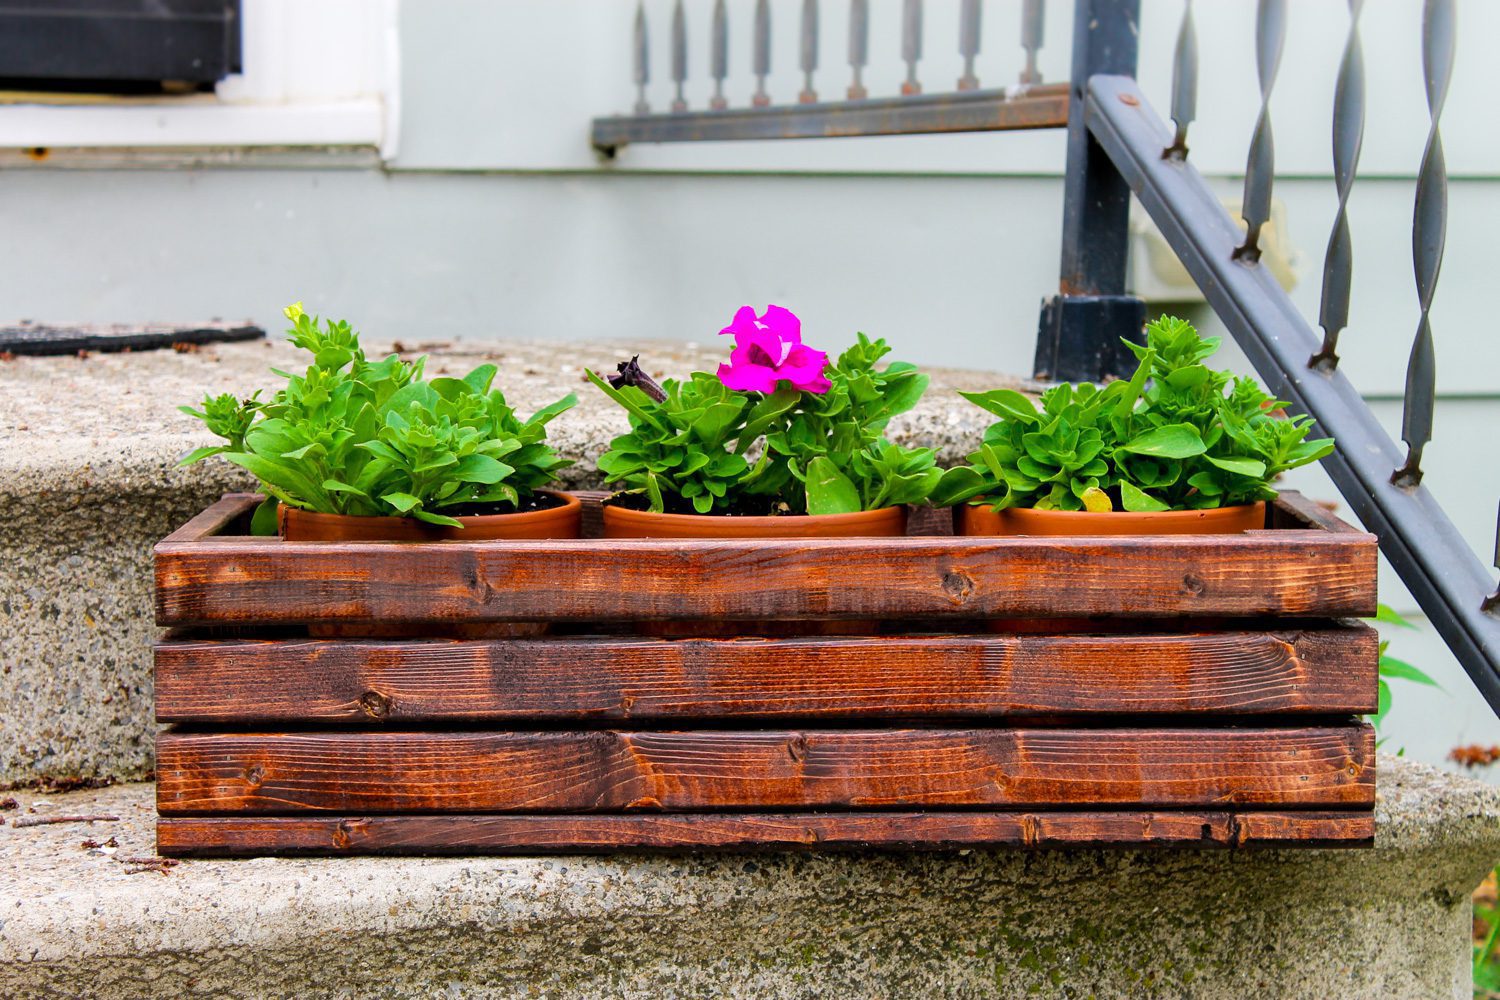
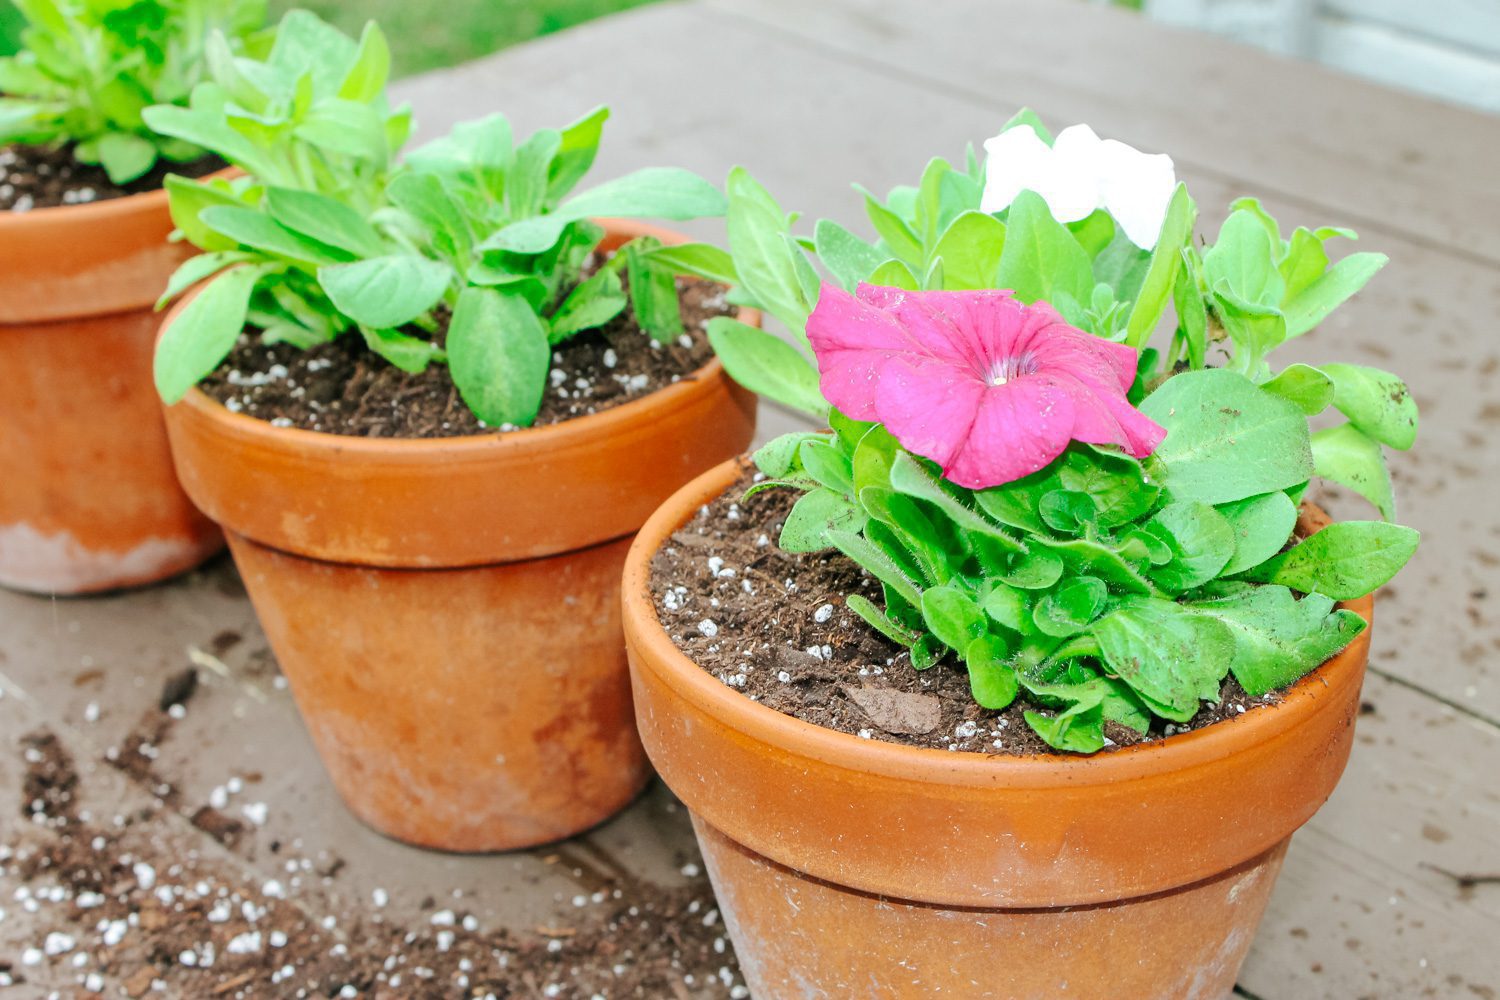
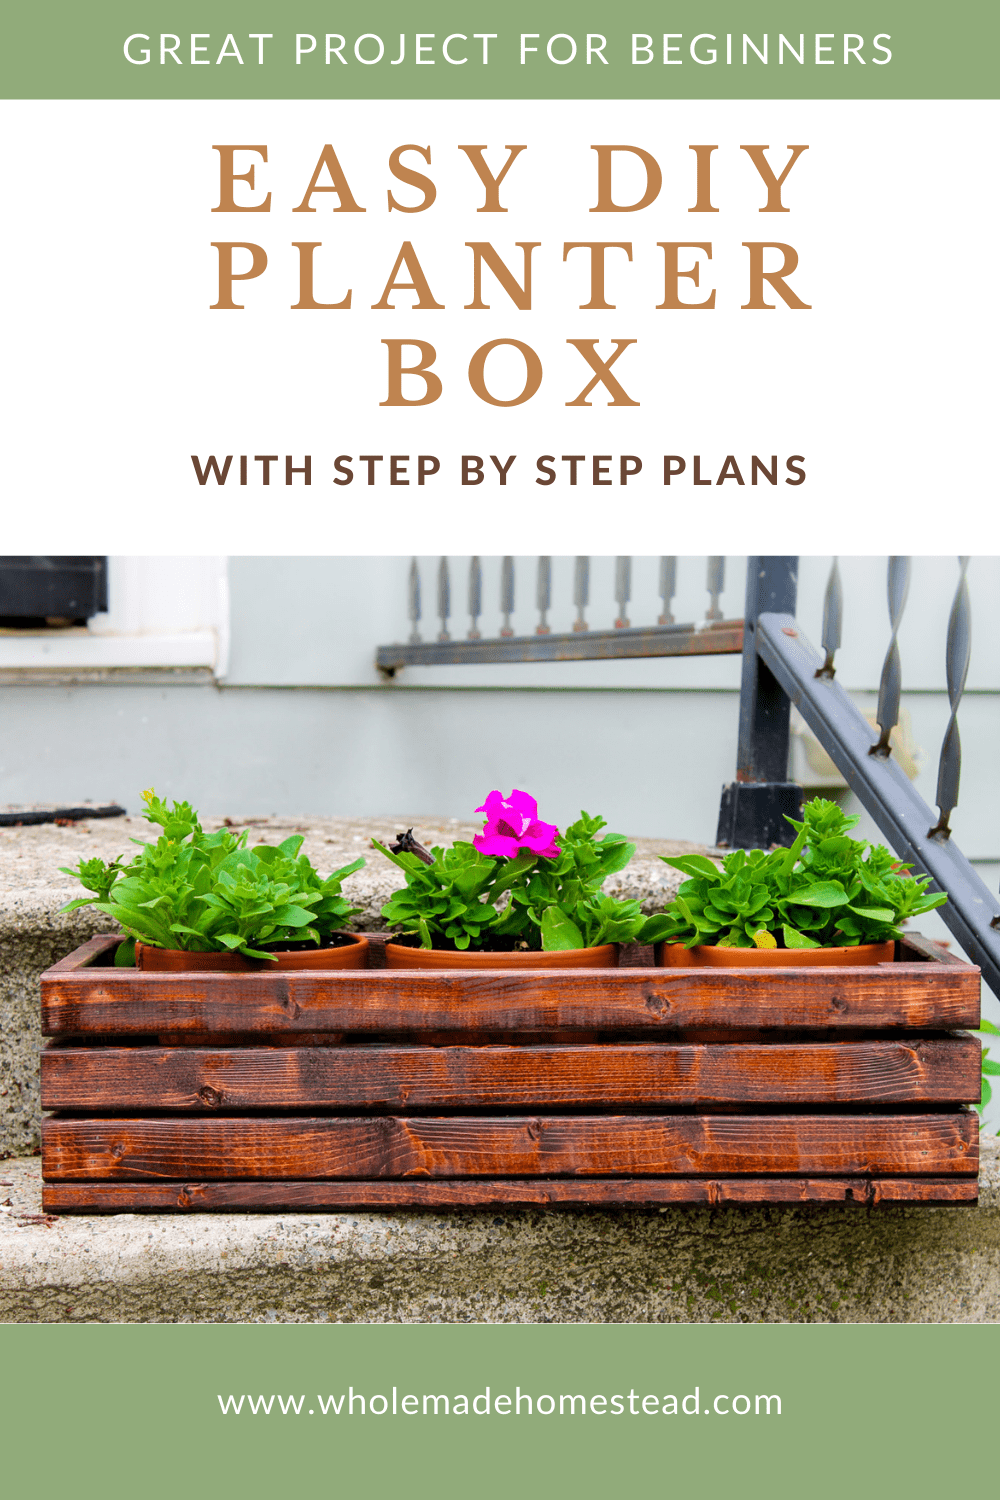
Three terracotta clay pots fit perfectly inside the rustic planter box. I chose to plant petunias in each pot but I think herbs, succulents or other small flower varieties would look beautiful as well. The total cost of the wooden flower planter was less than $15, considering I already had the wood stain at home. This planter box is an excellent and easy garden craft for you to create this spring.
How to Make a Wooden Planter Box
Materials
4 1” x 2” x 8” furring strips (such as these)
1.25” nails
3 small pots (I used these 6” x 5” terracotta clay planters)
Paint or stain (optional)
Instructions
Step 1
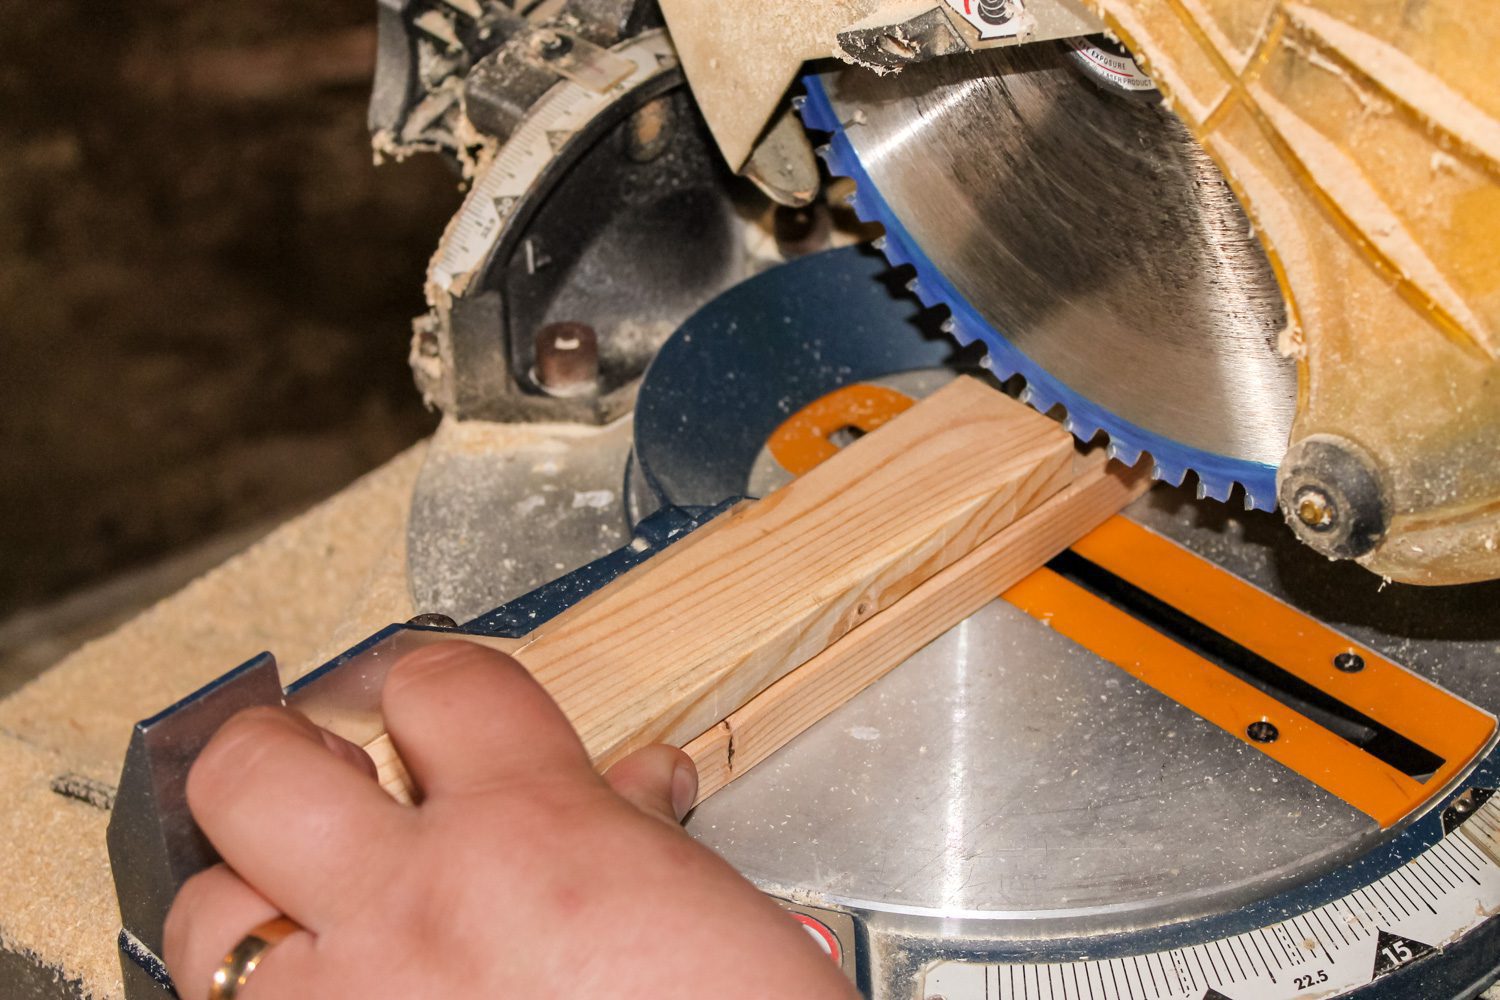
To begin building your DIY planter box, start by cutting your furring strips. You will need:
- 12 – 22 inch long pieces
- 6 – 8 inch long pieces
- 4 – 5 inch long corner pieces
Step 2
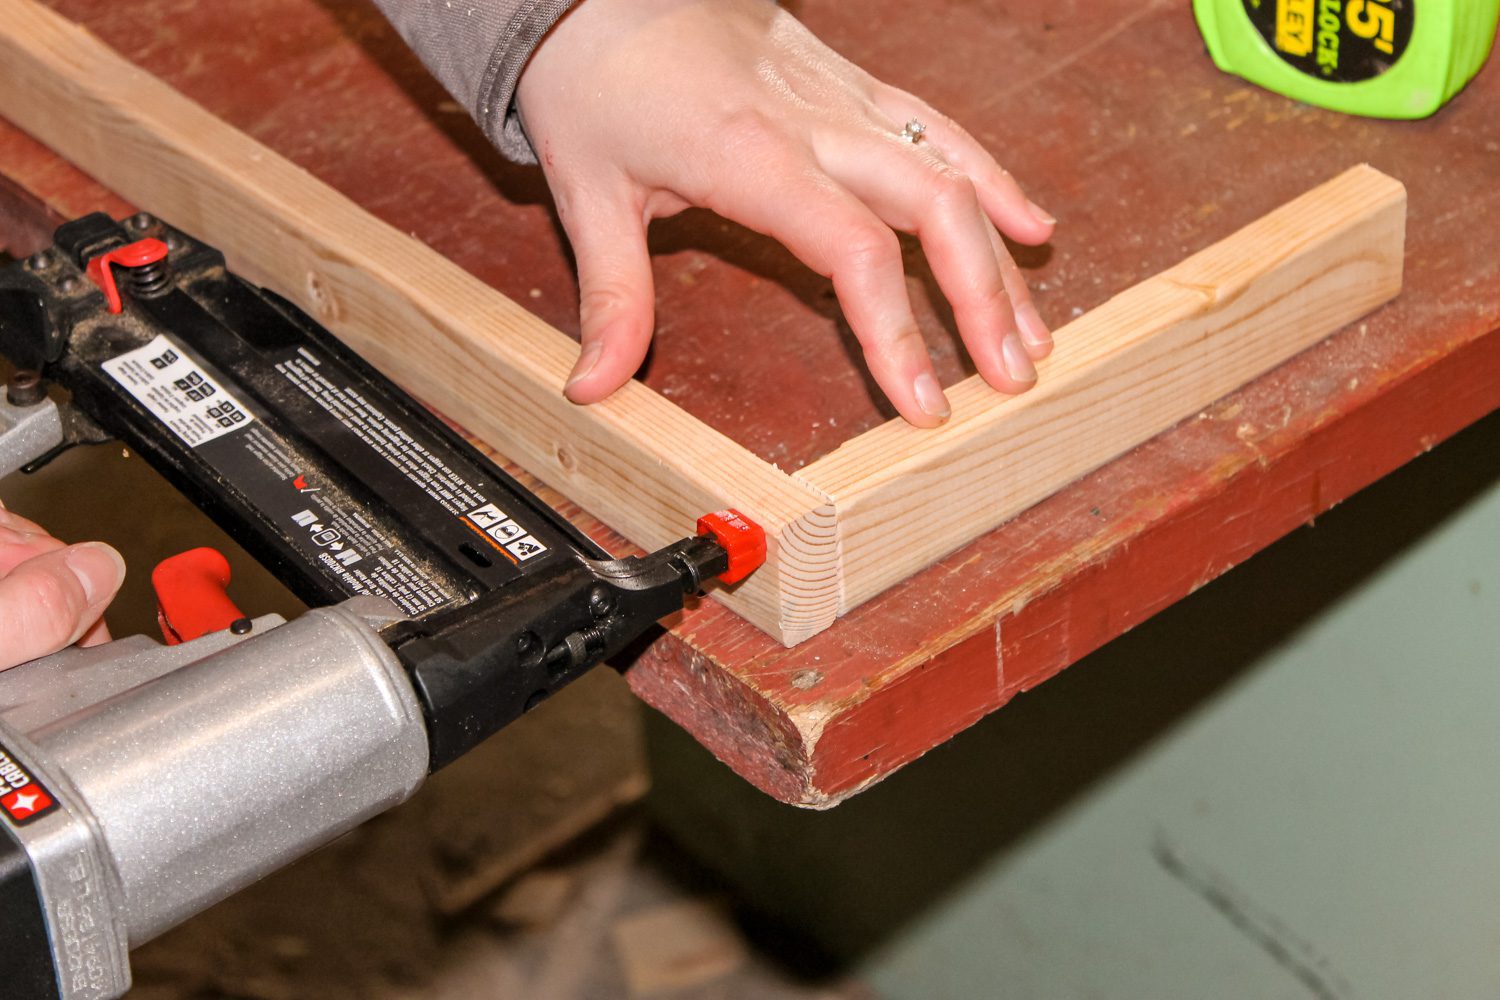
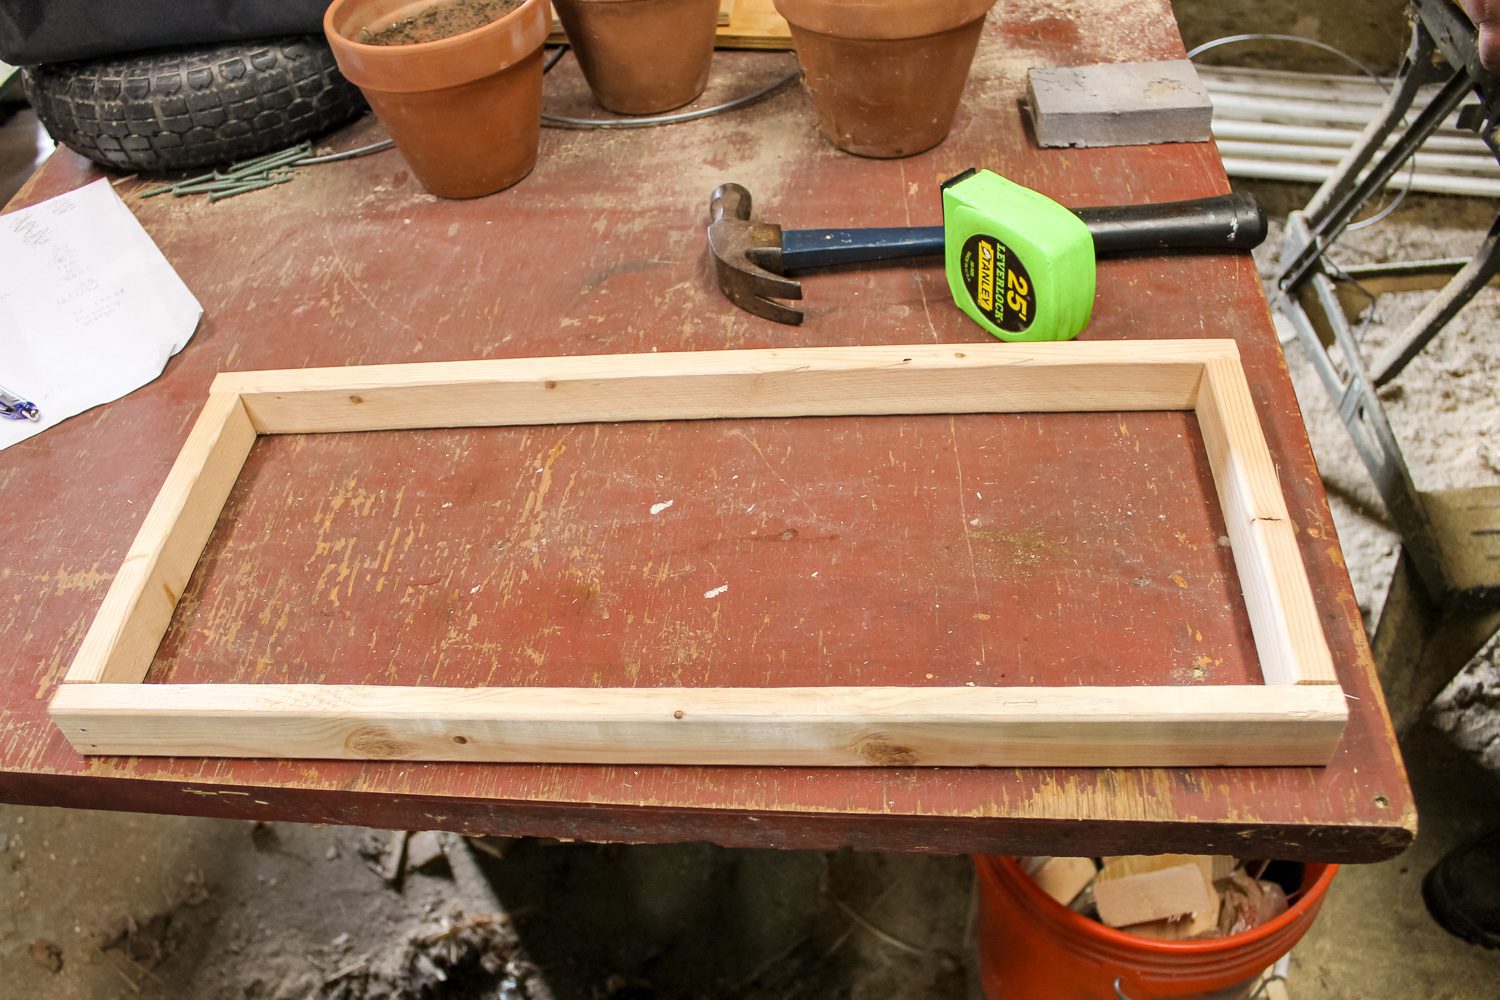
After you’ve cut your furring strips to the appropriate lengths, build the bottom frame first. You will need two 22” pieces, two 8” pieces and 8 nails. Place one 22” board at the bottom of the 8” piece. Secure in place with two nails using either a nail gun or a hammer. Place the second 8” board on the opposite end of the 22” long strip and nail in place with an additional two nails. Attach the remaining 22” board to the top of the 8” pieces to finish creating the bottom frame. Repeat the process for the second and third frames.
Step 3
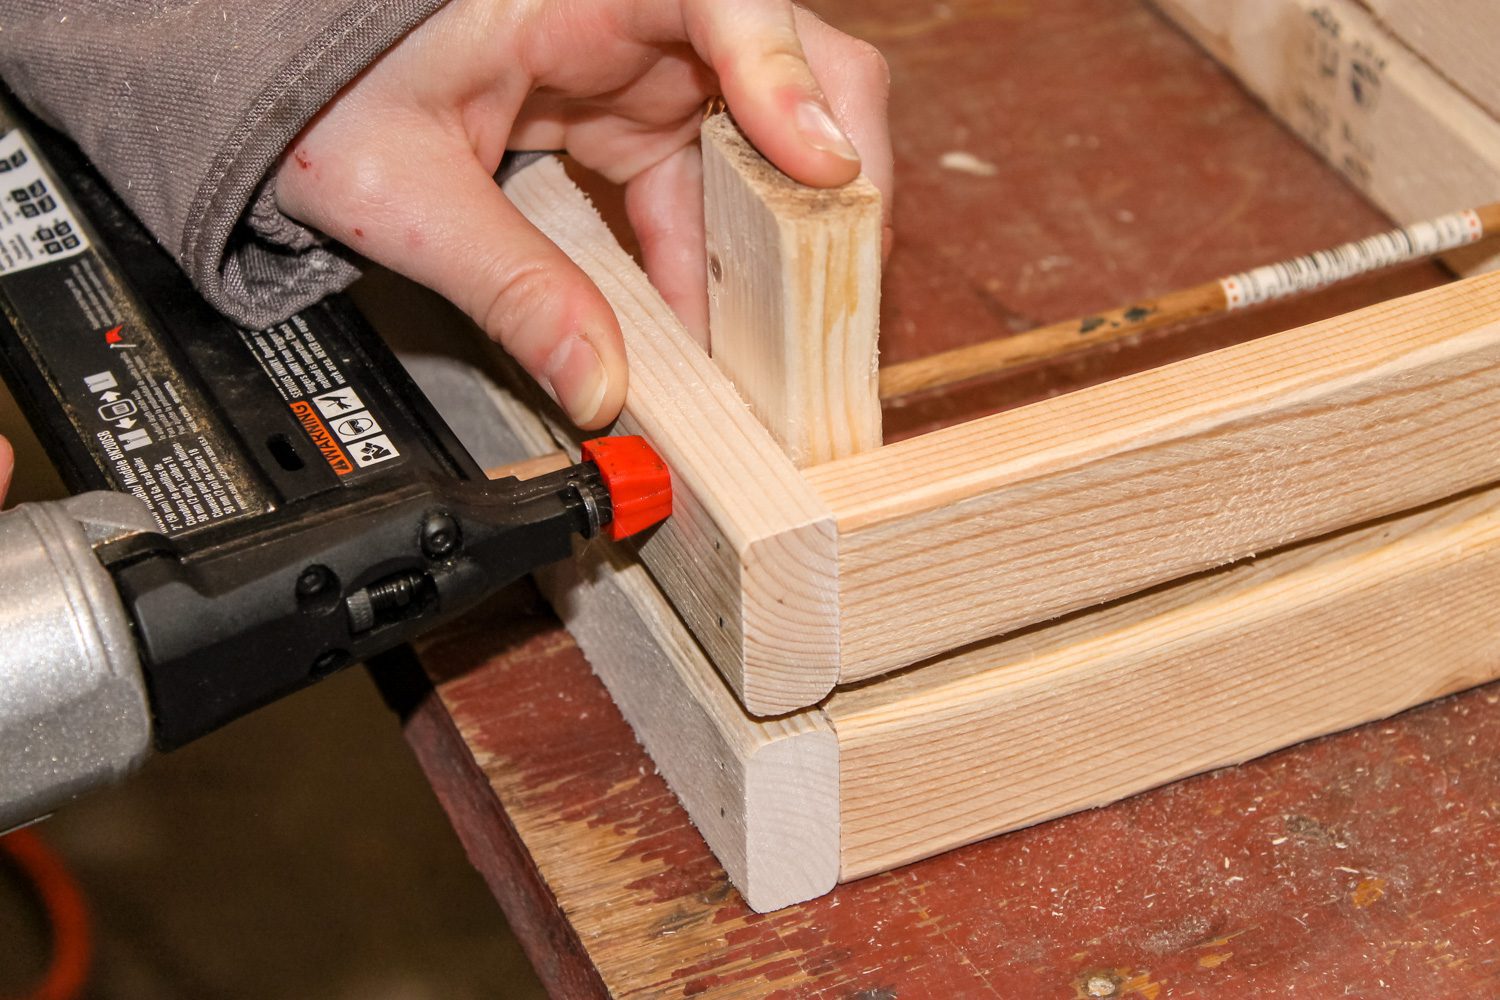
Stack the bottom and middle frames together, allowing a quarter inch gap between each frame. Adding a dowel rod, pencil or even a screwdriver between each frame helps to stabilize the frames while creating a consistent gap. Place one of the 5” pieces in one corner of the planter box. Be sure it is flush against the inside frame on the long side of the planter. Using two nails, secure in place. Repeat with the three remaining corner pieces.
Place the last frame piece on top, making sure there is a quarter inch gap between the second and third frame. Attach the frame to the corner boards with nails.
Step 4
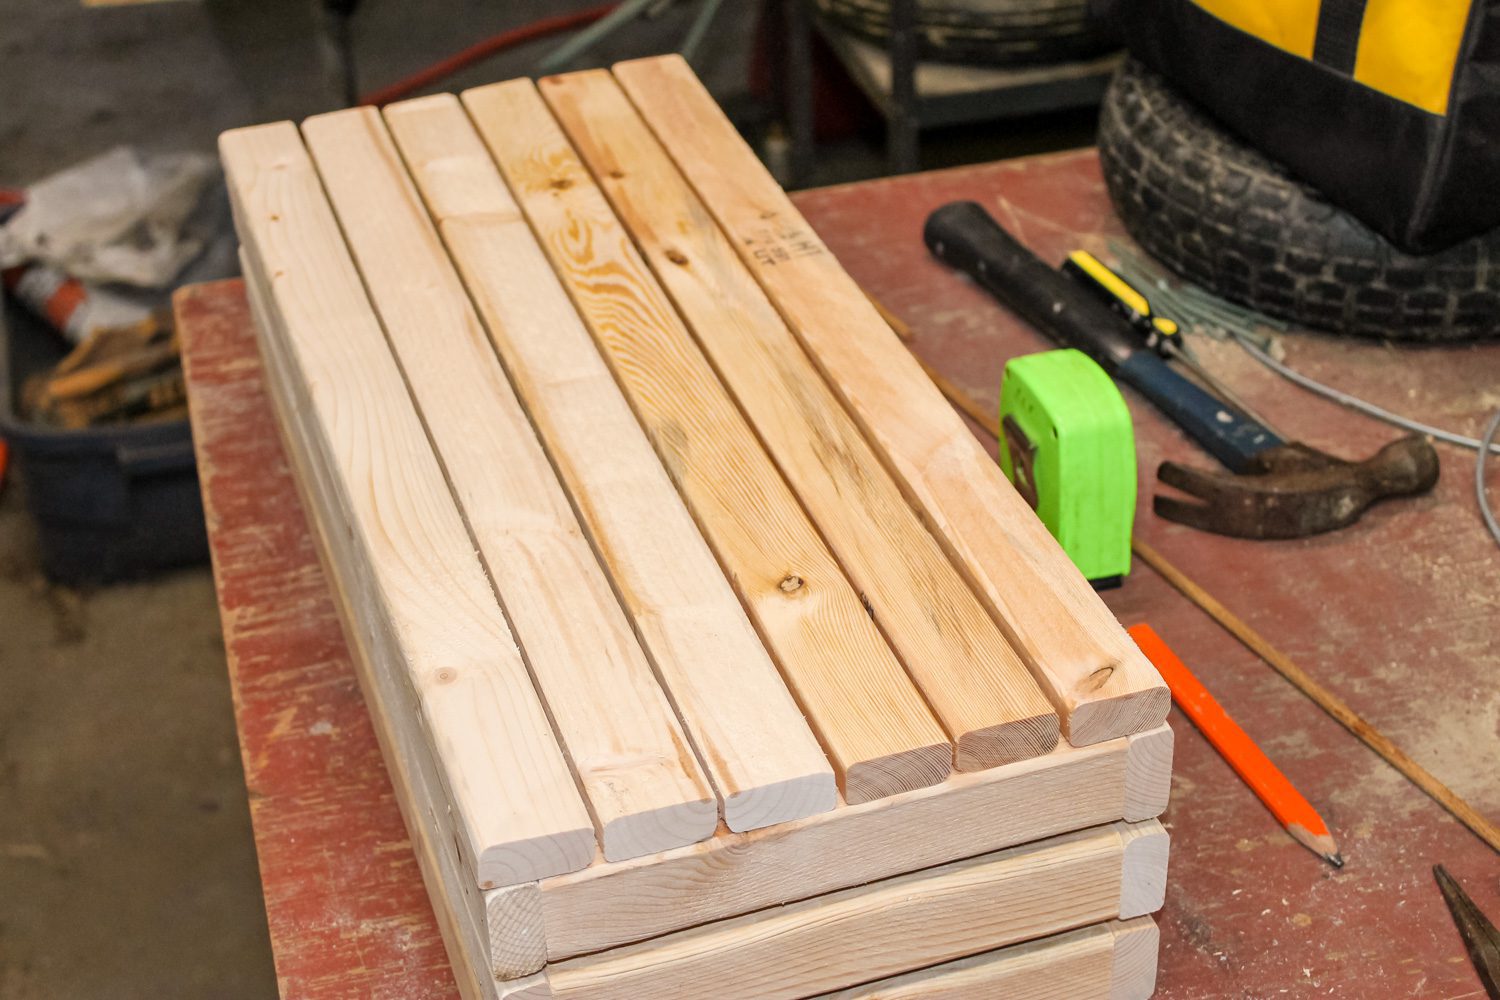
Flip the wood planter box upside. Grab the remaining six 22” boards and space each piece apart to cover the bottom of the box. There should be a slight gap between each board, approximately 1/8” apart. Nail each board into place on both ends.
Step 5
Now that your wooden planter box is complete, you can paint it, stain it or leave it in the raw wood state. I stained mine with red mahogany wood stain from Home Depot.
Plant flowers, herbs or small greenery inside the terracotta pots. I selected some pink, purple and white petunias. Add the pots into the planter box and display wherever you please. Our outdoor planter box is displayed next to our back deck.

Easy DIY Planter Box

Grow vegetables, herbs or plants in this DIY planter box. Simple and easy to build, this wooden planter can be created in less than an hour with just a few supplies. Great for beginners! Get the step by step planter box plans below.
Materials
- 4 1” x 2” x 8” furring strips
- 1.25” nails
- 3 small pots (I used these 6” x 5” terracotta clay planters)
- Paint or stain (optional)
Instructions
Step 1
- To begin building your DIY planter box, start by cutting your furring strips. You will need:
- 12 - 22 inch long pieces
- 6 - 8 inch long pieces
- 4 - 5 inch long corner pieces
Step 2
- After you’ve cut your furring strips to the appropriate lengths, build the bottom frame first. You will need two 22” pieces, two 8” pieces and 8 nails. Place one 22” board at the bottom of the 8” piece. Secure in place with two nails using either a nail gun or a hammer. Place the second 8” board on the opposite end of the 22” long strip and nail in place with an additional two nails. Attach the remaining 22” board to the top of the 8” pieces to finish creating the bottom frame. Repeat the process for the second and third frames.
Step 3
- Stack the bottom and middle frames together, allowing a quarter inch gap between each frame. Adding a dowel rod, pencil or even a screwdriver between each frame helps to stabilize the frames while creating a consistent gap. Place one of the 5” pieces in one corner of the planter box. Be sure it is flush against the inside frame on the long side of the planter. Using two nails, secure in place. Repeat with the three remaining corner pieces.
- Place the last frame piece on top, making sure there is a quarter inch gap between the second and third frame. Attach the frame to the corner boards with nails.
Step 4
- Flip the wood planter box upside. Grab the remaining six 22” boards and space each piece apart to cover the bottom of the box. There should be a slight gap between each board, approximately 1/8” apart. Nail each board into place on both ends.
Step 5
- Now that your wooden planter box is complete, you can paint it, stain it or leave it in the raw wood state. I stained mine with red mahogany wood stain from Home Depot.
- Plant flowers, herbs or small greenery inside the terracotta pots. I selected some pink, purple and white petunias. Add the pots into the planter box and display wherever you please. Our outdoor planter box is displayed next to our back deck.
Gardening Tutorials
Pin for Later


good plan