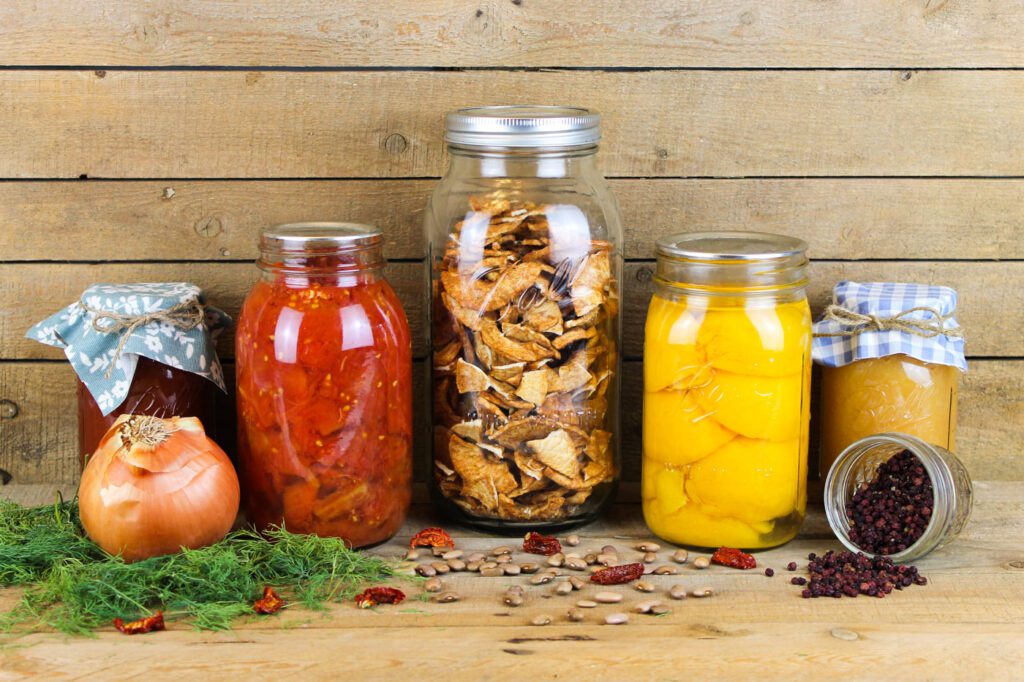
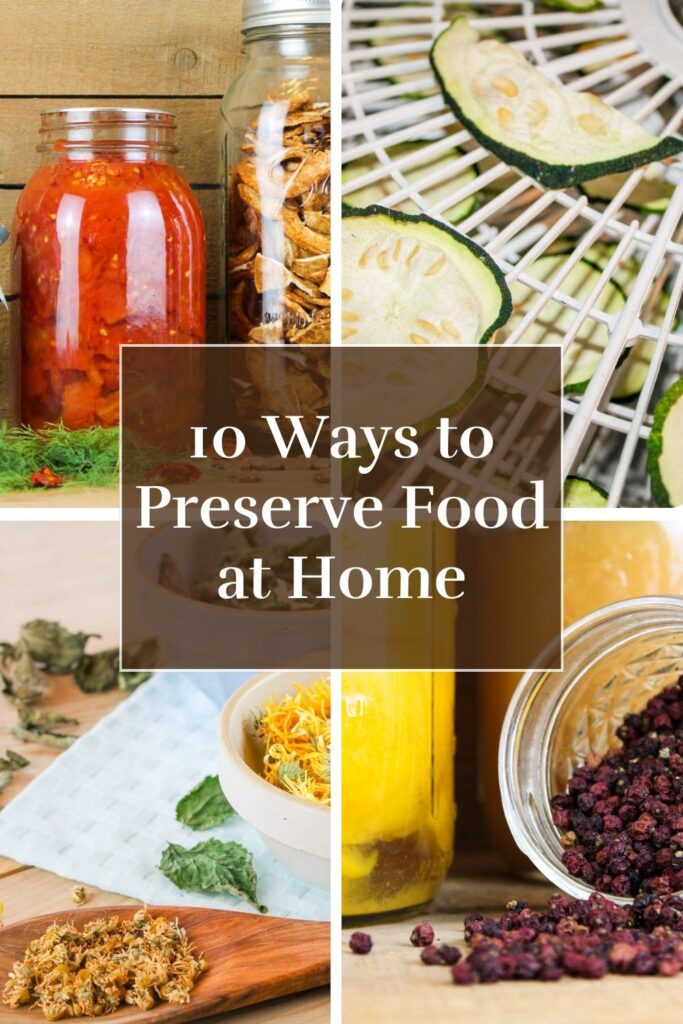
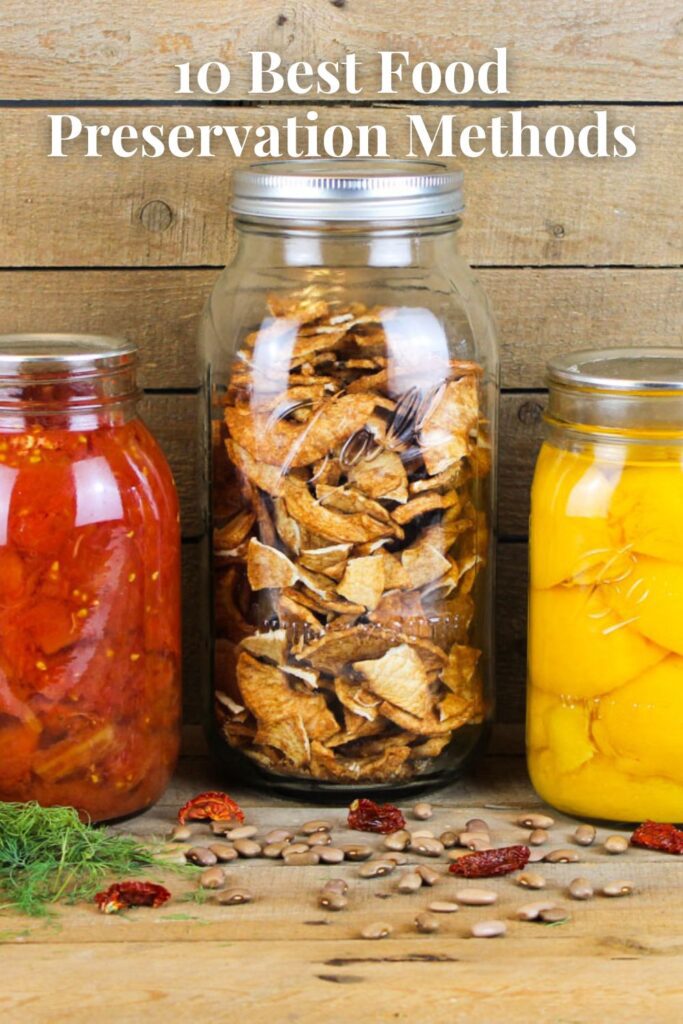
Storing food is an essential part of the homesteading lifestyle. In this article, learn the 10 best ways to preserve food at home whether you’re growing it in your garden or purchasing it from a local farmer. Get tips, tricks, safety recommendations and lots of tried and true resources and tools from a seasoned homesteader.
This post contains affiliate links, which means I make a small commission at no extra cost to you. In any case, I only link to products we actually use on our homestead and that I believe can truly benefit to you. See my full disclosure here.
The need to preserve food is in my blood. But it wasn’t always that way.
Growing up my family often had a backyard garden. Tomatoes, peppers, lettuce, everything common in a small residential yard. We’d enjoy the summer bounty as it came in but once fall hit, and the garden was gone, we were back to buying all of our food from the grocery store.
Once my parents moved out to their farm, my life changed. Big gardens bursting with an abundance of crops called for us to begin preserving the excess to get us through the winter.
Now with my own children and husband, I find myself preserving as much as I can. Throughout the years I have tried various types of preservation methods. Below I have gathered a list of the 10 best ways to preserve food at home including the pros and cons of each process and useful tools and resources. If you are new to food preservation or looking to learn a new skill, I hope this article blesses you and gives you a good foundation to start on.
Why Food Preservation is Important
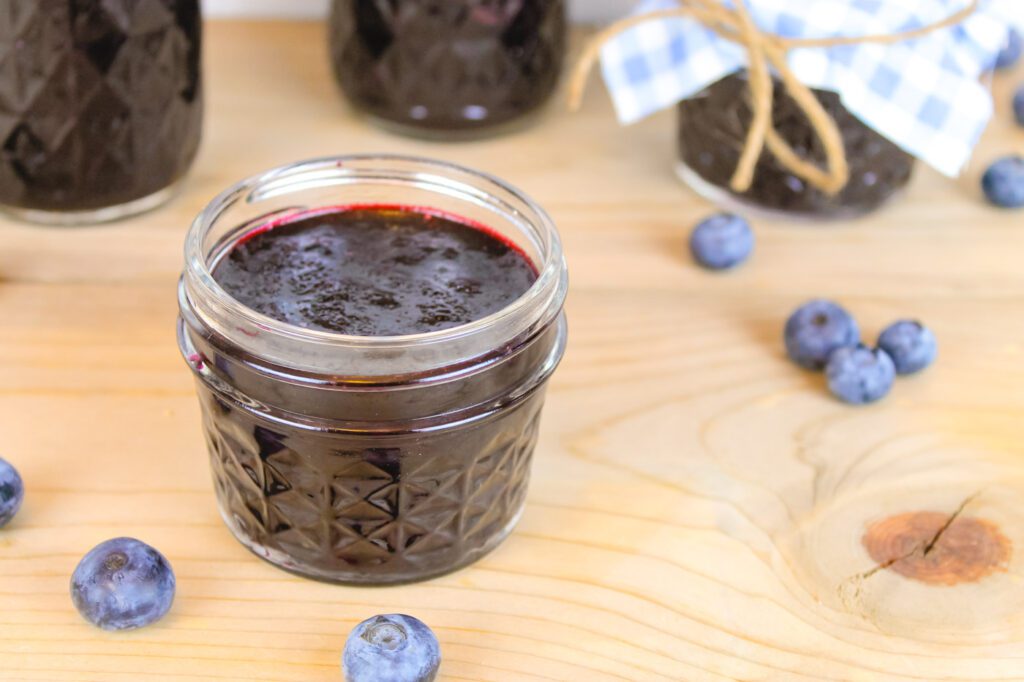
There are countless reasons why one may want to preserve food including extending shelf life and preventing fresh food from spoiling. In regards to living the homesteading lifestyle, preserving the food we grow in our garden, on our property or purchase from a local farmer or CSA, allows us to enjoy a variety of food year around. I certainly enjoy having frozen blueberries on hand during the winter to toss into a delicious blueberry crisp or a smoothie.
Other reasons one my want to consider preserving, whether one is a homesteader or not is:
- Have food available for emergencies such as storms, tornadoes or power outages
- Sudden family sickness
- Financial change
- Saves time, money and trips to the grocery store

10 Best Food Preservation Methods
Centuries of trial and error has provided us with a variety of well tested and safe methods to preserve food. Below are 10 ways to preserve food at home, including everything from freezing drying and pickling to learning how to preserve food in jars while amping up the nutrients.
1. Canning
Home canning is the process of putting food into a jar, such as diced tomatoes from your garden, placing a special type of canning lid on top, then processing the jars using heat. Sealing the jars removes oxygen, creating an airless environment which helps to extend the shelf life of the canned food. Using high temperatures helps to destroy microorganisms and remove enzymes that can cause food to spoil.
One of the benefits of canning at home is that the food is cooked, making it easy to pull a jar off the shelf and serve. There are two types of home canning methods, water bath canning and pressure canning.
Water Bath Canning (Or Steam Canning)
Water bath canning is used to preserve high acidic foods such as fruits, jams, tomatoes and salsas. Jars are lowered into a pot of boiling water and boiled for a set amount of time.
This type of canning method is great for beginners. To get started you simply need some mason jars, lids, metal bands and a large canning pot with a rack at the bottom to keep the jars up and away from the bottom of the pot.
To safely water bath can at home, foods must have a pH level of 4.6 or lower. Just a few of the many safe foods to water bath can include applesauce, salsas, fruit butter, fruit syrups, tomato sauce, peaches and many more.
Pressure Canning
Pressure canning is a type of food preservation that uses a higher temperature than boiling to can foods. This is critical since pressure canning is a process for non-acid foods. Some examples of pressure canned food include bone broth, soups, meats, green beans, carrots and corn.
Not all, but some pressure canners need to be checked every year to ensure they are working properly. Some extension offices offer pressure canner testing. If you have a canner that needs checked (the instruction manual will tell you) call your local extension agent to see if this service is available. The county we live in does not offer this service but a neighboring county does so each year I take our Presto pressure canner to be tested.
My favorite food to pressure can is a roasted tomato soup. I combine tomatoes, onions, garlic, carrots and sometimes a stick of celery and roast it in the oven until the vegetables are soft and slightly charred. I then blend the soup together, use a food mill to remove the seeds, bring the soup to a boil and set the jars in my pressure canner.
Canning Safety Tips
- Sterilize your jars before canning. Also wash the lids and bands.
- Check jars for any cracks or chips. I like to slowly run my finger along the rim of the jar to ensure it is smooth and in tact.
- Warm the jars before filling them. I like to place the jars on a baking sheet lined with a kitchen towel. Then I set them in the oven at 235° F until I am ready to use them. You can also place them in some simmering water. The idea behind warm jars is not to shock the jar, possibly cracking the glass when you fill them with boiling hot food.
- Follow the canning recipe as stated. And make sure you always use a preservation recipe from a trusted source.
- Leave appropriate headspace according to the recipe instructions. Remove any air pockets with the bubble remover tool or a chopstick.
- Wipe rims and tighten the metal bands to fingertip tight.
- If water bath canning, submerge jars into boiling water covered with a couple inches of water. If pressure canning, place jars in canner, seal and follow canning instructions to bring to pressure.
- When canning time is up, I like to let the jars sit in the water bath canner for about 5 minutes to help prevent syphoning but if you prefer, you can remove them immediately. Set jars on countertop to cool for as long as the recipe stats, usually 24 hours.
Tools You May Need
These are my favorite canning tools that I find help my the process smoother.
Canning lids – I like For Jars canning lids the best. Ball, Kerr and Superb canning lids also work well.
Jar funnel, lifter and bubble remover
Water bath canner – both Ball and Granite Ware make good canning pots.
Oven mitts
FAQ
How Long Will Home Canned Food Last?
When stored properly, home canned foods can last 1 to 3 years. As with anything, the longer the food sits, the quality and nutritional value begins to degrade.
Canning Recipes
- Strawberry applesauce
- Pineapple orange jelly (from Naturally Sweet Food in Jars book)
- Apple date butter (from Naturally Sweet Food in Jars book)
- Salsa (from Everything Worth Preserving book)
- Cinnamon pears in apple juice
- Apple BBQ sauce
Resources
Everything Worth Preserving – complete guide full of information regarding food preservation including tutorials for both water bath and pressure canning.
Ball Blue Book – my go-to book for all things water bath canning.
Naturally Sweet Food in Jars – if you like to preserve food without sugar and using only honey, fruit juice or dried fruit, this book is a great guide.
The Homestead Canning Cookbook – she has the best tomato soup recipe for pressure canning.
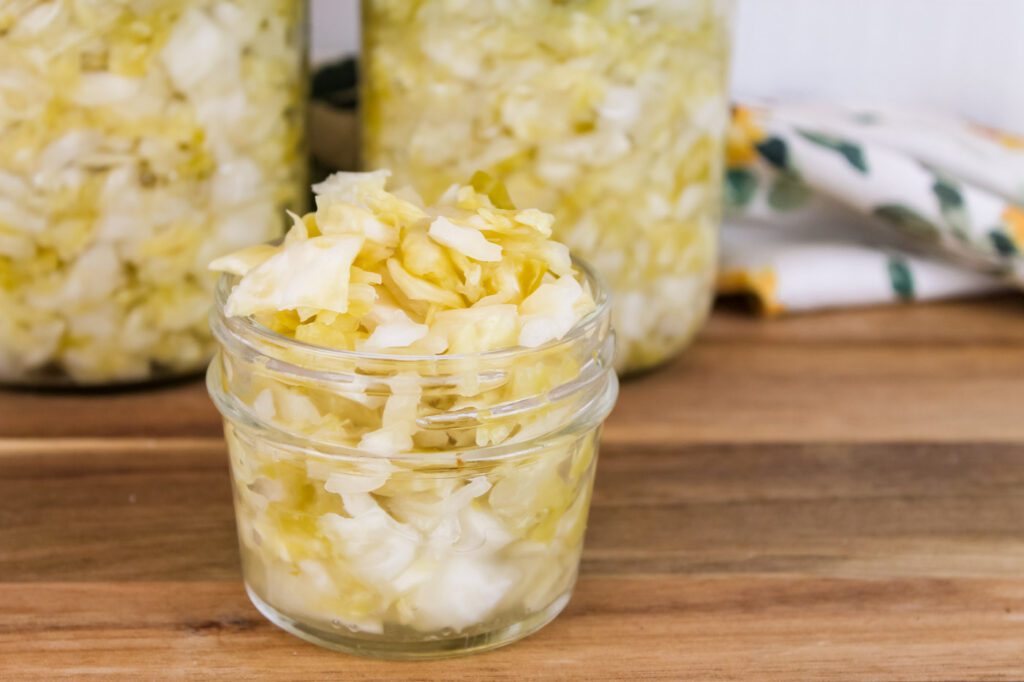
2. Fermentation
Fermenting is my absolute favorite way to preserve food at home. The reason being is due to the tremendous health benefits including creating a probiotic food and causing the number of vitamins and nutrients in the produce to sky rocket! Another bonus is it is a great way to preserve food without electricity.
Fermenting has been around for a very long time, much, much longer than canning. The idea behind fermentation is to use a culture of good bacteria to transform raw ingredients into a super food while also preserving it for a month or over a year. Cultures can be in the form of a scoby, kefir grains, yogurt culture, whey, salt, yeast or brine from a previous ferment — to name a few.
The process of fermenting includes a range of foods ranging from milk kefir and yogurt to sourdough bread and sauerkraut. The time it takes to ferment depends on what you are fermenting and the environment. Sourdough can take a day or more, while a lacto-fermented vegetable may take one to three weeks.
Once the task of fermentation is complete, you must place the jar of fermented food into a cold environment such as a fridge to help slow the process of fermentation, allowing you to store the food for long-term.
Fermenting Tutorials

Tools You May Need
If you plan to start lacto-fermenting, here are some tools that make life so much easier. Technically the process of fermenting can be done without these (besides the salt) but I have found each of these items very helpful and provide much more consistent results each time I ferment.
Canning funnel
Large bowl
Fermenting Recipes
- Kefir sourdough bread
- Fermented Pickles
- Cherry Limeade Whey Soda
- Best Kefir Smoothies
- Sauerkraut
- Fermented Salsa
Resources
When I began to ferment, I started much of my journey by following Lisa from the Farmhouse on Boone and Donna from Cultured Food Life. I highly recommend giving their websites a look. The resources below are sites and books I have found insightful. I find myself looking at their books frequently to learn new things and find answers to many of my questions.
Fermented Vegetables – fantastic book with everything from fermenting basics to some very unusual recipes.
Traditionally Fermented Foods – covers everything from kefir and sourdough to veggies, drinks and cultured condiments.
Cultures for Health – helpful tutorials and free eBooks.
3. Freeze Drying
Freeze drying has become much more popular within the last few years, thanks to the units now being available for home preservation. Harvest Right is one of the most well liked brands by homesteaders.
The process of freeze drying is not the same as dehydrating food. Instead the machine freezes the food and then removes the water and moisture through a method called sublimation.
Common freeze dried foods include strawberries, eggs, supplements such as beef liver, herbs, berries, apples, and yogurt.
Resources
I will be honest, I know very little about freeze drying food. With that being said, I am familiar with two wonderful homesteaders that have a lot of experience and knowledge on freeze dried food.
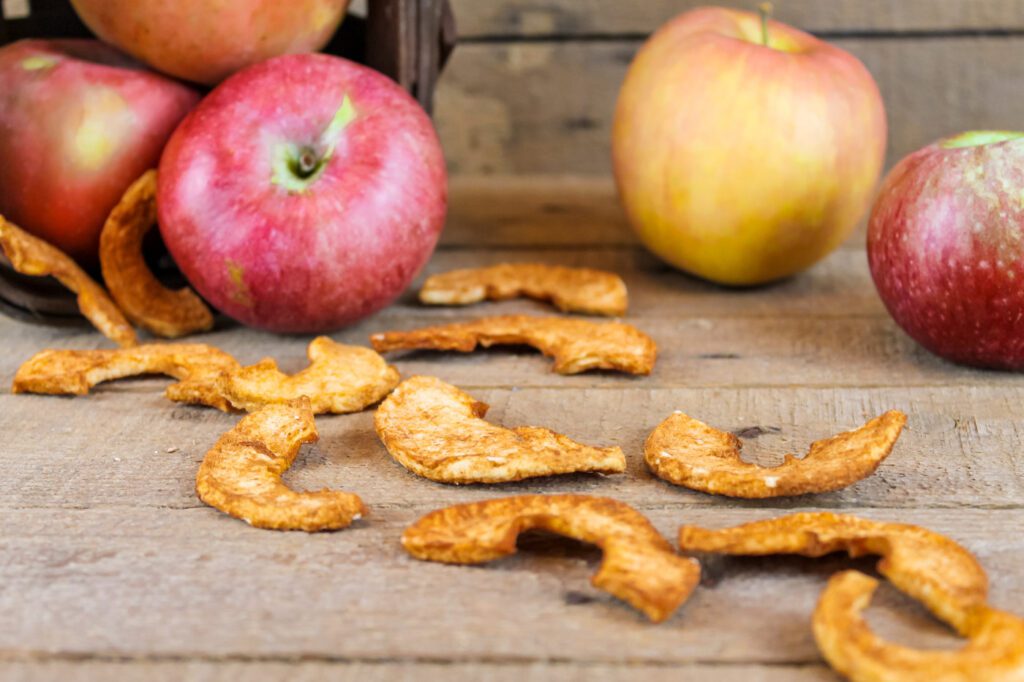
4. Dehydrating or Drying
Drying food is another very old fashioned way to preserve food. While it may be useful for preparedness, such as job loss, power outages, etc., it is also a handy preservation method to have for adventures like camping or hiking.
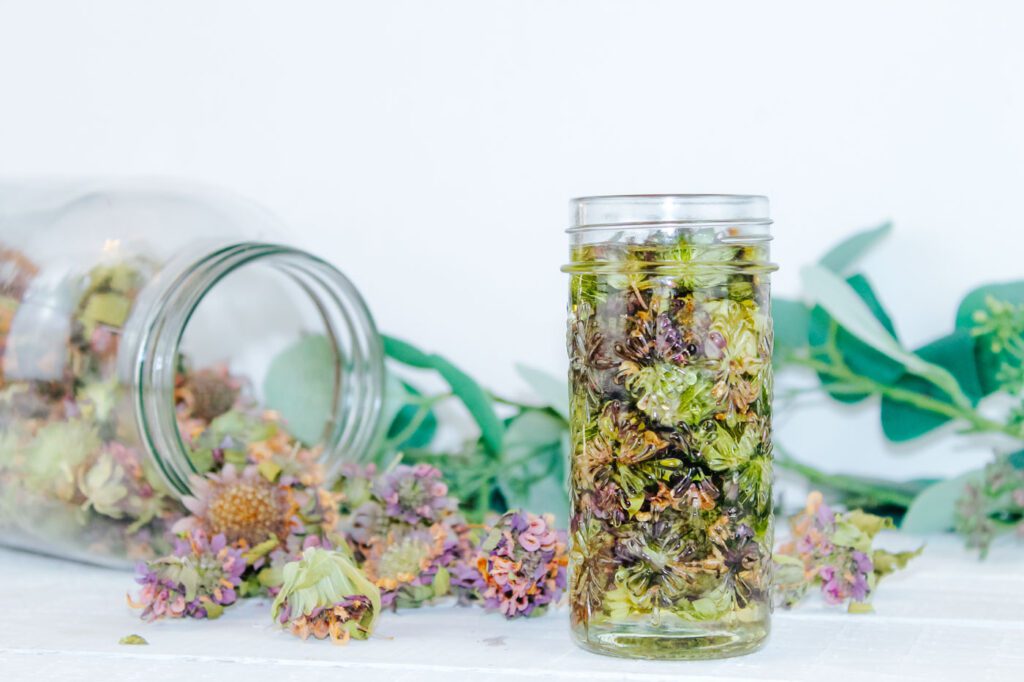
Dehydrated food is shelf stable and can be done using an electric dehydrator, air drying or even the sun. Some foods that are great candidates for drying are fruits, vegetables, some meats, herbs and even fruit leather.
Once the food has been dried, store in a jar or even a vacuum sealed container or bag. Some dried foods can be eaten right away such as dried apples, bananas or jerky. Others need to be rehydrated. To rehydrate the food, soak in water for 1 to 2 hours.
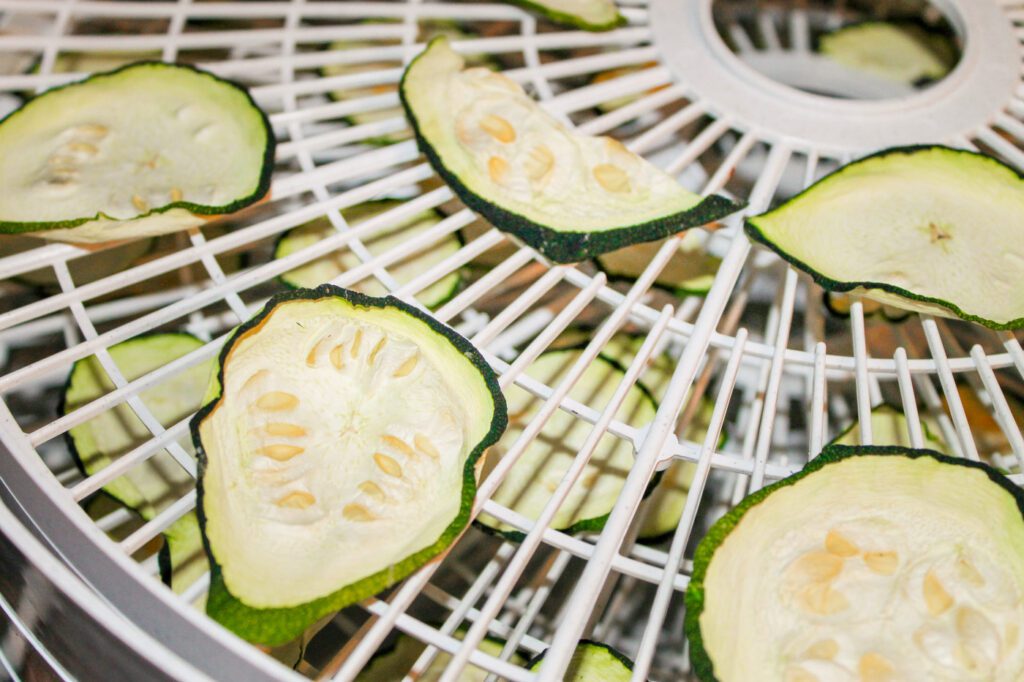
One of my favorite items to dehydrate is zucchini. I dry the slices in my electric dehydrator and store on my pantry shelves. When I am ready to use them, I simply toss them into my favorite vegetable soup to rehydrate. I also love to dry cherry tomatoes. When winter comes and fresh tomatoes are no longer available, I like to stick them on my homemade pizzas. They make a nice sweet snack as well.
Tools You May Need
Nesco Food Dehydrator – Great for beginners and budget friendly. This is the only dehydrator I have.
Excalibur Electric Food Dehydrator – My mom uses this dehydrator. It works wonderfully and is excellent if you plan to dry a lot of food.
Recipes
Resources
The Beginner’s Guide to Dehydrating – the only book I use for recipes and tutorials.
How to Dry Herbs From Your Garden
5. Immersion in Alcohol
Immersing food in alcohol is a fabulous way to not only preserve food but to turn it into something new. Think of the common extracts you use in baking, such as vanilla extract. Take a handful of vanilla beans, immerse them into alcohol and after many months, it will transform into a delicious vanilla bean extract to use in cookie recipes, cakes and much more.
Another way to preserve food without refrigeration is by taking an herb, such as calendula and immersing it in alcohol to create a tincture. This tincture can then be used to bring healing to the body both internally and externally.
I often use vodka to create my tinctures but if you are not keen on using alcohol, both vanilla extract and herbal tinctures can be made using vegetable glycerin.
6. Freezing
Freezer foods are an excellent way to preserve food at home. It is easy, great for beginners and requires practically no tools at all besides a freezer (obviously) and some plastic bags or a freezer safe container.
Foods in the freezer, when properly packaged can last many months and sometimes even years. We have several deep freezers on our homestead for our beef, chicken, fruits and vegetables. We even store jugs of raw milk in the freezer to save time traveling back and forth to our local farmer every week.
Blanching is recommended for many types of veggies before placing them in the freezer. This helps to stop enzyme activity and provide a better long term product. I will admit, I don’t blanch often. My process is usually picking the fruits or vegetables, washing, cutting or leaving them whole and then freezing them. For fresh fruits, I like to flash freeze on a baking sheet. For things like green beans, I will store in a freezer bag or use my vacuum sealer. Preserving food in vacuumed sealed bags, especially in small portions sure helps to prevent freezer burn.
The cons to freezing, besides taking extra time to blanch the food, is that freezing takes more space — think large deep freezer and if you have a power outage for an extended period of time, you can lose a lot of precious food unless you have a generator.
Tools You May Like
Freezer safe storage containers – I use these for more than just food preserving. Soups and homemade ice cream freeze well in these reusable containers.
Recipes
- Blueberry freezer jam
- Freezer salsa
- Freezer pizza sauce using fresh tomatoes
- Spaghetti sauce with fresh tomatoes
How Long Does Food Last in the Freezer?
Foods frozen in a deep freezer technically can last for many years, however as the product ages, the quality and nutrition may decline. Ideally, it is best to consume frozen foods within a year.
Resources
Seriously good freezer meals – this book has awesome recipes as well as practical advice and tips for freezing food.
Freeze Fresh – a valuable guide to have.
7. Preserving With Salt or Sugar
Another ancient form of preservation is using salt or sugar. High concentrations of salt helps to prevent bacteria growth and mold. Nowadays people do not often use salt and sugar to preserve food as these elements can greatly change the flavor and sometimes the texture of the finished product.
If you are interested in learning more about the history of using salt for preservation and curing, check out the YouTube channel for Townsends.
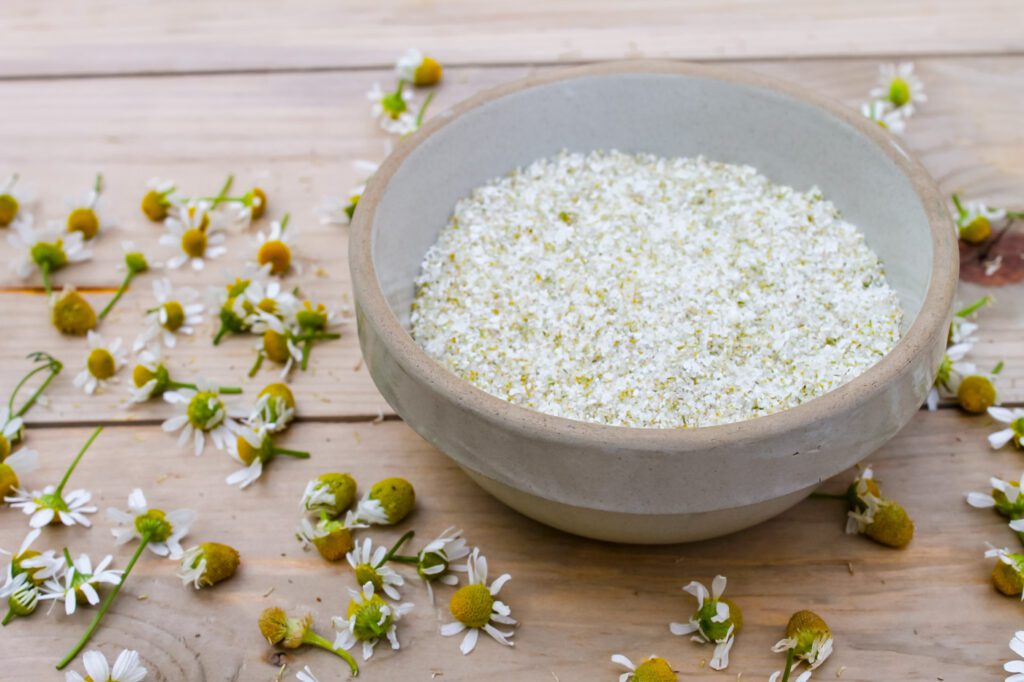
While I have very little knowledge of salting and sugaring, I have used salt to preserve fresh herbs. Mixing coarse pink salt or epsom salts with herbs like chamomile, mint, lavender, sage and rosemary create a lovely soaking salt for bath time. You can find my recipe for chamomile bath salt here.
8. Pickling
A super simple and usually quick way to preserve food from your garden, such as cucumbers is called pickling. An acidic liquid is used, such as vinegar or a salt water brine to extend the shelf life of the food. The process gives the vegetables or fruit a sour flavor.
Tips for Pickling
- Always use fresh, unblemished produce.
- Real salt, such as sea salt without anti-caking agents is best.
- Do not alter the acidity levels in the recipe as this is crucial to preserving properly.
- White vinegar and apple cider vinegar are good choices for pickling.
- If you are going to pickle cucumbers, be sure to remove the blossom end of the cucumber since it contains an enzyme that can soften the pickles.
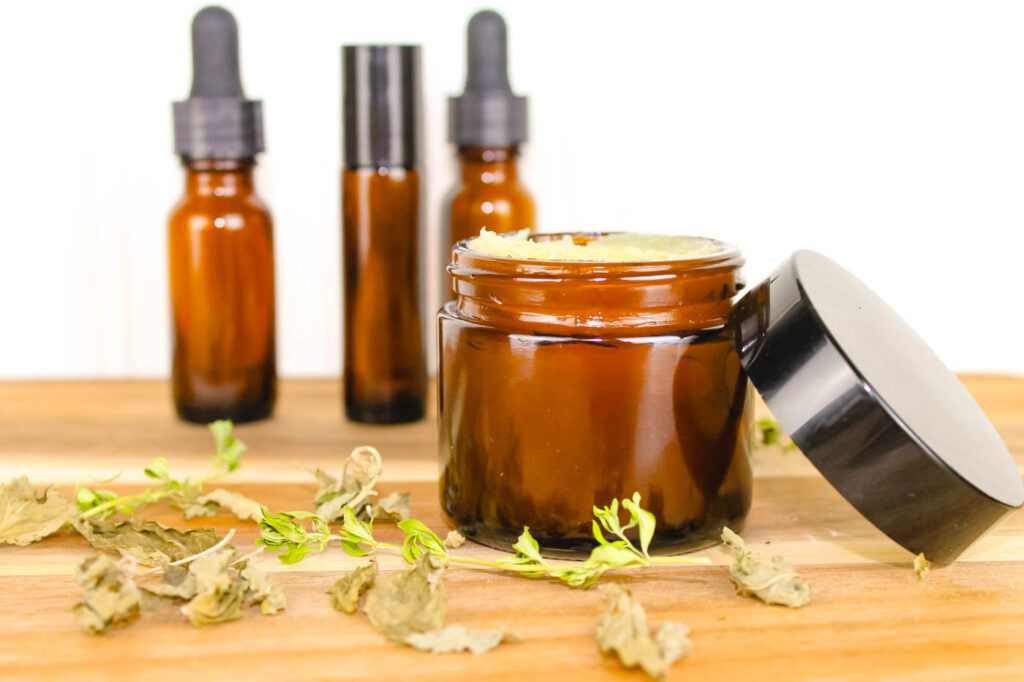
9. Immersion in Oil
Food preservation through immersion in oil at home is not a common method in America. While this may be a traditional process in the Mediterranean and parts of Europe, here in the states, many homesteaders use other preservations methods to extend the life of their hard earned food.
With this being said, I have often immersed our homegrown herbs into some type of oil. That being sunflower oil, olive oil or occasionally grapeseed oil. As the herbs infuse, their beneficial properties are released into the oil and can be added into skincare products to treat sore muscles, bug bites, rashes and more.
You can learn how to make an herbal infusion by reading this tutorial.
10. Root Cellar or Cold Room Storage
Food storage in a root cellar is the easiest and cheapest way to preserve food. It requires very little work besides making sure the area is consistently cool and the stored food has been cured before placing the items on the shelf.
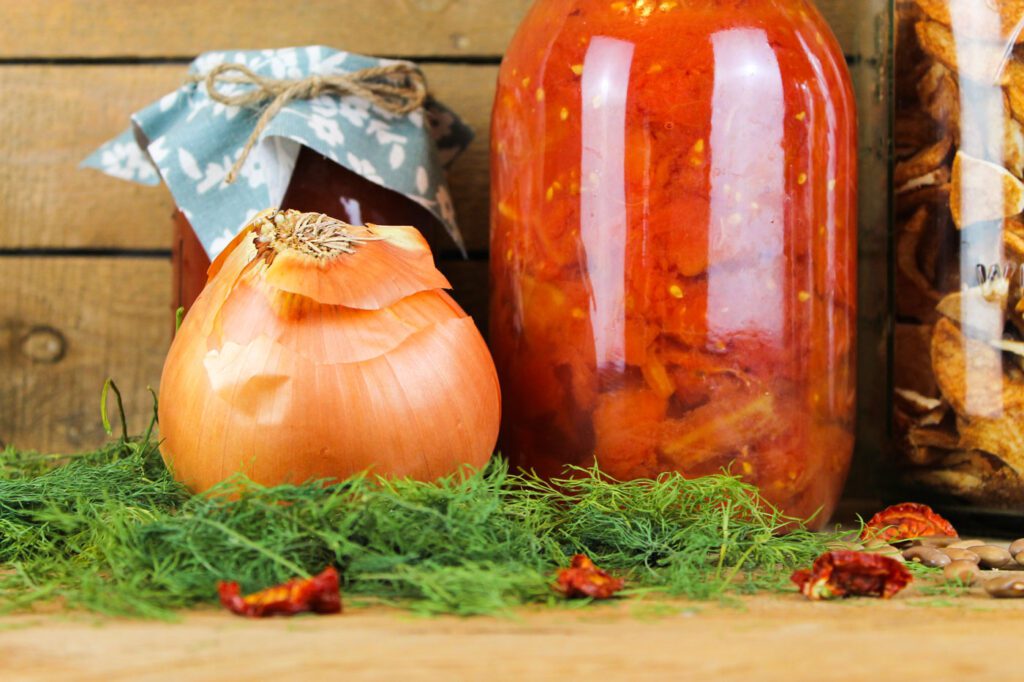
We do not have a root cellar but we have a unheated basement that is dry. We like to store our onions, garlic, potatoes and squash in the basement. Most of them last through the entire winter without any maintenance. They simply sit on a shelving unit or in a basket waiting to be used in a recipe.
Other great types of root vegetables that store well in a cold room or root cellar are beets, carrots and parsnips. Cabbages, pumpkins and butternut squash can also be overwintered in a cool storage unit.
Tips for Storing Vegetables Without a Root Cellar
- Make sure the vegetable has been cured properly before storing. For example, onions and garlic need to be left out in a dry, warm place to help the skin harden and excess moisture evaporate. This can take a week, up to four weeks.
- Store crops above freezing but below 60° F.
- Produce needs to be stored with proper ventilation to prevent molding decay.
- Baskets, slatted shelving and mesh bags are excellent storage containers. Food such as onions and garlic can be braided and hung for storing. Here is a a great tutorial on how to braid garlic.
Additional Food Preservation Resources
For preservation questions, the specifics about the science behind food preserving methods and some great recipes, here are several valuable resources:
The National Center for Home Food Preservation
Local Extension Office (Call the one in your county or a neighboring county)
State University in Your Area (Ohio State University is the one we contact)


