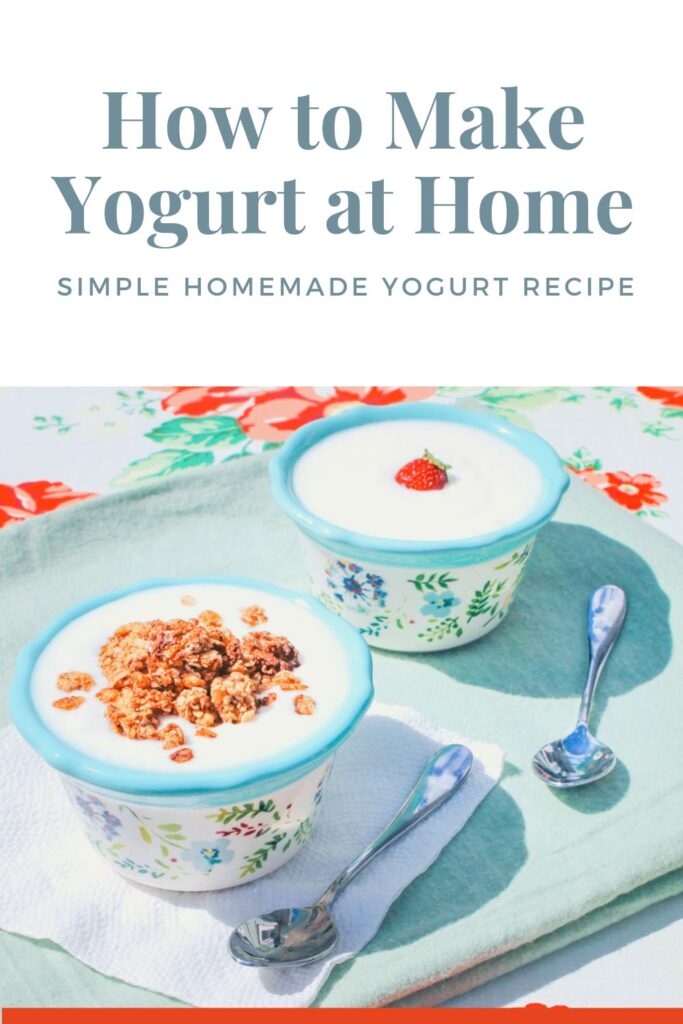
Enjoy creamy, thick, nutrient-rich yogurt at home with this simple recipe to make homemade yogurt — no special tools or skills required!
This post contains affiliate links, which means I make a small commission at no extra cost to you. In any case, I only link to products we actually use on our homestead and that I believe can truly benefit to you. See my full disclosure here.
How Can I Make Yogurt at Home?
Easy. Delicious. Gut healing. These are the words I would use to describe making homemade yogurt.
The amount of hands-on time it takes to make yogurt is practically nothing. It has a smoother, creamier taste without the sour twang that store bought yogurt usually has. And don’t even get me started on the benefits that homemade fermented foods can have on your gut.
My husband has always been a lover of dairy. Cheese. Milk. Ice cream. Yogurt. I’d often go to the grocery store and grab a variety of dairy products for him. Vanilla yogurt being his favorite treat. But when I started learning about some of the junk they put into commercial yogurt, I wasn’t so keen on purchasing it anymore.
I knew you could make yogurt at home but where should I start? There seemed to be countless ways to make homemade yogurt, including in an instant pot. It wasn’t until I purchased The Prairie Homestead cookbook that I learned how quick and simple making yogurt really is.
You didn’t need special tools or supplies to make yogurt.
All you need is some milk (preferably local if you have access), yogurt starter culture and a warm place to begin the fermentation process.
I must admit the first time I made yogurt, I was a little nervous. Leaving dairy out on the counter for hours is so very much against what we’ve been taught. Dairy must be refrigerated! But as I learned more, in order for yogurt to be created, you needed to leave the dairy in a warm environment for all of that beneficial gut loving bacteria to grow.
5 Benefits of Homemade Yogurt
- Great source of probiotics to help your digestive system
- High in protein
- No sugar, fillers or additives
- Inexpensive to make
- Rich in the nutrients your body needs
What is a Yogurt Starter?
To create yogurt at home, you need a starter culture which is a blend of different bacteria that consume the lactose in a dairy product, transforming the milk into creamy, tangy yogurt. Yogurt starter can come in the form of a freeze-dried yogurt culture or you can use a high quality yogurt with live cultures such as Fage Total 5% Milk Fat Yogurt.
What is the Best Milk for Making Yogurt?
When making pasteurized yogurt at home, pasteurized cows milk works best to create a thick, tangy yogurt. Milk with any fat content will work, although I prefer to use whole milk to create yogurt in our home. This is primarily due to the health benefits and the ability for whole milk to make a thicker yogurt than when using a reduced-fat milk. 100% lactose-free milk and ultra-pasteurized milk are not suitable for culturing since both types have a insufficient amount of food to keep the bacteria happy.
The yogurt recipe below is not intended for non-dairy yogurt. Check out these non-dairy yogurt recipes if you’d prefer to use coconut milk or nut milk.
If you’d prefer to make yogurt using raw milk, you can visit this tutorial on how to make raw milk yogurt.
Yogurt Making Tips
- When incubating the yogurt, the temperature should stay around 110° F. This helps grow the good bacteria to create the yogurt.
- Always make sure your jars are clean. Sterilizing them in the dishwasher is best before you start.
- Always culture your yogurt in a warm spot. Some examples include an oven with the light turned on, a food dehydrator, an Instant Pot or even a small cooler filled with warm water.
- You can use this yogurt as a great base for homemade frozen yogurt, popsicles or smoothies.
Yogurt Making Supplies
To make yogurt at home, you will need a milk, a starter culture and a stainless steel pot. Here are a few additional tools you may consider when making homemade yogurt.
Large glass bowl
Quart size glass jars and lids
Spatula
Yogurt maker / Instant Pot / warm spot in your home to culture your yogurt such as your oven
How to Make Yogurt at Home
It’s easy to make homemade yogurt! Follow these straightforward steps to transform a glass of milk into a delicious probiotic food for breakfast, lunch or even a healthy snack.
Ingredients
8 cups whole milk
1/2 cup of plain yogurt with live, active cultures (such as Fage Total)

To begin, start by filling a stockpot with whole milk. Gently, simmer the milk over medium low heat until the milk reaches 180° F.
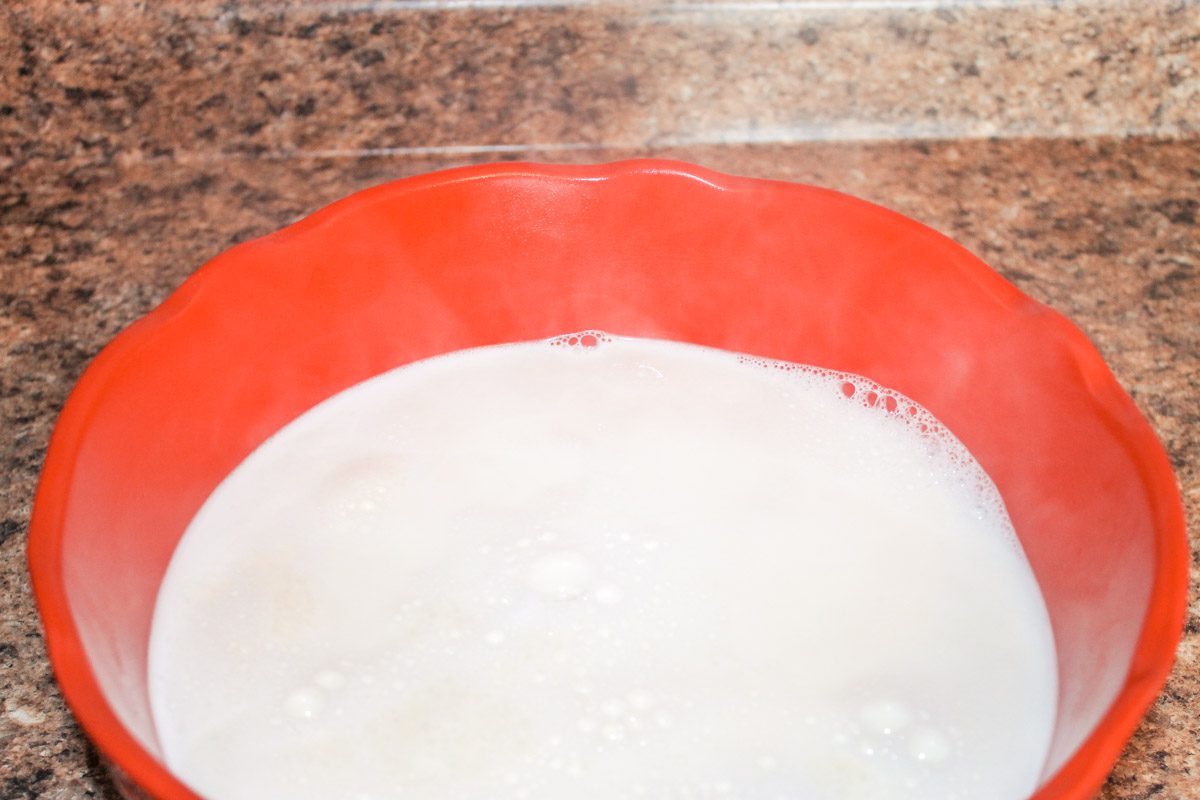
Pour the warmed milk into a large glass bowl. Cool the milk to 110° F. To speed up the cooling time, you can stick the bowl in the fridge, testing the temperature every 15 minutes or so.
While the milk is cooling, turn the light on in your oven to begin creating a warm environment for your yogurt to incubate in.
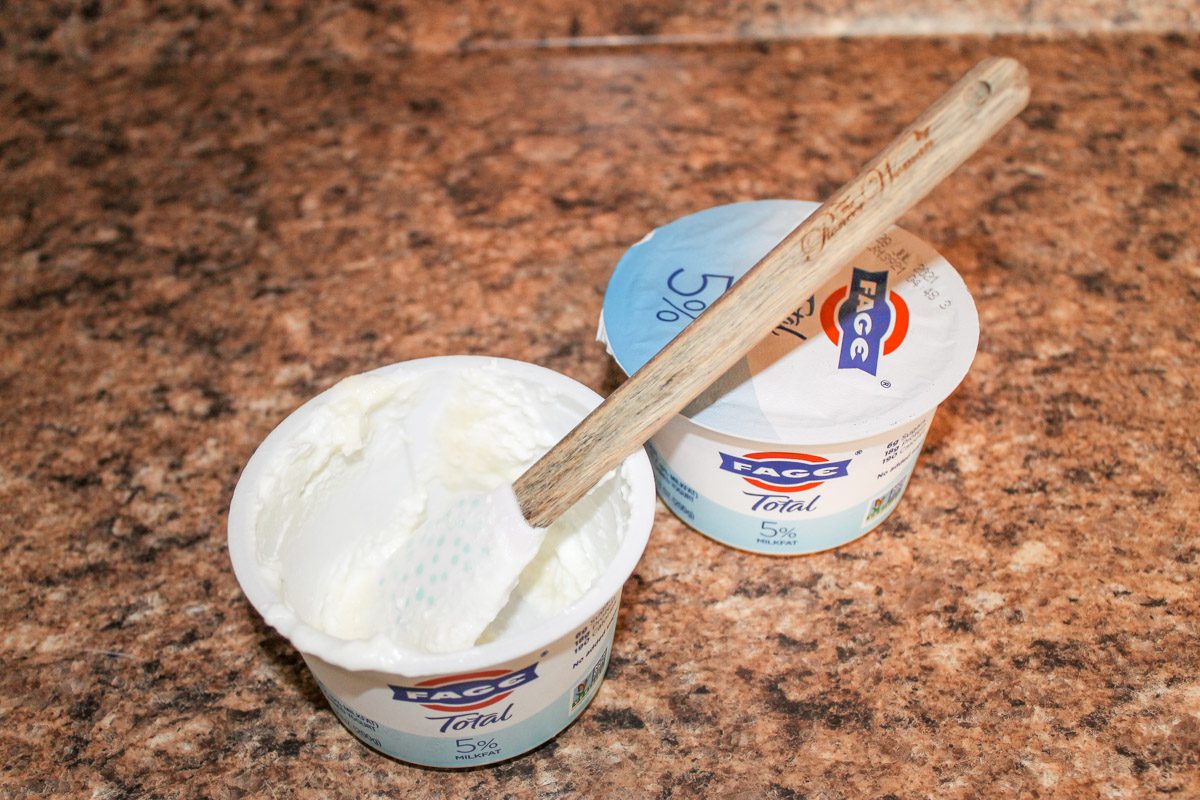
Once the milk has cooled, add 1/2 cup of yogurt to the bowl. Stir gently to combine the milk and yogurt. Cover the bowl tightly with plastic wrap. Place the bowl in your oven. Do not turn the oven on.
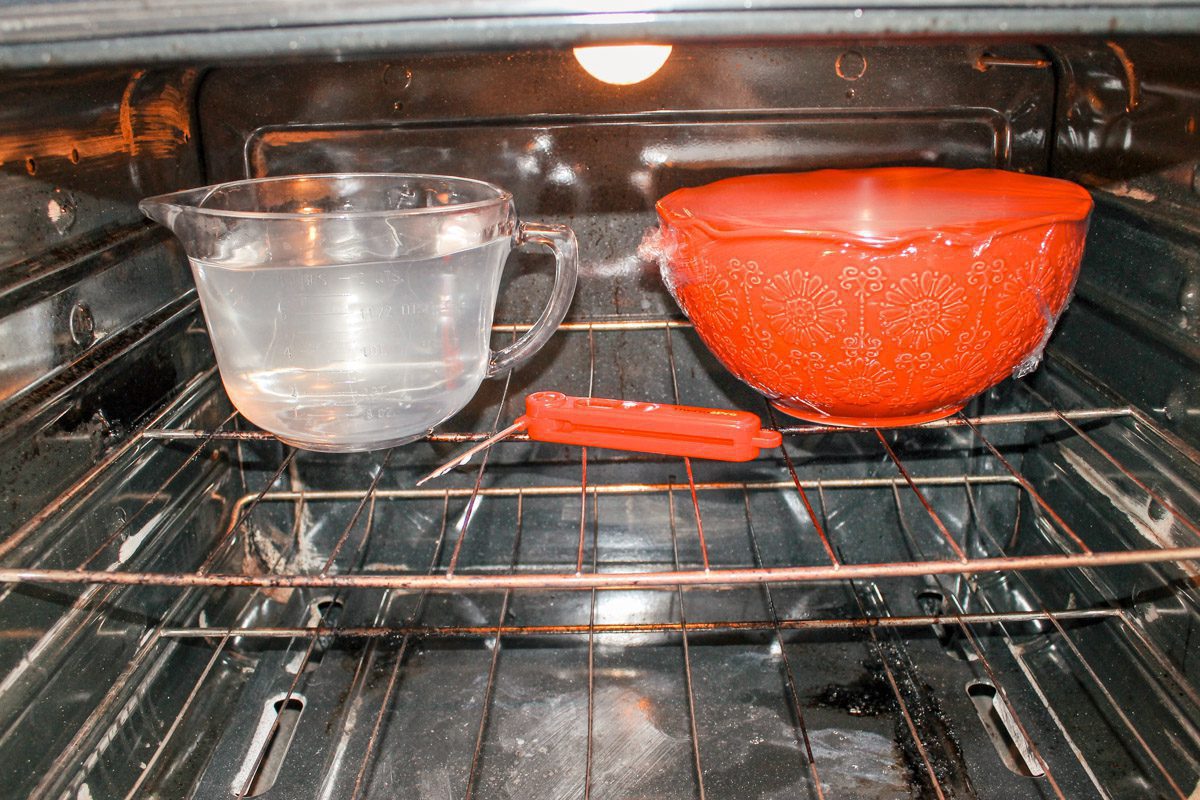
Fill a large measuring cup with hot water (120° F) and position next to your bowl of yogurt inside the oven with the door closed. Allow to yogurt to incubate for 5-7 hours.

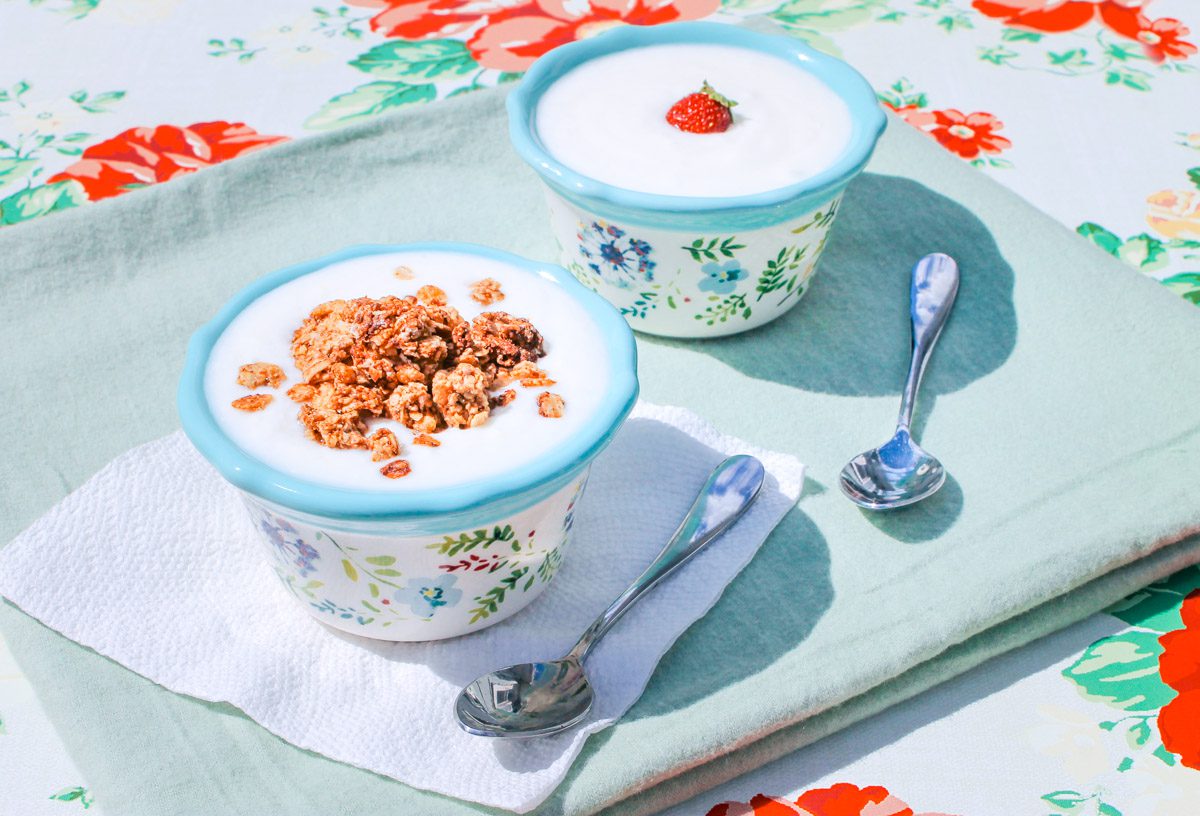
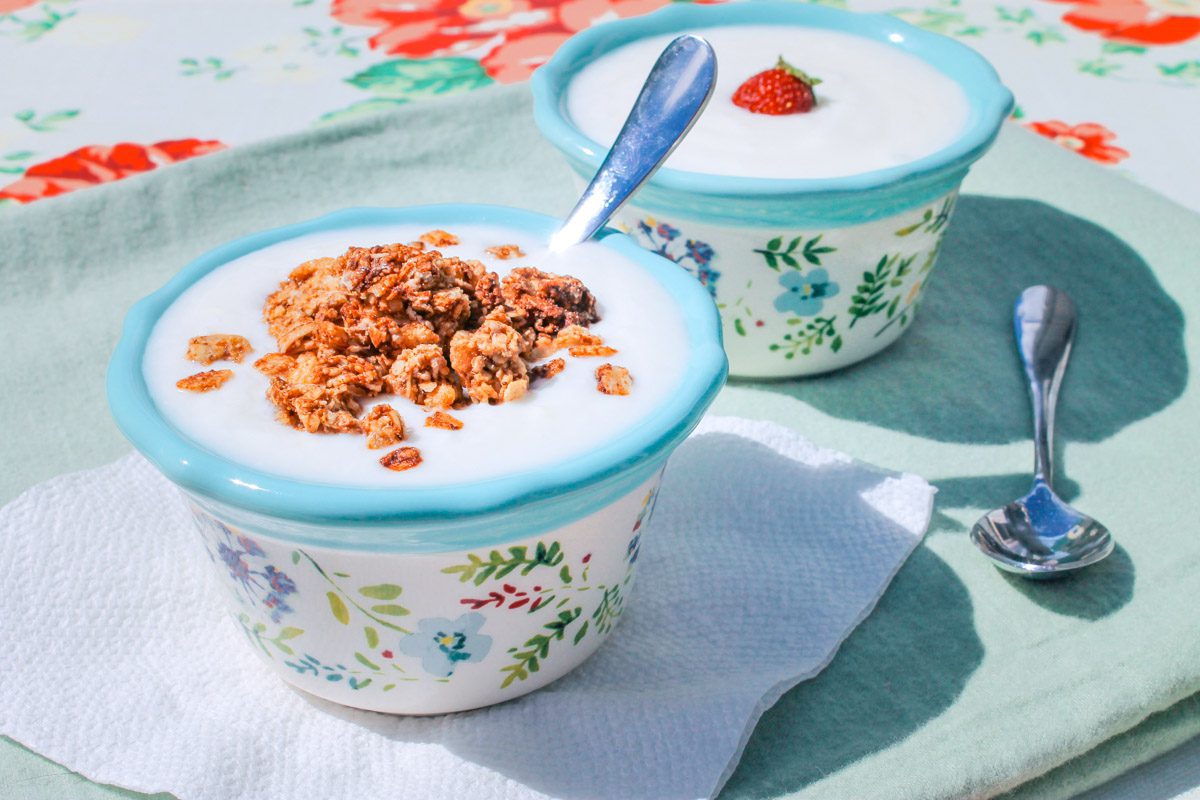
Chill the yogurt in your fridge for 18-24 hours before serving. The yogurt should last for 2 weeks. Serve your yogurt with your favorite toppings.
FAQ
How Long Does Homemade Yogurt Last?
When refrigerated homemade yogurt typically last for 2 weeks but we have consumed it at 4 weeks and it still tastes delicious. As the yogurt ages you may see the whey separate and sit on top of the yogurt. This is normal and harmless. You can eat the whey if you’d like or simply strain it off.
What Can I Add to Yogurt to Flavor It?
To flavor your yogurt, you can add sweeteners such as agave or honey. You can add vanilla extract, granola, nuts, fresh fruit, fruit syrup or jam.
More Cultured Dairy Recipes
How to Make Homemade Yogurt

Enjoy creamy, thick, nutrient-rich yogurt at home with this simple recipe to make homemade yogurt — no special tools or skills required!
Ingredients
- 8 cups whole milk
- 1/2 cup of plain yogurt with live, active cultures
Instructions
- To begin, start by filling a stockpot with whole milk. Gently, simmer the milk over medium low heat until the milk reaches 180° F.
- Pour the warmed milk into a large glass bowl. Cool the milk to 110° F. To speed up the cooling time, you can stick the bowl in the fridge, testing the temperature every 15 minutes or so.
- While the milk is cooling, turn the light on in your oven to begin creating a warm environment for your yogurt to incubate in.
- Once the milk has cooled, add 1/2 cup of yogurt to the bowl. Stir gently to combine the milk and yogurt. Cover the bowl tightly with plastic wrap. Place the bowl in your oven. Do not turn the oven on.
- Fill a large measuring cup with hot water (120° F) and position next to your bowl of yogurt inside the oven with the door closed. Allow to yogurt to incubate for 5-7 hours.
- Chill the yogurt in your fridge for 18-24 hours before serving. The yogurt should last for 2 weeks. Serve yogurt with your favorite toppings.


