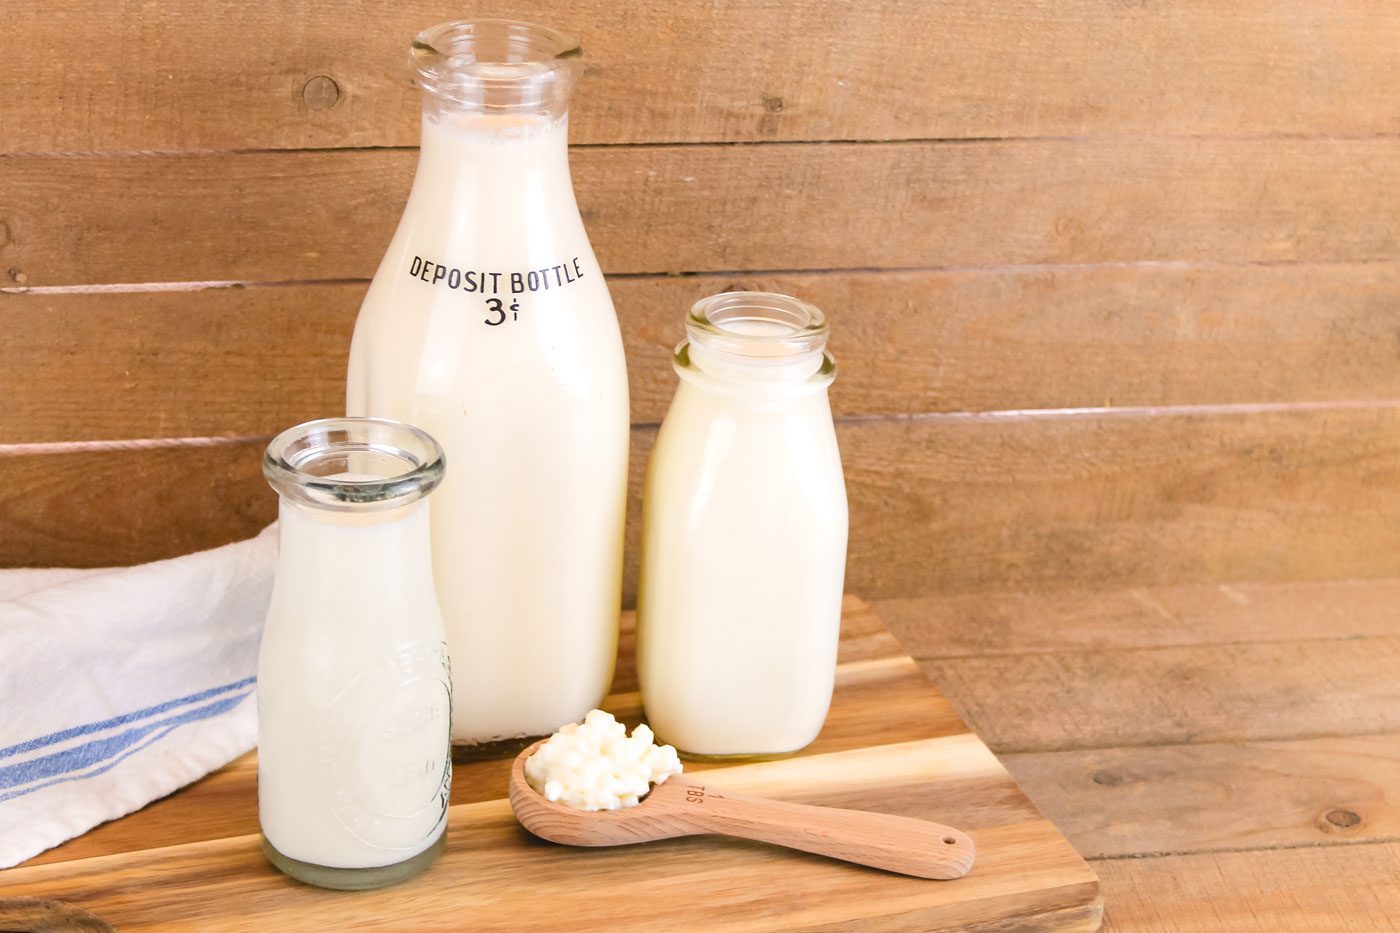
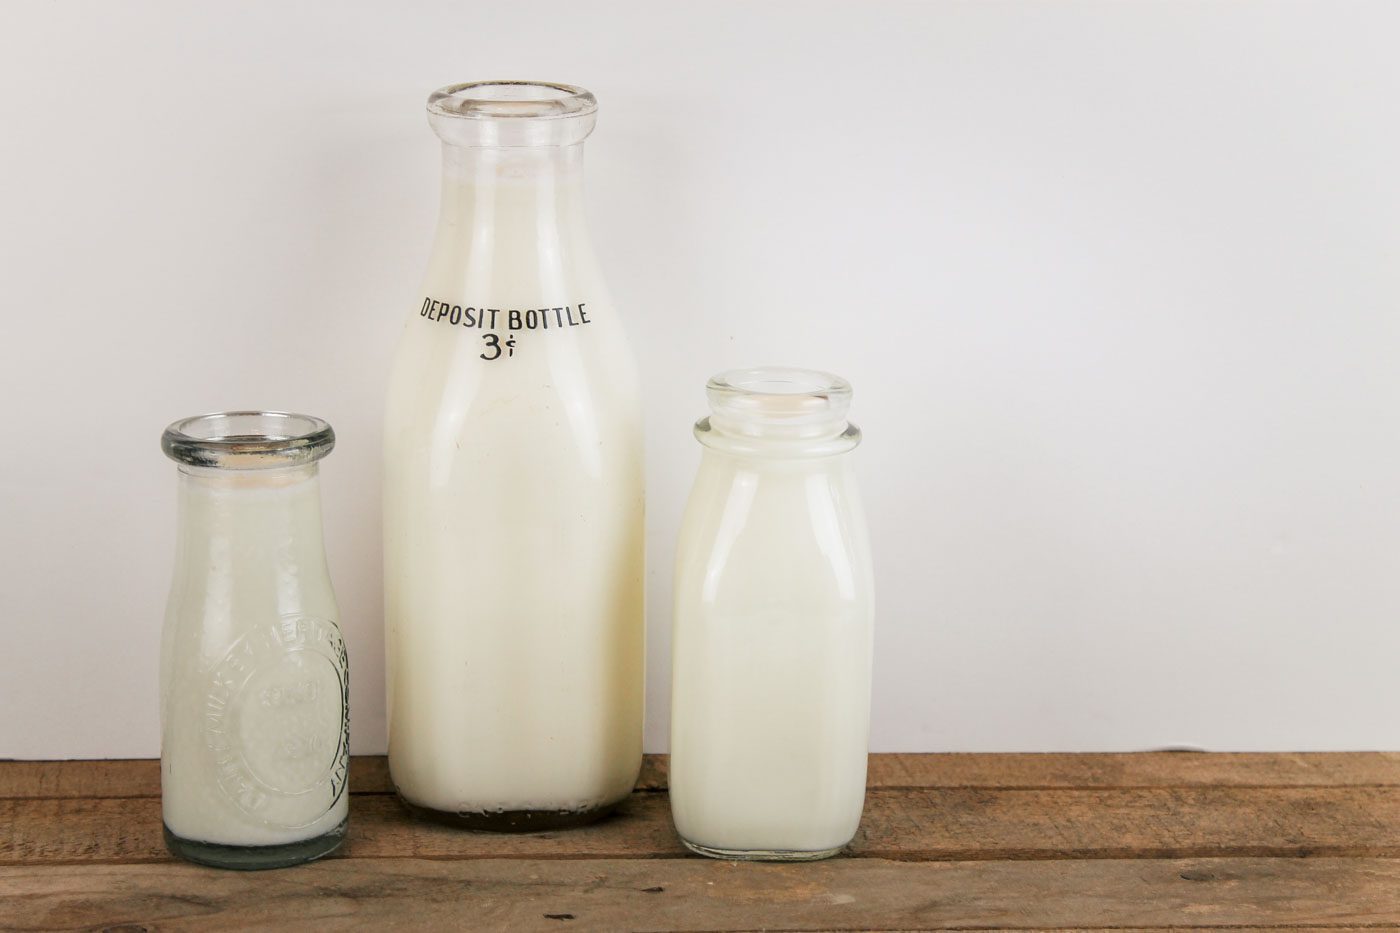
Transform your gut health with a glass of milk kefir! Kefir is one of the most beneficial cultured foods to consume as well as the easiest to make and can be prepared at home with just two ingredients. Learn how to make milk kefir and get answers to the most common questions about fermented foods below.
This post contains affiliate links, which means I make a small commission at no extra cost to you. In any case, I only link to products we actually use on our homestead and that I believe can truly benefit to you. See my full disclosure here.
I don’t know if I could fully appreciate any other food in my kitchen more than kefir.
You see it wasn’t long ago that I discovered the power of fermented foods. During a rough season of gut trouble, I began digging into the topic of real food. I read through countless articles from all my favorite homesteading bloggers, watched YouTube videos and even purchased several books to discover the truth of what are real, nutritionally dense foods. I devoured articles about natural living, fresh milled flour and fermented food.
This was the beginning of my love of fermented veggies and cultured dairy.
My journey started with fermented vegetables like sauerkraut, carrots and salsa. The taste of these slightly sour foods was delightful. And the change they brought to my microbiome was just what I had been looking for.
Then one day I discovered kefir.
How to Make Kefir
Kefir. Kee-fur? Ke-feer? Keh-fur? What was this foreign sounding substance?
“Creamy. Delicious. One of the most powerful probiotic foods available”, is what I heard from my favorite fermentistas. In an act of faith, I jumped aboard and purchased a tablespoon of kefir grains online. After drinking the freshly cultured milk kefir, the health of my gut changed dramatically. I had less belly pain, less anxiety and was full of more energy than I had had in a long time.
The rest is history, I guess you could say.
Today, I make milk kefir daily and try to incorporate it into my diet as much as I can. If you are in the beginning stages of making kefir or have been drinking kefir for awhile and need answers to a few frequently asked questions, then you’re in the right place. Below you’ll learn the ins and outs of making kefir at home.
What is Kefir?
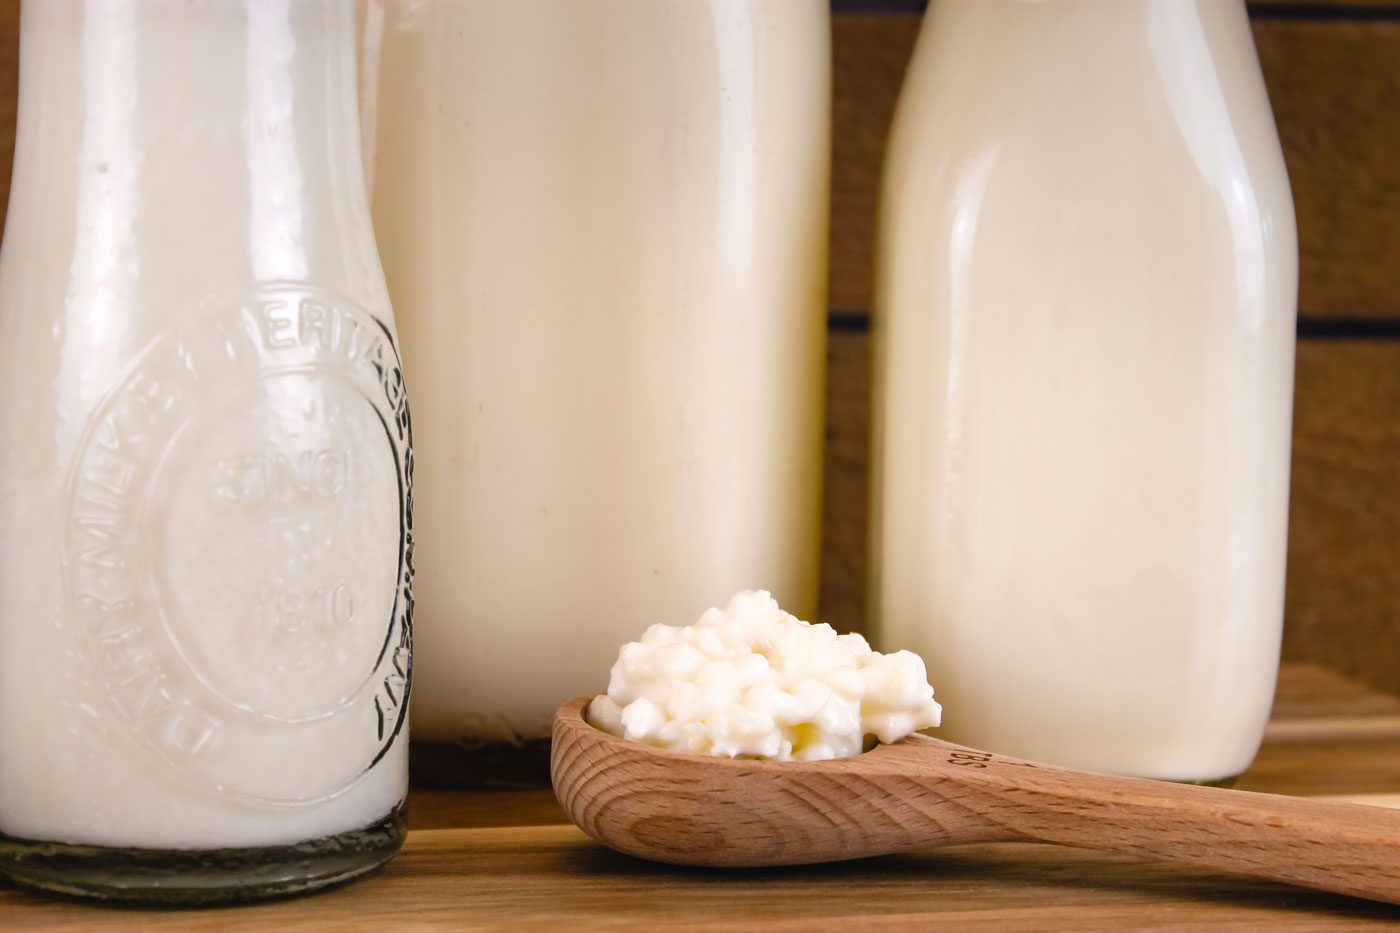
Milk kefir is a type of cultured dairy, typically made using real milk from a cow or goat. Kefir can be mixed into smoothies, dessert recipes and dips, made into cheese and so much more! Compared to yogurt, kefir is thinner, can be bubbly, tastes a little more sour and contains a lot more probiotics.
There are two ways to make kefir. The most common way is by using kefir grains. The grains are placed into a glass jar, covered in milk and within 24 hours, the milk transforms into kefir. The second way to create kefir is by using a packet of powdered milk kefir. This method is useful if you only want a little bit of kefir at a time. However, the package of dried kefir will only last a few times unlike the the kefir grains that will last indefinitely if you take care of them. To each is own but I highly recommend using live kefir grains to make milk kefir.
Making kefir is a very unique process that involves next to no effort on your part. Simply place a couple teaspoons of kefir grains into a clean glass jar. Pour real dairy over the grains and allow the bacteria to do their job. The process of turning the milk into kefir begins by the bacteria eating the lactose in the milk. As the bacteria consumes the milk sugar it feeds the grains and turns the once sweet liquid into a sour drink packed full of probiotics.
Where Do Milk Kefir Grains Come From?
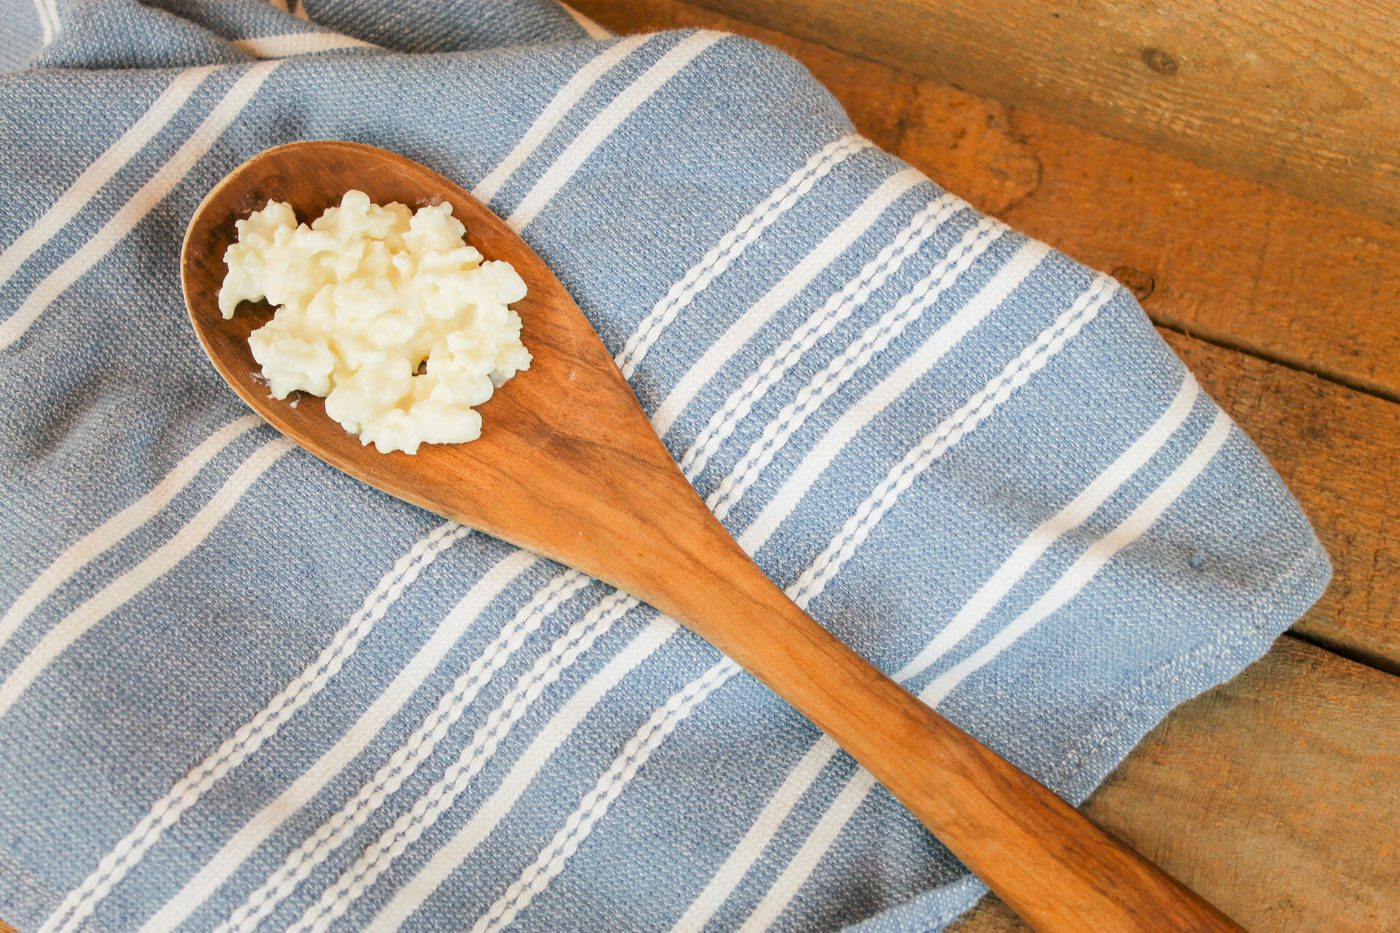
Thought to have been discovered by the people living in the Caucasus Mountains, kefir is a living organism full of beneficial bacteria and yeast. When the kefir grains are placed into a jar and fed daily, they will continue to grow and multiply, making endless amounts of milk kefir. The term grain only refers to the appearance of the kefir. There is no actual grain within a kefir grain.
Health Benefits of Drinking Milk Kefir
Kefir is one of my favorite cultured foods to eat. With 56 strains of different bacteria, my belly is quite happy and much more in balance than it used to be prior to consuming kefir. While there are dozens and dozens of health benefits of kefir, here are a few reasons you should consider adding kefir to your daily diet.
- Contains 56 different strains of bacteria
- Great source of probiotics
- High in enzymes
- Packed full of vitamins, beneficial yeasts and good bacteria
- Good source of protein
- Helps boost the immune system
- Improves allergies
- Great for the skin
- Can fix gut problems
- Supports a healthy digestive system
- Help to improve lactose intolerance
- Boosts energy levels
- Helps recharge the body after the use of antibiotics
Where to Buy Milk Kefir Grains
If you have a friend or family member that makes milk kefir on a regular basis, ask them for a tablespoon of live kefir grains to get you started! At the rate that kefir grains multiply, I’m sure they will be more than willing to share.
There are also plenty of retailers online that sell starter cultures. I purchased my grains on Amazon from the Fusion Tea Store and have had terrific success! Cultures for Health and Cultured Food Life also sell high quality kefir grains.

How to Use Milk Kefir
My favorite way to consume kefir is to drink it after the milk has finished culturing and the kefir has thoroughly chilled in the fridge. Some people like to second ferment their kefir by adding a bit of fruit and spices to to the milk. While this is the easiest way to use kefir, there are several other methods to transform a simple kefir drink into a delicious probiotic recipe. May these ideas inspire you!
- Add kefir to smoothie recipes
- Replace the yogurt in a recipe with kefir
- Mix into oatmeal
- Strain out the whey from kefir and turn it into kefir cheese
- Replace the milk with cream and make kefir sour cream
- Make kefir eggnog
- Substitute cream for kefir in iced coffee
- Make kefir soda
- Add kefir into homemade dip recipes
- Replace the buttermilk in recipes with kefir
- Mix kefir into dessert recipes, especially no-bake desserts
- Use kefir to make soap or skincare products
- Use kefir as a mesophilic culture to make cheese at home
- Feed kefir to your dogs or chickens
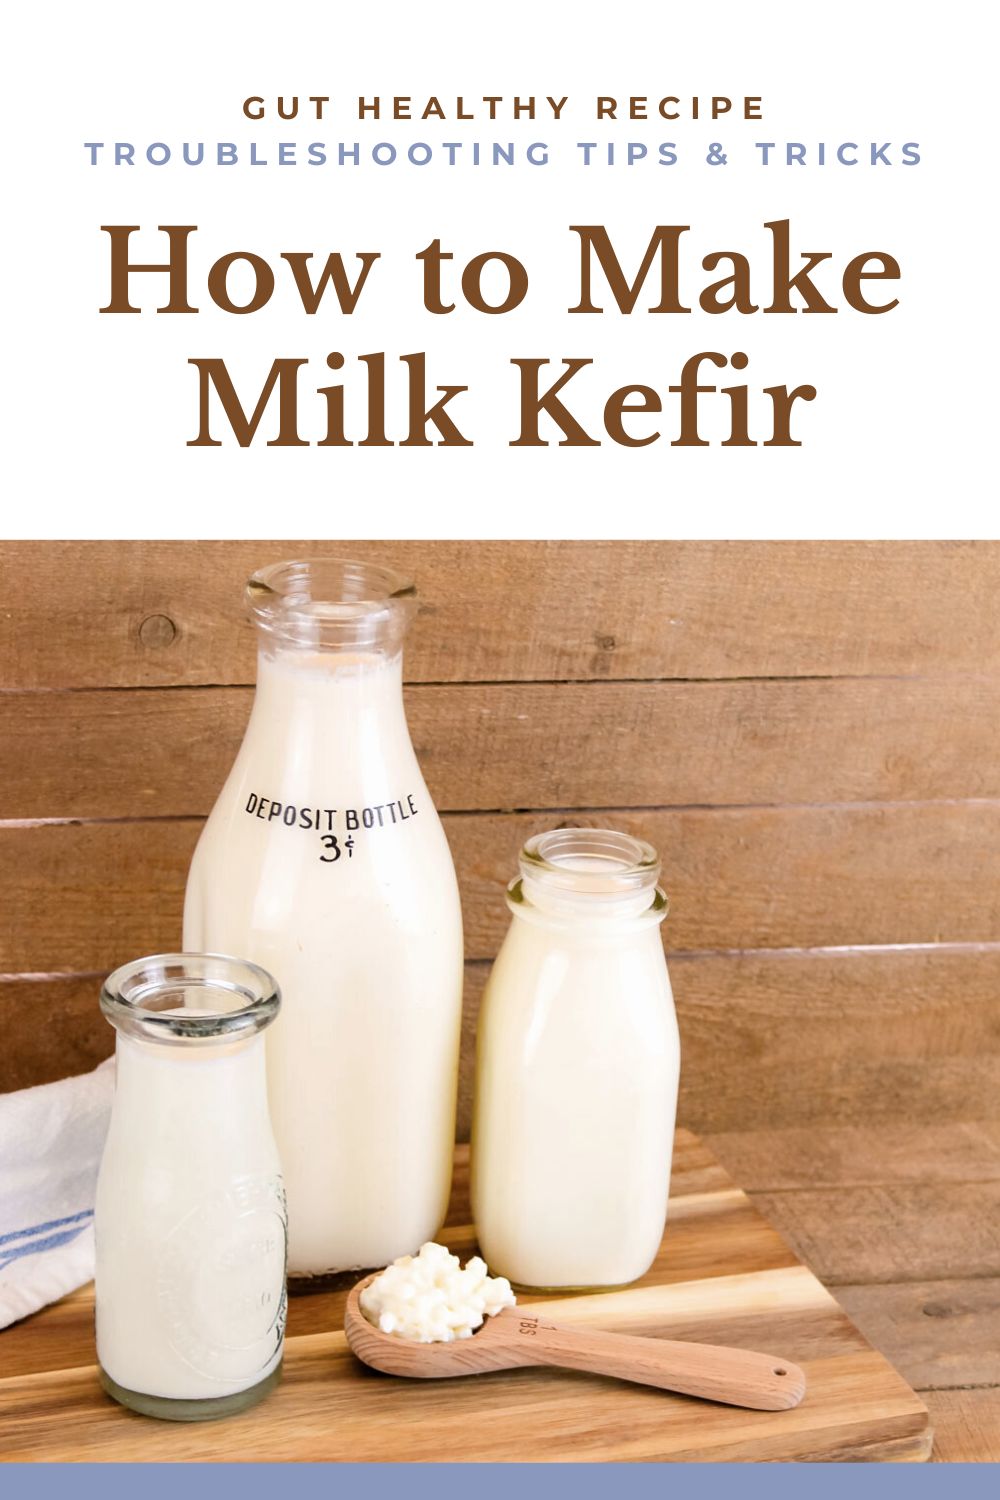
How to Make Milk Kefir
Pour yourself a glass of creamy, probiotic-rich milk kefir. Learn the ins and outs of making cultured dairy at home as well as common troubleshooting tips and tricks so that you can confidently make kefir and begin incorporating it into your diet.
Makes: 1 pint
Supplies
2-3 teaspoons kefir grains
2 cups milk
Pint size glass jar
Strainer
Lid or kefir cap
Directions
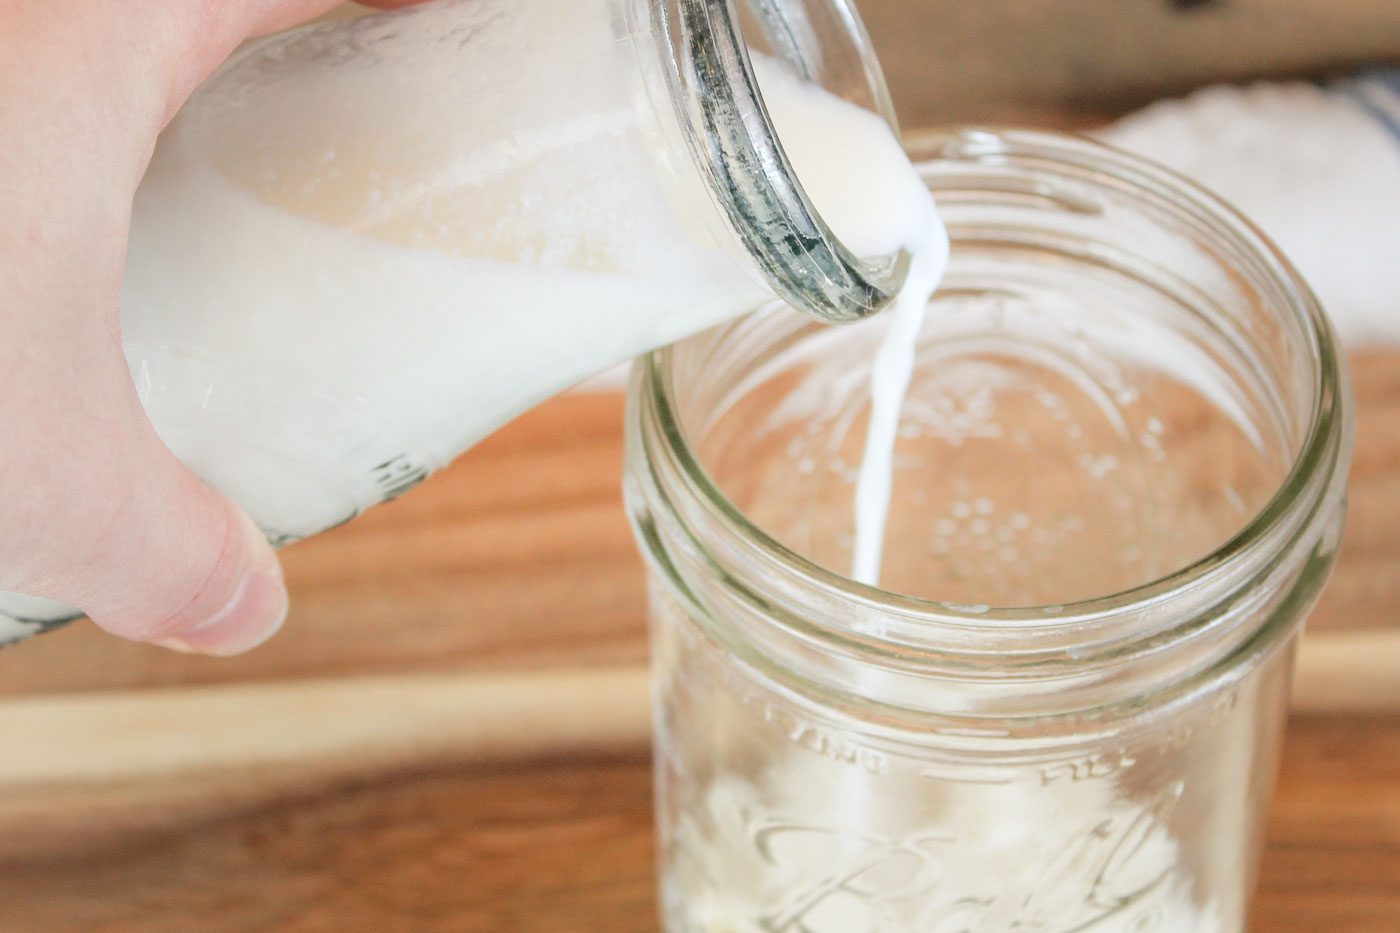
In a pint size glass jar, add the milk kefir grains. Pour milk over top. Securely seal the jar with a a plastic lid. Set the jar on your countertop away from direct sunlight and allow to ferment for 24 hours. If your home is cooler, it may take a bit longer for it to ferment. The kefir is finished when it tastes sour and has a consistency of drinkable yogurt.
After 24 hours, place a mesh strainer or small colander on top of a bowl or measuring cup. Pour the kefir milk and grains through the strainer, pushing the grains as you go to transfer the milk into the bowl below. Add the kefir grains into a new clean jar with fresh milk and start the fermentation process again.
The pint of fresh kefir should be placed into the fridge. Chilled kefir milk will last several months but the longer it sits in the fridge, the fewer probiotics it will have.
Note: Kefir grains, if cared for correctly, will continue to grow and multiply. If you only plan to make a small amount of kefir every day, you will end up with too many grains to ferment the milk properly. You can toss the excess kefir grains out or eat them by adding them into smoothies, dips or other recipes.

Kefir FAQ
What is the Best Milk to Make Kefir?
The best milk to make kefir is animal milk from either a cow or a goat. Milk with any fat content will work, although I prefer to use whole milk to create kefir in our home. Raw milk is ideal but since most people don’t readily have access to raw dairy, pasteurized milk will work fine. Here in Ohio we purchase low pasteurized milk from a local dairy farm.
The only milk you cannot use to make kefir is ultra-pasteurized milk. UP milk is heated to 280° F, creating a sterilized shelf stable product that can last a couple of months in the store. Using this type of milk to create kefir will only yield poor results.
Can I Make Nondairy Kefir?
Yes. Kefir can be made with a variety of milk alternatives like coconut milk, oat milk, almond milk and cashew milk. However, many dairy-free products are devoid of lactose or are low in carbohydrates which is what the kefir grains eat. If you decide to make kefir without real milk, you will only be able to do this a couple of times until the grains will need to be refreshed by placing them into a glass of dairy again. Donna Schwenk has a variety of dairy-free kefir recipes on her website if you are interested.
How Long Does it Take to Make Milk Kefir?
On average kefir takes 24 hours to culture. However, the exact time varies based on the ratio of grains to milk and the temperature of your home. In the summer when your house is warm, kefir can ferment faster and sometimes can over-culture causing a separation of milk and whey. During the winter when most homes are on the cooler side, the fermentation process slows down and may take a bit longer than 24 hours.
What is the Best Temperature to Make Milk Kefir?
The ideal temperature to make milk kefir is anywhere between 65° F and 80° F. We keep our home at 65° F during the winter, so in order to keep the kefir happy I usually keep the kefir on my kitchen countertop — the warmest room in our house. Occasionally we have temperatures well into the 90s during the peak of summer. The kefir grains get a little cranky during this time so if I know it is going to be a warm day and we won’t be turning the air conditioner on, I place the jar of kefir in our basement while it ferments.
Does Milk Kefir Contain Gluten?
No. The term grain only refers to the appearance of the kefir and has nothing to do with wheat or the gluten in wheat.
Is Milk Kefir Lactose-Free?
Milk kefir is not completely lactose-free. During the fermenting process, the kefir grains consume the majority of the lactose but there may still be trace amounts of lactose when the milk has finished culturing.
Generally milk kefir is a good choice for those who are lactose intolerant. Since the seventh grade the sugars in milk have bothered me so I quit consuming all dairy products until my earliy 30s. Upon trying kefir, I felt better than I had in years and could consume it without any adverse effects. In fact, if I may be so bold as to say I believe kefir has transformed my gut to allow me to add other dairy products like cream and butter back into my diet and still feel great.
Why is My Milk Kefir Separating?
Occasionally you may find your kefir separates into milk and whey. The whey is a translucent, slightly yellow liquid that can appear on the top or bottom of your milk kefir. This happens when the kefir has fermented for too long. Typically this occurs because you don’t have enough milk in the jar to feed the grains. The whey is harmless and can be consumed. I usually pour the whey off or shake the jar to temporarily mix the milk and whey back together.
Should I Make Kefir With a Lid or Cloth?
I recommend adding a secure lid to the top of your jar when fermenting kefir. A plastic or metal lid will work. If you use a permeable cloth, cheesecloth or coffee filter, this can potentially allow other bacteria and yeasts in the air or from other fermented foods to enter your kefir.
Gut Healthy Food Recipes
How to Make Milk Kefir
Transform your gut health with a glass of milk kefir! Kefir is one of the most beneficial cultured foods to consume as well as the easiest to make and can be prepared at home with just two ingredients. Learn how to make milk kefir and get answers to the most common questions about fermented foods below.
Ingredients
- 2-3 teaspoons kefir grains
- 2 cups milk
- Pint size glass jar
- Strainer
- Lid
Instructions
- In a pint size glass jar, add the milk kefir grains. Pour milk over top. Securely seal the jar with a a plastic lid. Set the jar on your countertop away from direct sunlight and allow to ferment for 24 hours. If your home is cooler, it may take a bit longer for it to ferment. The kefir is finished when it tastes sour and has a consistency of drinkable yogurt.
- After 24 hours, place a mesh strainer or small colander on top of a bowl or measuring cup. Pour the kefir milk and grains through the strainer, pushing the grains as you go to transfer the milk into the bowl below. Add the kefir grains into a new clean jar with fresh milk and start the fermentation process again.
- The pint of fresh kefir should be placed into the fridge. Chilled kefir milk will last several months but the longer it sits in the fridge, the fewer probiotics it will have.
Pin for Later


Kefir is such a blessing to our family! It has helped our health tremendously and so easy to make. Kefir overtakes any bad bacteria so it is very hard to go bad, I learned this the hard way and threw away perfectly good grains and kefir. Learn from my lesson