Making rich, tangy cream cheese at home couldn’t be easier. With just a couple of ingredients and a few minutes of hands-on time, you can make up a dish of fresh cream cheese at home. Learn how to make cream cheese using our top two favorite recipes. Plus be sure to grab our most-liked flavored cream cheese recipes, including coffee, strawberry and savory garlic.
Dairy is one of those household staples you just can’t live without.
A simple glass of dairy can be turned into a variety of things such as homemade ice cream, cultured sour cream, yogurt, cheese, kefir, added to a pan of rolls or simply poured over a bowl of cereal. Here in Ohio we are blessed to have a local dairy farm that produces minimally processed milk from grass-feed cows that pasture on organic farmland. If a recipe calls for dairy, their low pasteurized milk is our preferred choice.
Our latest dairy adventure delved into the world of culturing milk to turn it into homemade cream cheese. How simple and incredibly easy is it to make cream cheese at home. Not only does it taste better than store bought cream cheese but it doesn’t include any “gums” such as xanthan gum. Just pure, wholesome dairy, a starter culture and a dash of salt.
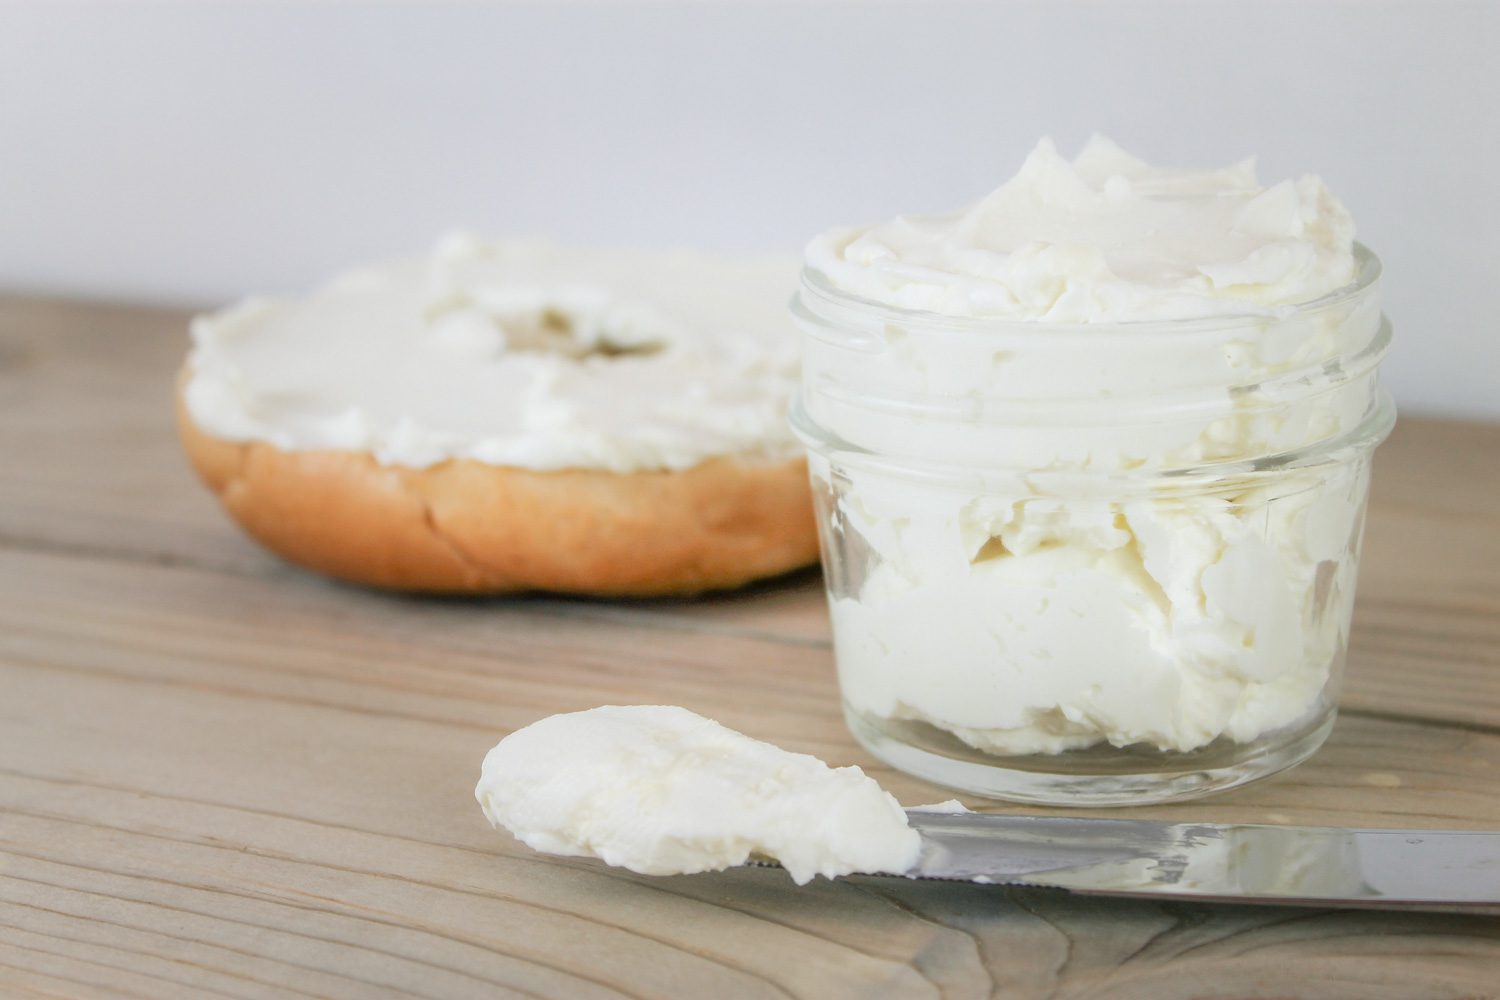
My favorite part of learning how to make cream cheese at home is that the end product is super smooth and glides onto your bagel with no effort at all. Maybe it’s just the lazy side of me but I don’t really want to have to wait until the block of store bought cream cheese warms to room temperature so that I can easily spread it onto my bread. Using homemade spreadable cream cheese is best for those like me with little patience.
Homemade Cream Cheese
Google “how to make cream cheese” and you’ll discover a variety of ways to make cream cheese at home. While I am sure many of those cream cheese recipes are delicious, below are our top two ways to make cream cheese on our homestead. The first way is the easiest. Simply strain the whey out of a quart of yogurt. In 24 hours, you’ll have creamy and spreadable cheese, perfect for topping a bagel at breakfast time.
The second, more traditional way to make cream cheese is by using a starter culture called mesophilic. Mesophilic culture is often used to make hard cheeses like cheddar, colby, monterey jack and more. By using a small amount of the culture, you can turn a carton of milk into homemade cream cheese. Raw or low pasteurized milk works well in this recipe but ultimately any milk will do as long as it isn’t ultra pasteurized (UHT).
How to Make Cream Cheese With Yogurt
This post contains affiliate links, which means I make a small commission at no extra cost to you. In any case, I only link to products we actually use on our homestead and that I believe can truly benefit to you. See my full disclosure here.
Ingredients
1 quart unflavored whole milk greek yogurt (preferably your own homemade yogurt)
Supplies
Bowl
Quality cheesecloth such as this organic cotton cheesecloth
Storage Container
Directions
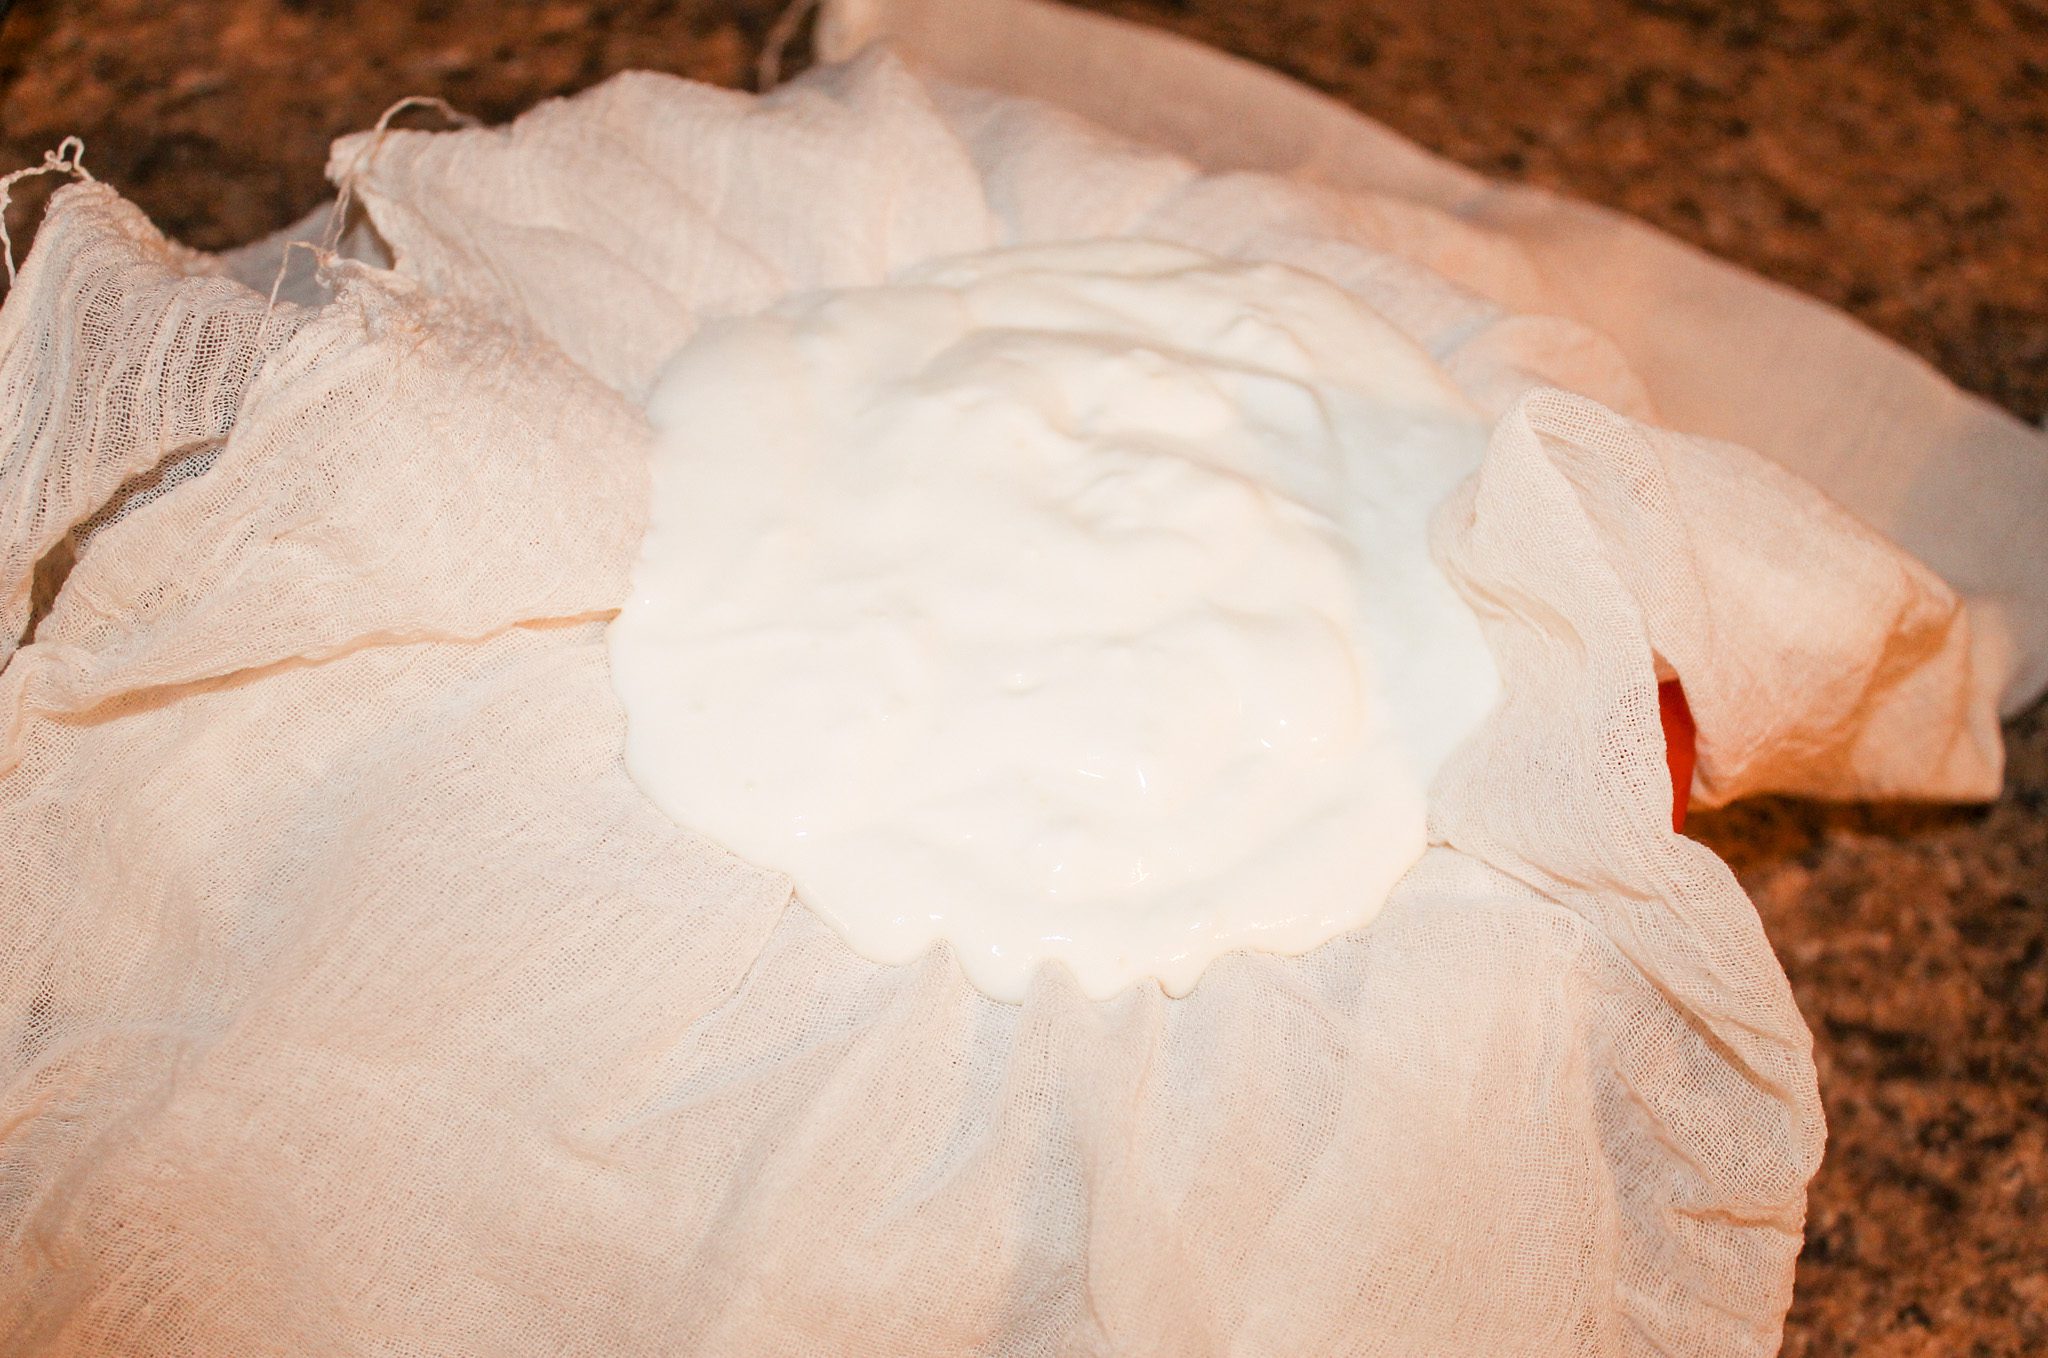
Set a fine mesh strainer over a deep, medium size bowl. Line the strainer with a double or triple layer of cheesecloth. Pour the yogurt into the strainer.
Tie up any excess cloth. Place the bowl with the strainer into the fridge and allow to drain for 24 hours.
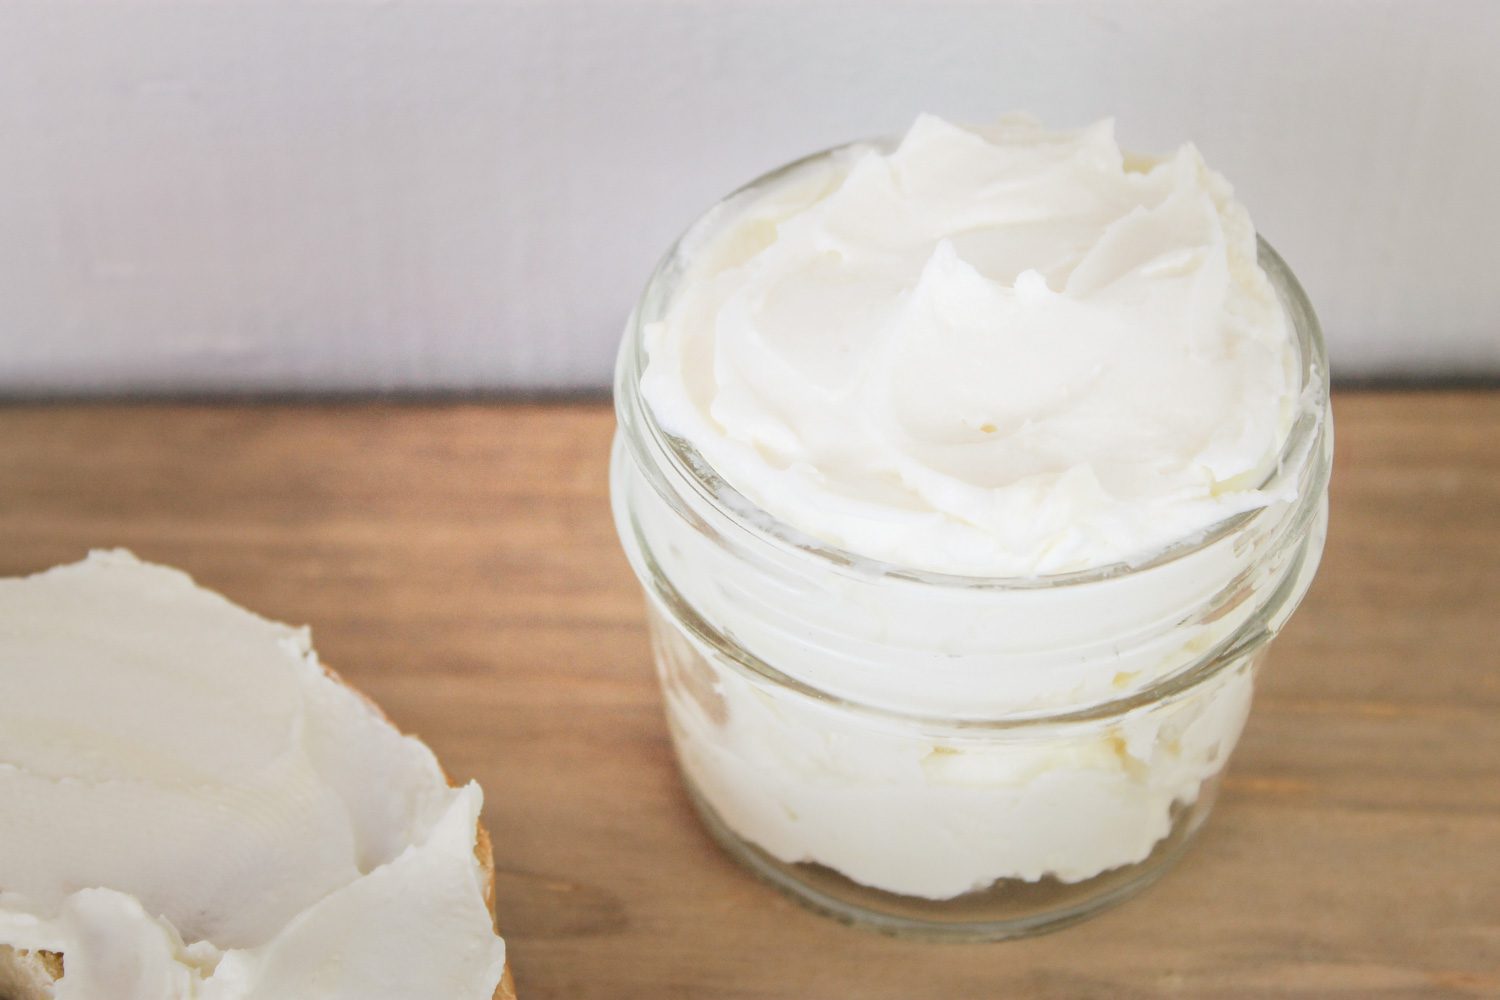
Scoop the fresh cream cheese into a sealed container such as a mason jar with a leak proof lid. Store in the fridge. Use within a few weeks.
The remaining liquid in the bottom of the bowl is called whey. You can discard it. Or save it and use it for countless uses such as making whey soda, baking a lemon whey pie, to quick start fermented foods, feed it to your dogs or chickens or pour it on your compost.
How to Make Cream Cheese Using a Starter Culture
Ingredients
4 cups whole milk (do not use ultra pasteurized)
2 cups heavy whipping cream
1/2 tsp mesophilic starter culture
Salt
Supplies
Bowl
Plastic wrap
Cheesecloth
Storage Container
Directions
In a large saucepan over low heat, combine the milk and cream. Warm the milk mixture to about 72° F. Transfer to a bowl. Very gently whisk in the starter culture.
Cover the bowl with plastic wrap and place in a warm spot for 24 hours or until thick with a similar consistency to yogurt. While the cream cheese is culturing, I prefer to sit my cream cheese either next to my oven or in the oven with the light on next to a cup of steamy hot water. It creates a perfect warm environment for the good bacteria to grow.
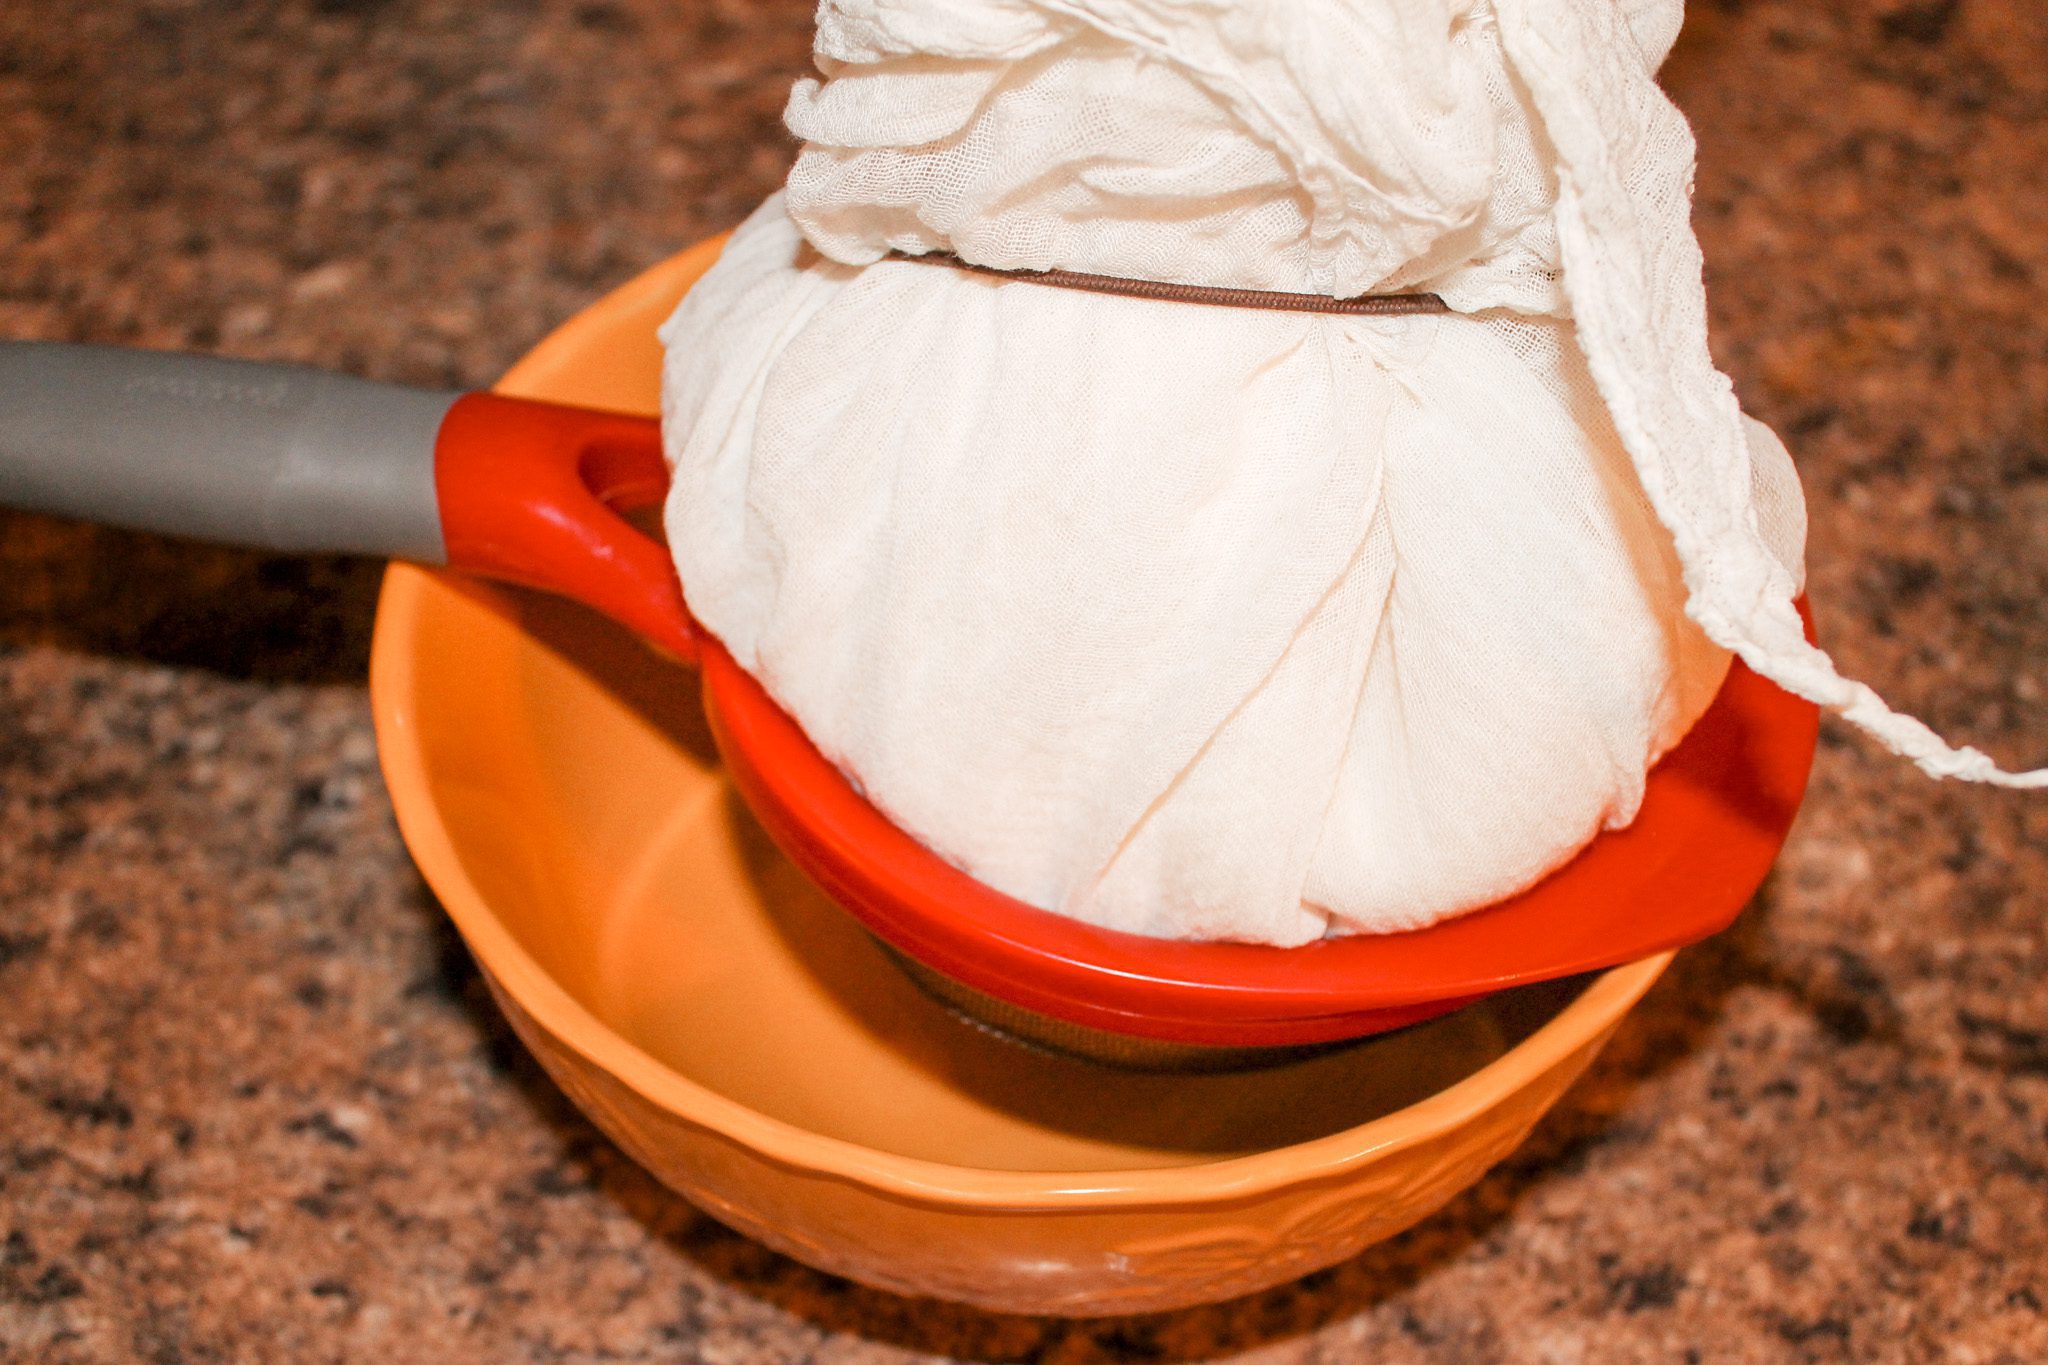
When the cream cheese has finished culturing, you will need to strain the out whey. To do this, line a colander or a mesh strainer with a couple layers of cheesecloth. Set the strainer inside a large bowl. Pour the cream cheese into the strainer. Tie the excess cheesecloth into a bundle. Let the cream cheese drain at room temperature for 18-24 hours. (Option #2: if you do not have a colander or strainer, you can tie the ends of the cheesecloth around the handle of your kitchen cabinet. Place a bowl below the bundle to collect the whey.)
Transfer the cream cheese to a bowl and add in just enough salt to taste. Store in the fridge. Use within a few weeks.
3 Homemade Cream Cheese Flavors
As if homemade cream cheese wasn’t already good all on it’s own, a flavored cream cheese is even more rich and delectable. Turn plain cream cheese into a spreadable delight by whipping up a dish of our favorite coffee, strawberry or savory garlic cream cheese.
Coffee Cream Cheese
Ingredients
6 oz cream cheese
3 Tbs agave
1 tsp espresso powder or instant coffee
Directions
Place the cream cheese, agave and espresso powder in a bowl. Using a hand mixer, beat the cream cheese until light and fluffy. Serve on bagels, toast or as a party dip. Store leftovers in the fridge.
Strawberry Cheese Cream
Ingredients
4 oz cream cheese
1/2 cup fresh or frozen strawberries (partly thawed)
Directions
Add the cream cheese and strawberries into a food processor. Blend until smooth and creamy looking. Store in the refrigerator. Spread onto a bagel, roll, crescent or use as a fruit dip.
Garlic Cheese Cream
Ingredients
4 oz cream cheese
2 Tbs mayonnaise
1 garlic clove, grated
1/4 tsp Italian seasoning
1/4 tsp dried parsley
Directions
Add the cream cheese, mayo, garlic, Italian seasoning and parsley to a bowl. Mix to combine. Refrigerate. Our favorite way to serve the garlic spread is with crackers.
What Can Cream Cheese Be Used For?
Cream cheese plays a big roll in a variety of recipes. Here are 10 ways to use cream cheese.
- To make a cheesecake
- In ice cream or a popsicle
- Spread it on a cracker
- Make a cream cheese dip
- Stir it into scrambled eggs
- Use it to make mac n cheese extra rich
- Spread it on a bagel
- Make cream cheese frosting for a cake or cupcake
- Mix it into cake batter
- Use it to make a baked good such as lemon cream cheese bars
Flavored Cream Cheese
As if homemade cream cheese wasn’t already good all on it’s own, a flavored cream cheese is even more rich and delectable. Turn plain cream cheese into a spreadable delight by whipping up a dish of our favorite coffee, strawberry or savory garlic cream cheese.
Ingredients
- Coffee Cream Cheese
- 6 oz cream cheese
- 3 Tbs agave
- 1 tsp espresso powder or instant coffee
- Strawberry Cheese Cream
- 4 oz cream cheese
- 1/2 cup fresh or frozen strawberries (partly thawed)
- Garlic Cheese Cream
- 4 oz cream cheese
- 2 Tbs mayonnaise
- 1 garlic clove, grated
- 1/4 tsp Italian seasoning
- 1/4 tsp dried parsley
Instructions
Coffee Cream Cheese
Place the cream cheese, agave and espresso powder in a bowl. Using a hand mixer, beat the cream cheese until light and fluffy. Serve on bagels, toast or as a party dip. Store leftovers in the fridge.
Strawberry Cream Cheese
Add the cream cheese and strawberries into a food processor. Blend until smooth and creamy looking. Store in the refrigerator. Spread onto a bagel, roll, crescent or use as a fruit dip.
Garlic Cream Cheese
Add the cream cheese, mayo, garlic, Italian seasoning and parsley to a bowl. Mix to combine. Refrigerate. Our favorite way to serve the garlic spread is with crackers.
Pin for Later