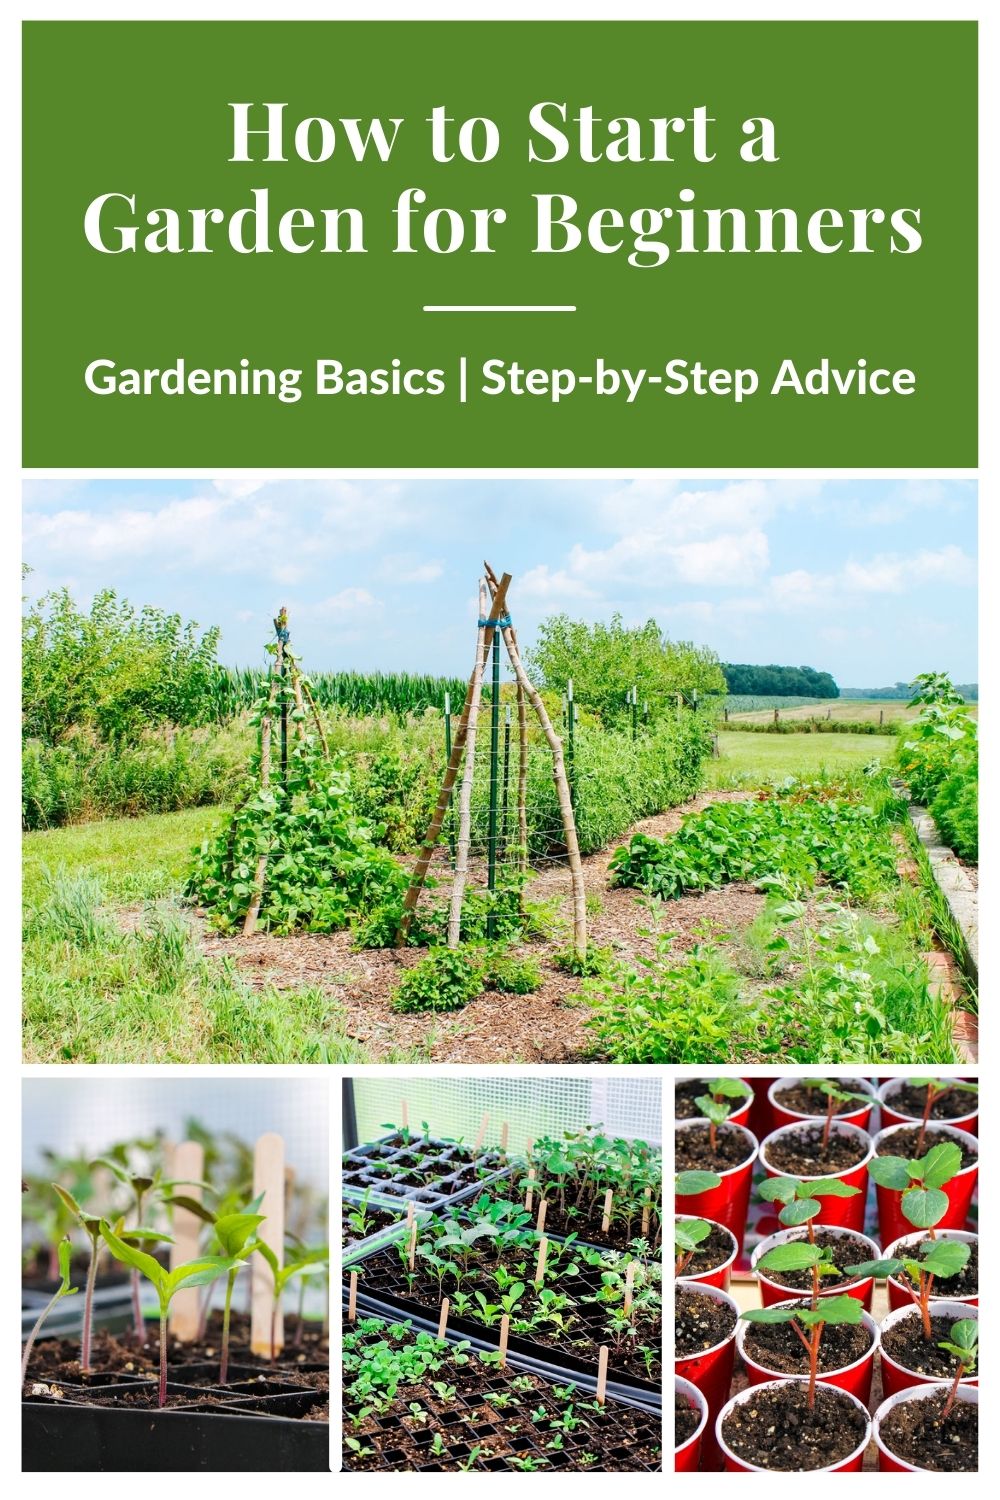
Are you ready to start growing your own food in a backyard garden but don’t know where to start? Let me show you how simple it is to create a garden space, start seeds and harvest delicious, nutritious food right from the vine. With step-by-step advice for a successful garden learn how to grow in-ground, build a raised bed along with practical ways to produce fresh picked vegetables and herbs.

In each home I have lived in we have had a garden. Some times it was large but most of the time it was just a simple backyard garden full of your typical plants like tomatoes and flowers. Our present home sits on a double lot in a small country town in the state of Ohio. While we can’t grow all of our own food, our garden and the plot of land we borrow on my parents homestead, produces a generous portion of the food we eat.
When my husband and I first moved onto the property, we decided almost immediately to set up a garden. The following spring we mapped out a 10-foot by 15-foot patch to grow our favorite veggies and herbs. Even though I had helped my parents garden a bit when I was younger, I was a beginner gardener and didn’t have much knowledge. After reading through some gardening tutorials and gleaning information from my parents many years of gardening experience, our first year gardening was quite a success with plenty of fresh food and minimal problems.
Fast forward to today, with several years of gardening under our belt, we have come from a wee little garden that mainly produced food only to eat throughout the summer months to now having learned the importance of being a producer and taking ownership in the food we grow. I wouldn’t call us “gardening experts” but we have encountered and learned from our experiences with weeds, pests, drought, flooding, disease, scarcity and a bountiful harvest. My hope for you as you read through this article about how to start a garden in your backyard is that you become proficient in the basics of gardening, learn how to problem solve and discover what a joy it can be grow your own food. Happy gardening friend!
How to Start a Garden — Gardening for Beginners
Learning to garden and grow delicious, nutritious food can be sure a delight. Not only will it benefit your health by eating homegrown, organic vegetables and fruits, it will also save you lots of money on your grocery bills. Below you’ll discover how to start a garden, how to start seeds, when to transplant and how to care for your plants all season long.
Choose a Location
When deciding where to plant your garden, the amount of sunlight will be the biggest determining factor. Many plants need at least 6 hours of sun per day, while most prefer full sun, such as tomatoes or peppers. Other items to consider when choosing a location are flood zones or high water areas and easy access to a nearby water source. Planting your seedlings in an area that often has standing water after a rainstorm is a no-go. By setting up your garden in close proximity to a water source will save you a lot of time and trouble come mid summer when the days are hot and sunny and your plants need a drink of water. No one wants to have to lug a heavy watering can back and forth to water the garden.
If your location has frequent pests or animals visiting, you may want to considering relocating your garden or putting up a fence. Since our current home resides in a small country town, we do not have to deal with deer or raccoons eating our garden. However, we do have two pups that couldn’t care a lick if they stepped on a new seedling start or peed on our tomato plants, so we have installed a short fence around the perimeter of the garden.
Ultimately, if you chosen location has good soil, plenty of light and drainage, then your plants should do well.
What Type of Garden to Plant
There are three primary types of gardening methods. This includes in-ground gardening, raised beds or container gardening. Each practice has their pros and cons.
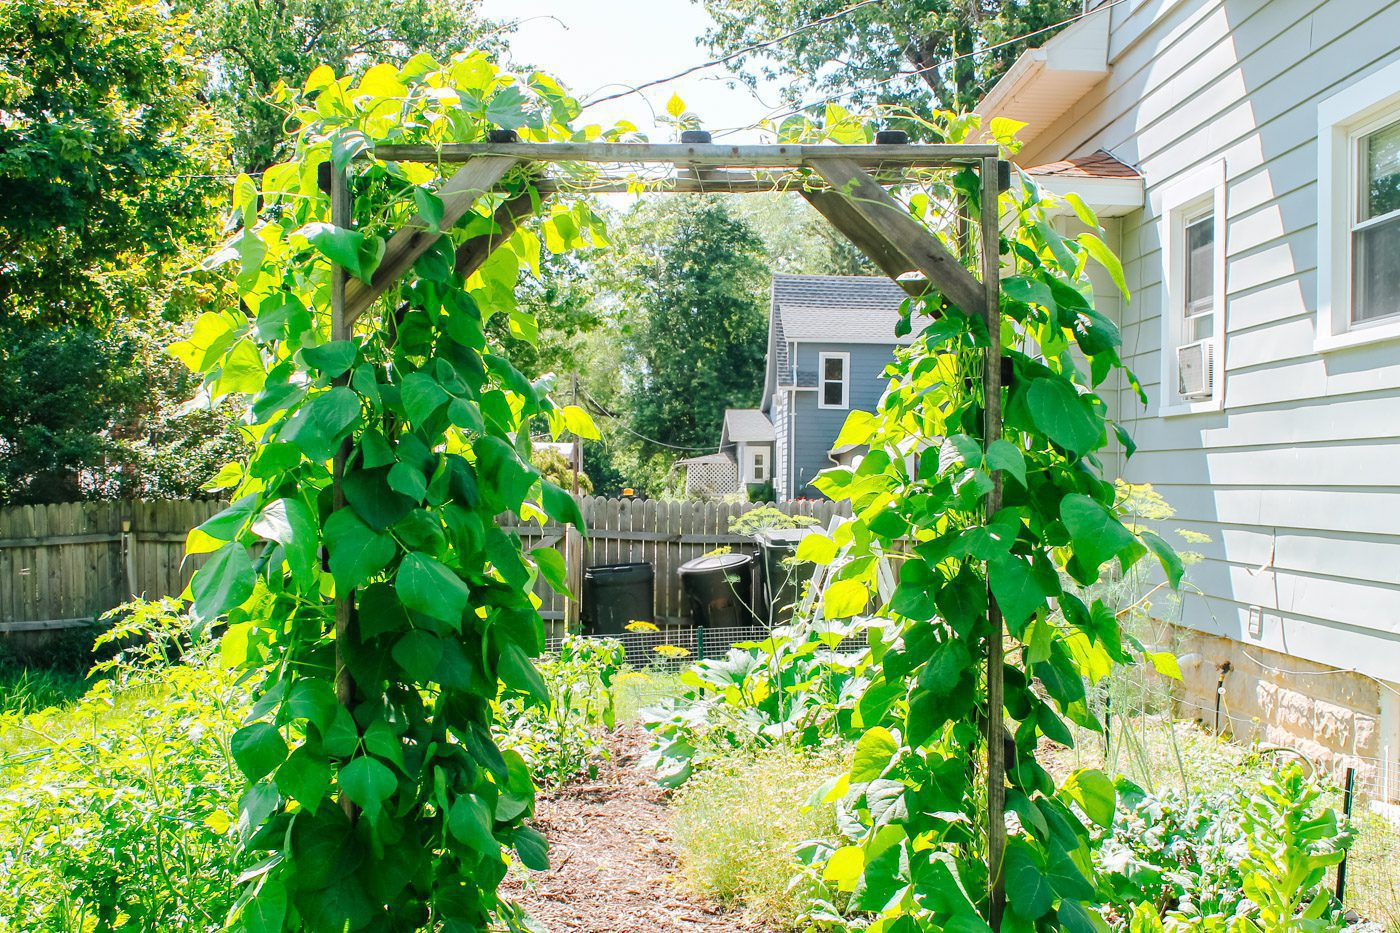
In-Ground Gardening: The traditional type of gardening method is created by growing plants straight in the soil. While some prefer to till the soil to make planting the soil simpler, we enjoy using a thick layer of mulch and woods chips to to add nutrients to our soil and deter weeds from growing. To learn how to create a Back to Eden style garden, check out this blog post.
Raised Bed Gardening: Planting in a raised bed is fantastic for those with minimal space, high water areas, invasive plants or have physical limitations that prevent in-ground gardening. Between our property and my parents homestead we have several raised beds including our cinder block raised garden bed, our brick herb garden and our cedar elevated beds.
Container Gardening: If you’re anything like us, with limited gardening space but are searching for ways to get the most out of your small acreage, container gardening is the way to go. Add pots and containers on your deck, front porch stairs, window sills or around your patio. Not only will they add a beautiful touch to your landscaping but they will feed your family should you choose to grow edibles in them.
What to Grow in Your Home Garden
First, ask yourself, “what is the purpose of my garden”? Do you love eating fresh fruits and vegetables? Do you plan to cut the costs of your grocery bill and grow enough food to feed your family through the winter months? Would you like to start a cut flower garden? Or are you hoping to grow an herb garden? Once you have determined what type of garden(s) you plan to grow, you can now decide what to plant.
Select vegetables, herbs or fruits that you and your family enjoys eating. If you only eat an occasional cucumber, it may be a waste of time and space for you to grow a bunch of vining cucumbers. Stick to items that you eat regularly or that are multipurpose such as tomatoes (ie: fresh eating, salsa, pizza sauce, ketchup). Some of our favorite plants to grow are:
- Strawberries
- Potatoes
- Green beans
- Cucumbers
- Tomatoes
- Kale
- Herbs
Where to Purchase Seeds
If you are a beginner, buying starter plants from a local greenhouse is the easiest way to start a garden. Simply purchase and transfer them into your garden or container of choice.
The downside to purchasing plants is that is can be quite pricey. Some varieties can be as much as $5 or $6. To save a buck, try purchasing seeds from a reputable supplier. There are plenty of places to purchase seeds from like your local hardware store, Tractor Supply or sometimes even a grocery store. We often purchase our seeds online from trusted seed companies that have a high germination rate such as MI Gardener, True Leaf Market, Strictly Medicinal Seeds, Johnny’s Seeds and Fedco.
When to Start Seeds Indoors
The timeframe of when to start your seeds indoors depends on where you live. For us in Ohio our last frost date is generally Mother’s Day. Before you sow your seeds, you will need to determine your zone number. Every region has a different climate. Knowing what zone you are in will not only help you to know when to begin planting your seeds indoors but it will also help you determine what plant thrives in your specific area. Generally speaking it is best to begin your seeds indoors approximately 45-60 days before your last frost date.
Remember not all seeds need to be started indoors. Some plants do best when directly sow into the ground. The best way to determine if you should start a seed indoors is to look on the back of a seed packet. Here are a few of many seeds that do well when started indoors under a grow light.
- Tomatoes
- Bell peppers
- Jalapeños
- Okra
- Broccoli
- Cilantro
- Lemon balm
How to Start a Garden From Seeds
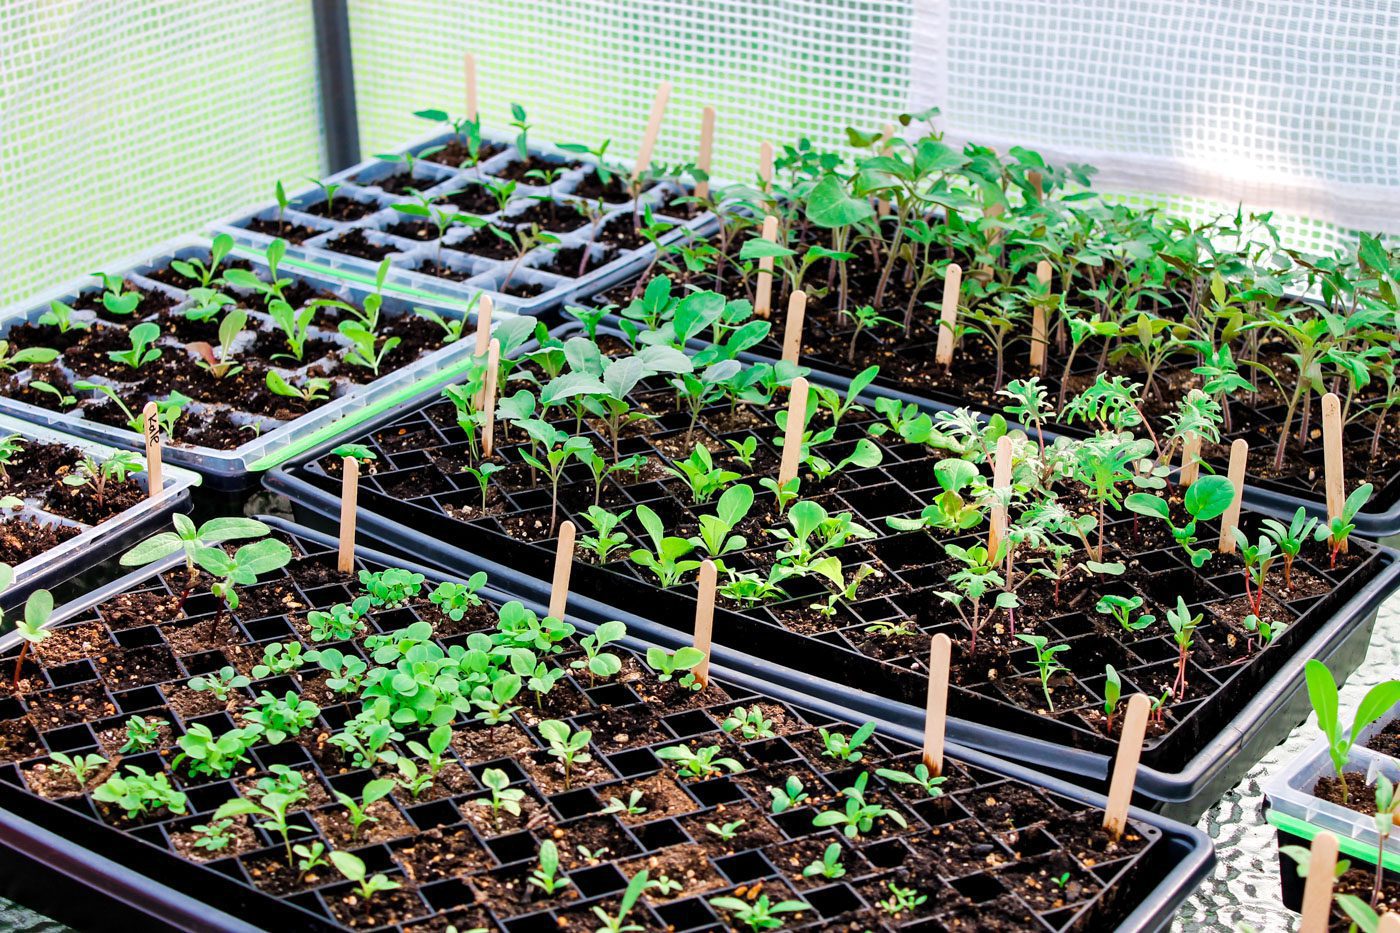
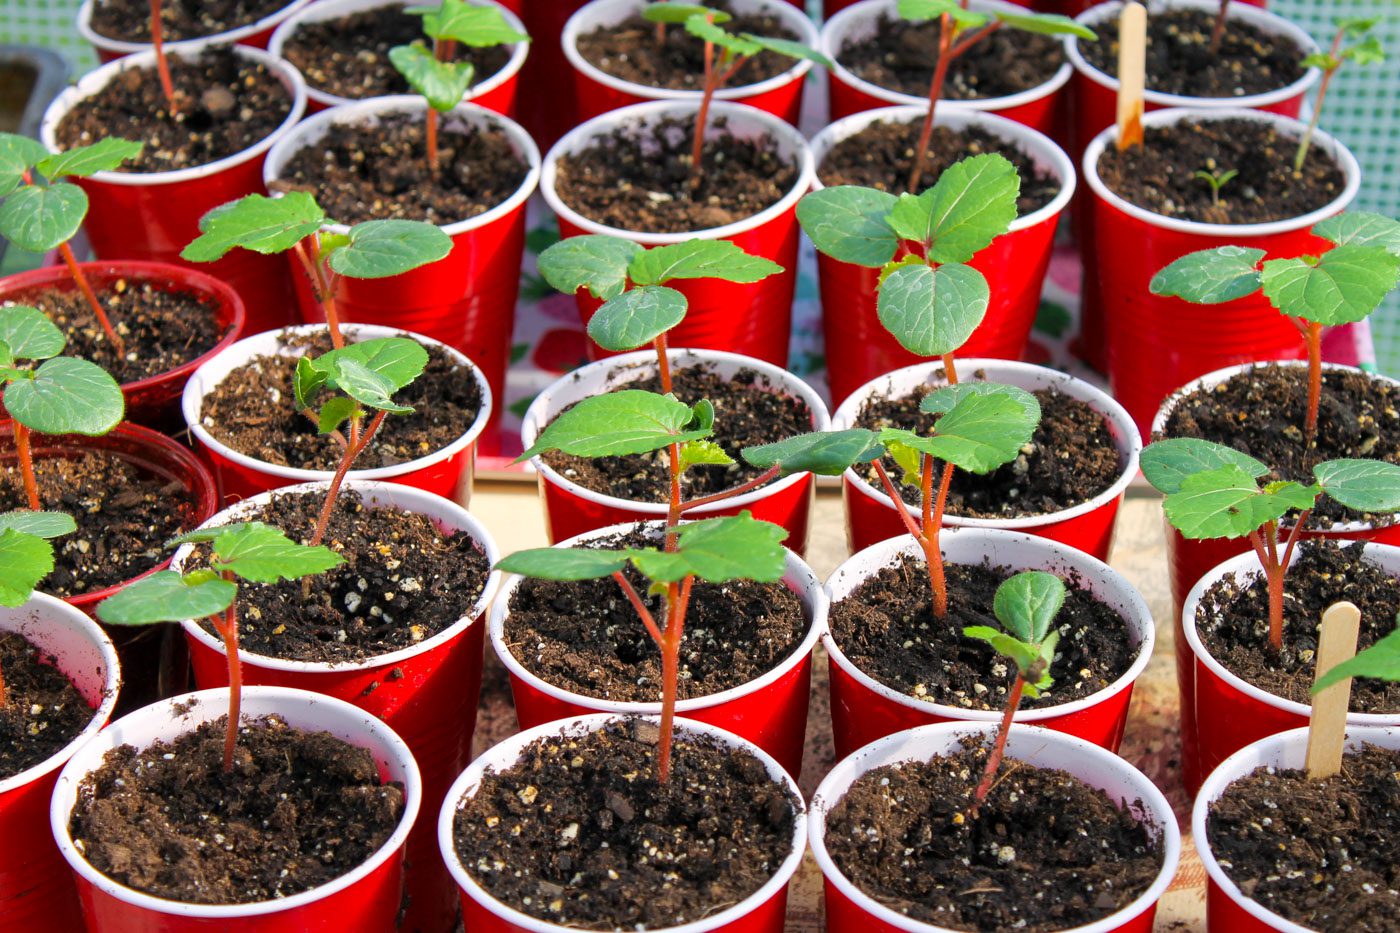
#1 – Select a Container
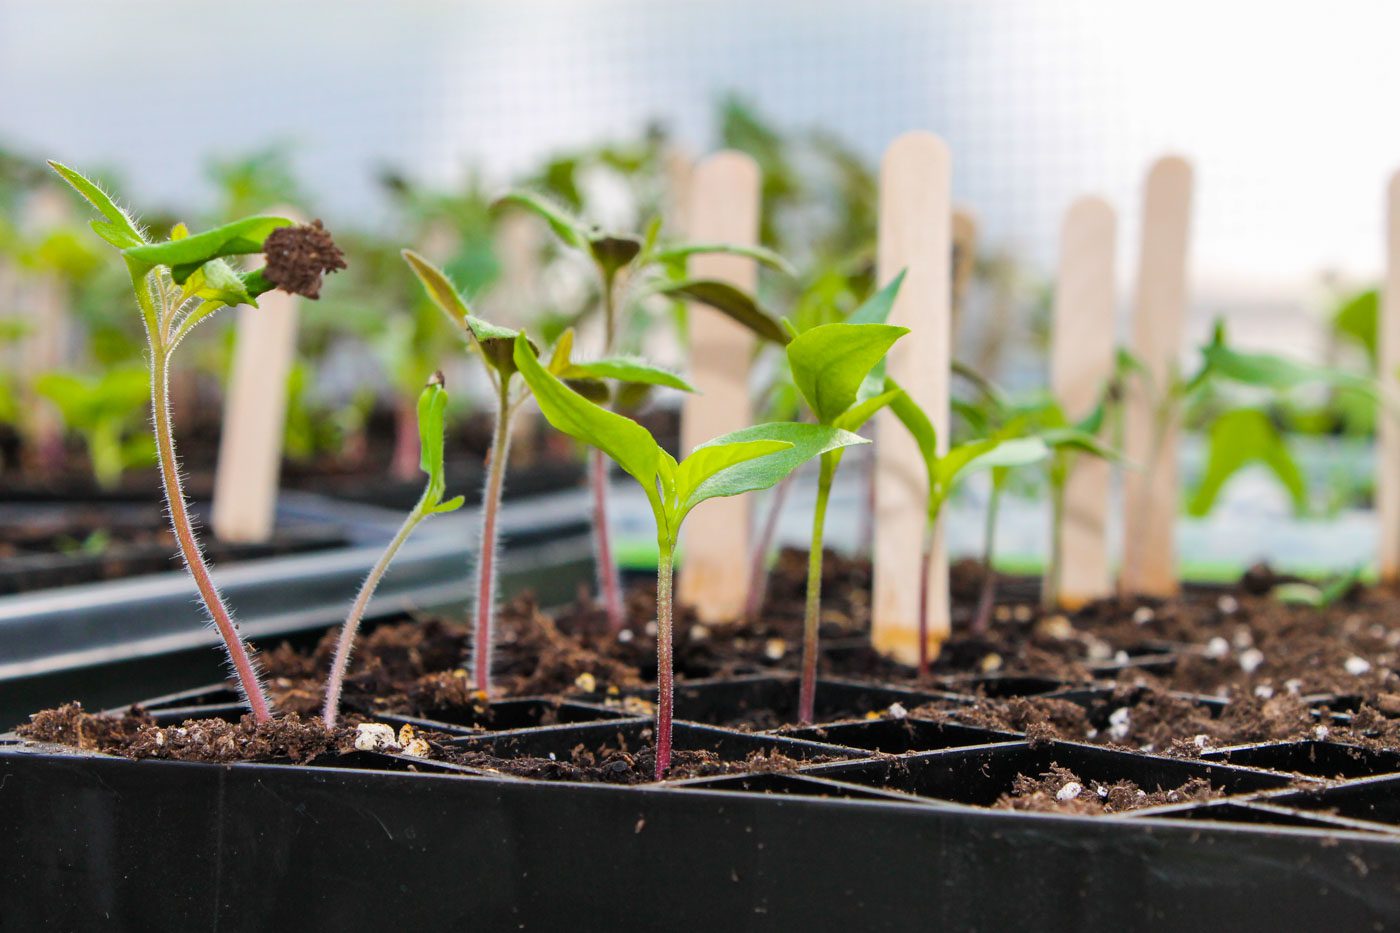
Some of our favorite seed starting containers include Winstrip trays, Burpee Superseed trays, soil blocking and believe it or not, Solo cups. The type of container you choose will depend on the size of your plant as well as your budget. There are several DIY seed starting trays you can use too. Be sure to select a container that has a drainage hole in the bottom of pot. If not, you may need to drill a hole before you add your soil.
#2 – Add Soil
Fill your chosen container with quality potting soil. Place your seed into the center and cover with a light layer of dirt. Gently sprinkle with water. Optionally, you can add a covering over the pot such as plastic wrap. The plastic wrap will act as a greenhouse, keeping the soil moist and warm until the seed sprouts. Upon sprouting, remove the cover.
#3 – Set Up Grow Lights
Place your seed starting trays under a set of grow lights or next to a warm, south facing sunny window. One thing to take note of is that grow lights can be quite expensive. They are also harmful to your eyes if stared at, making them dangerous for young children. Instead of using grow lights, we use daylight fluorescent lighting from Lowe’s that have a similar effect to grow lights. Your seedlings should have approximately 12-16 hours of light per day.
#4 – Water and Nurture
Keep your seeds moist and your sprouts watered. But do not overwater. It is best to water from the bottom of the tray or container to build up a strong root system. If you are starting heat-loving plants, such as tomatoes or peppers, setting them on a seedling heating pad can help them to sprout.
For more information about starting seeds indoors including what to expect and the best practices, tap this link.
How to Harden Off Plants for Transplanting
Prior to placing your plants into the garden or in an outdoor container, you will need to harden them off. When a plant has been grown indoors, it is not use to the full strength of the sun. If you do not harden off your plants, they will have a slim chance of survival.
To begin the hardening off process, set the plants outside in the yard or on the back deck for a couple of hours a day and then bring them back indoors. Continue this process, extending the length of time they are outdoors each day for about one week. Then they should be adapted to the sun and ready to be planted. If you are particularly busy one day and don’t have lots of time to take the plants in and out, another option is to place them in slightly sheltered spot such as a cold frame or greenhouse. This allows the plants to get the needed sunlight without frying them.
How to Transplant Seedlings
To begin the process of planting your seedling into the garden, start by digging a hole into your chosen garden bed that is just slightly larger than the transplant. Carefully pull apart the root system at the bottom of the plant so that the root system will grow out instead of in the shape of the container it was in. Place the plant into the ground along with a little compost (if you have some) and some soil. Cover with dirt and a layer of mulch. Give the plants a thorough drink of water but do not drown them. Keep them moist throughout the next few days as they transition into their new home.
How Do You Start a Garden in the Ground?
To directly sow a seed into the ground, place the seed in the dirt and cover with a light layer of soil. Check the back of your seed packet to find information about how deep to plant the seed, the spacing it requires to grow well, how long it will take to mature and what type of weather the plant prefers such as temperature and amount of sunlight.
Water Your Plants
Knowing when you to water your plants takes experience. If you are using a mulch garden, you will be able to water less frequently. Potted plants in containers dry out quickly and will need watered quite often, especially during the heat of the summer. Generally speaking, every few days should be sufficient but this greatly varies on the temperature, sunlight and if the plant is drought tolerant or prefers to be moist.
How to Label Plants in a Garden
Don’t forget to label your plants! Nothing is worse than walking through the garden and not knowing what is what. If you jump on Pinterest, there are a ton of aesthetically pleasing ideas to label the plants in your garden. I have a tutorial on how to make air-dry clay plant markers in my free eBook to add a handmade touch to your garden.
If you prefer practical over beauty, you can use a wooden painting stick and a sharpie marker. Simply write the plant name on the stick and tap it into the ground using a hammer or the back of a shovel.
Harvesting and Preserving
Harvest time! It’s time to reap your reward! After a long season of planting, growing and nurturing, you can finally enjoy the fruits of your labor, literally. Fresh fruits and vegetables are delicious right from the vine and can be eaten raw or turned into plenty of nutritious dishes and meals.
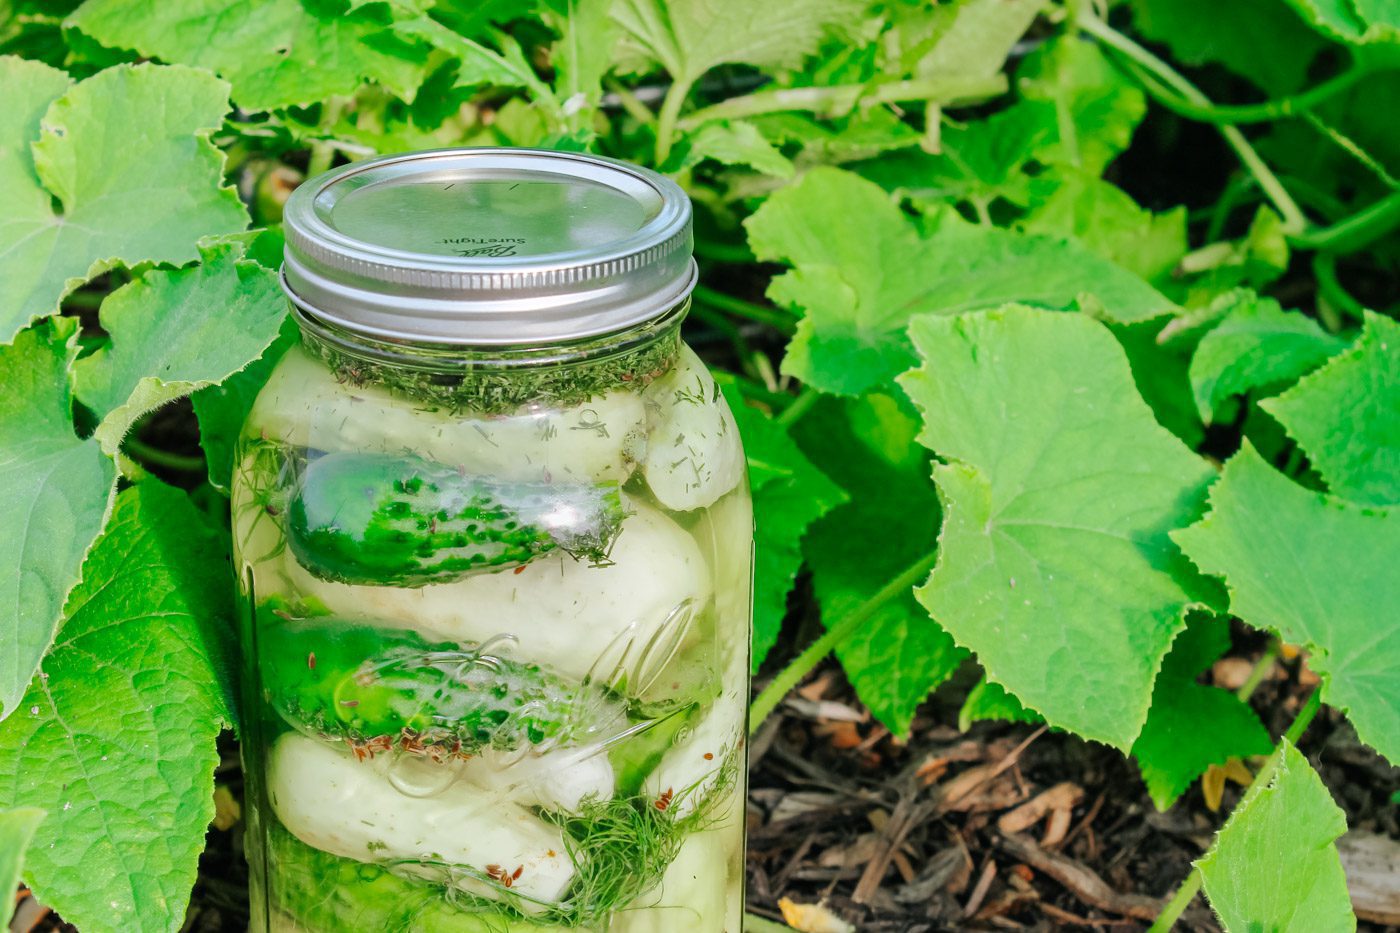
If you plan to continue to use the harvest throughout the fall and winter months, you will want to preserve. Preservation comes in a variety of forms including dehydrating, canning, fermenting, freezing and drying. Transforming cucumbers into probiotic pickles is my favorite way to use up an abundance of cukes. We usually can our tomatoes or turn them into marinara sauce. To preserve our apples, we like to sprinkle them with cinnamon, place them in the dehydrator and convert them into apple chips. Herbs are probably one of the easiest plants to preserve. You can learn how to dry and store your homegrown herbs by reading this post.
Our Favorite Gardening Tools
This post contains affiliate links, which means I make a small commission at no extra cost to you. In any case, I only link to products we actually use on our homestead and that I believe can truly benefit to you. See my full disclosure here.
Indoor Watering Bottle & Watering Can
Discover More Garden Tutorials
6 Ways to Maximize Your Garden Space
Pin for Later