Maximize your garden space and gain control over the quality of your soil by building a DIY cinder block raised garden bed. Budget friendly and simple to construct within an afternoon. Learn how we built this DIY garden bed and print out the step by step plans below.
Gardening is pretty much a must-have on a homestead. Every winter we plan out our summer garden, order seeds and begin dreaming of warm days with garden beds full of fresh produce. This year we wanted to expand our list of crops and grow sweet potatoes and shallots.
But there is just one problem. In our neck of the woods we have a lot of clay in our soil, which isn’t always ideal for growing things like carrots and onions.
You see, years ago the land was referred to as the Black Swamp. It wasn’t until settlers moved into the area that they changed the environment, allowing people to build homes and live their lives here.
If you drove by our place today, you would never know it was once a swamp. Even though the dynamic of the land has changed, when it rains, some areas are still flooded. My parents front yard is a great example. It is a large open space full of lush grass, surrounded by trees, but should a storm hit, certain areas of their front lawn become swamp-like again. There is no draining it, no mowing it and no planting in it.
Enter in the idea of building a DIY cinder block raised garden bed.
Concrete Block Raised Bed
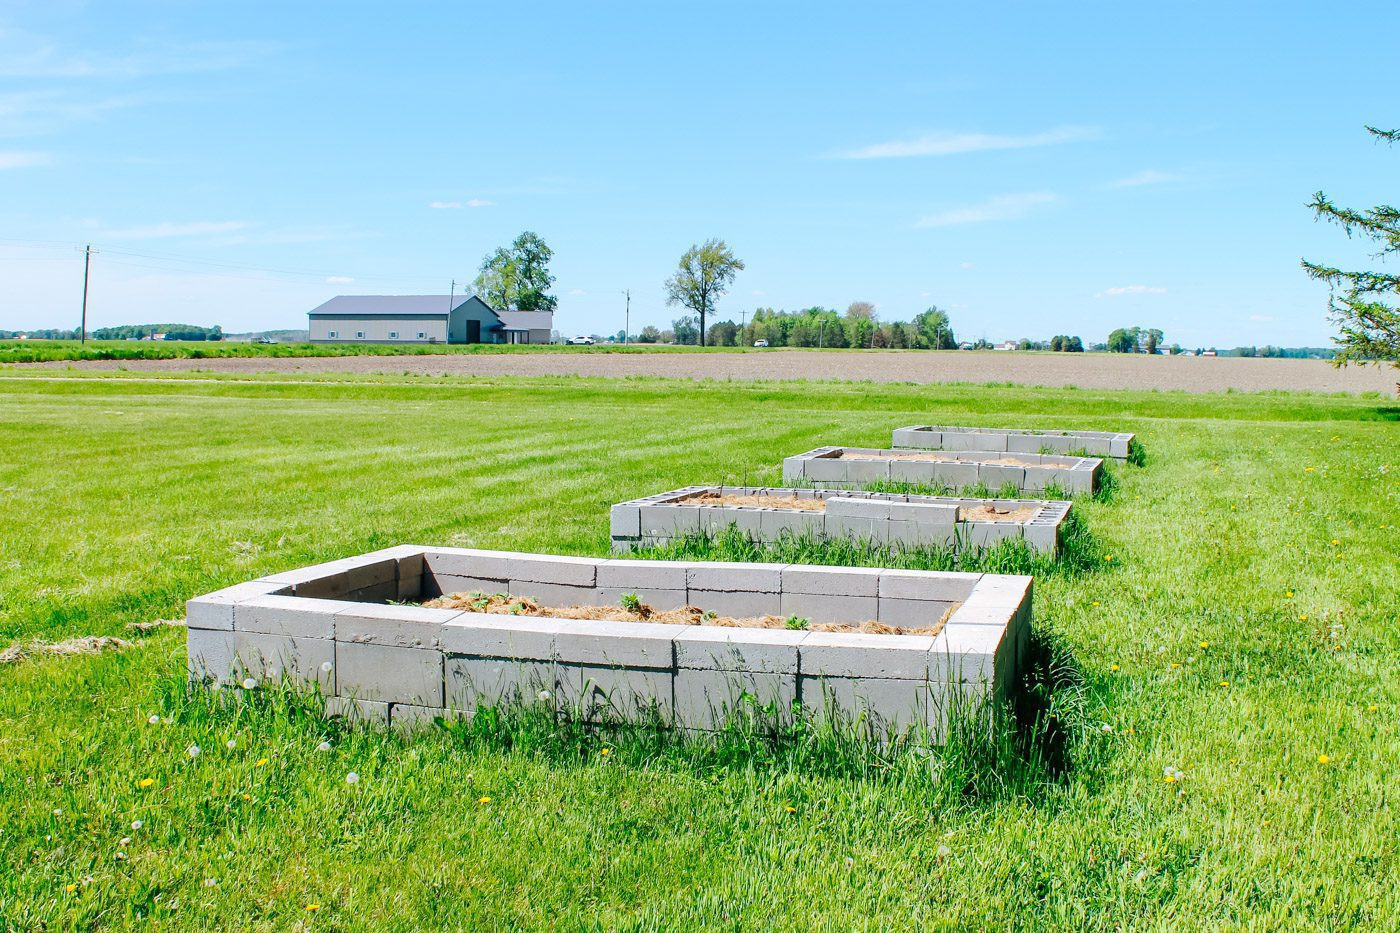
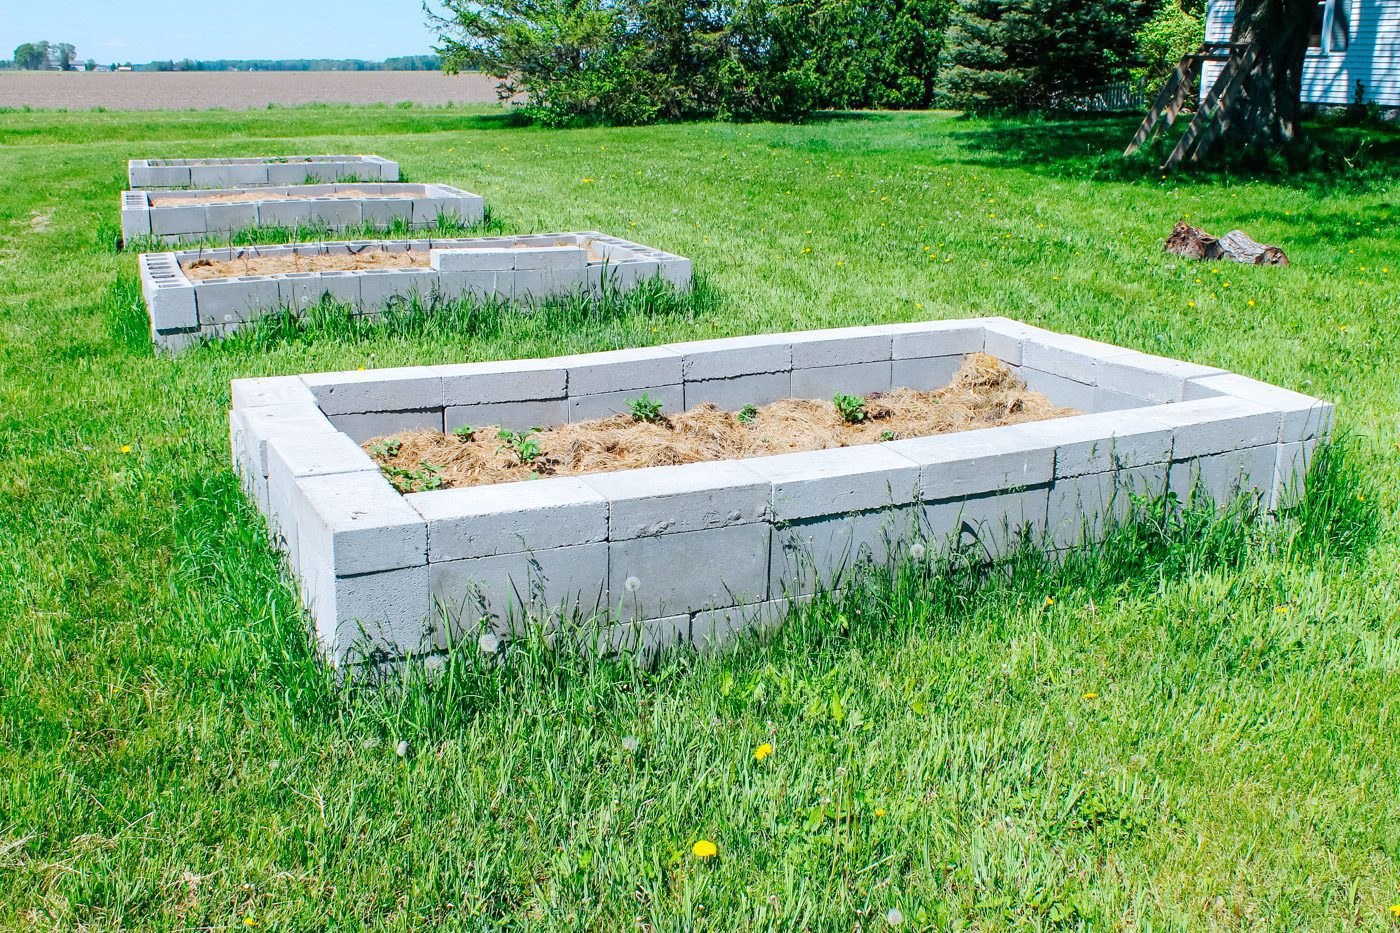
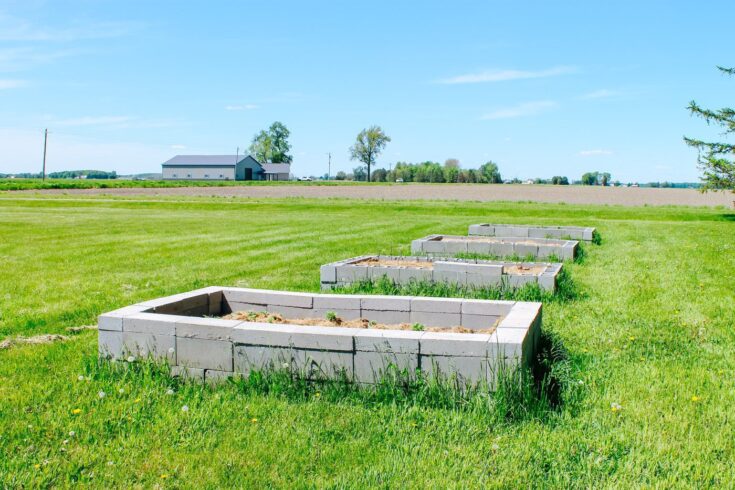
In order to combat the clay soil and high waters, my family and I decided to construct a cinder block raised garden bed on the outskirts of the front lawn. These beds would allow us to grow things that had been unsuccessful in the past. Filled with deep, dark, rich soil and above the flood zone, we could grow those carrots and onions that we always wanted to.
There are a variety of reasons why we decided to build a raised garden bed with cinder blocks versus one built with cedar wood. The first being the most prominent, cost. Building with concrete blocks is much cheaper than a bed formed with sheet metal or wood. Concrete blocks are also easy to use and allowed us to customize the shape and size of the garden bed.
Have you ever wondered if a raised bed was appropriate for your home? Or perhaps you’ve thought it might just be the answer to your gardening dilemmas? If you are looking for a budget friendly raised garden bed idea, consider building a cinder block raised garden bed. Print out the step by step instructions to build a raised garden bed below.
How to Fill a Raised Garden Bed
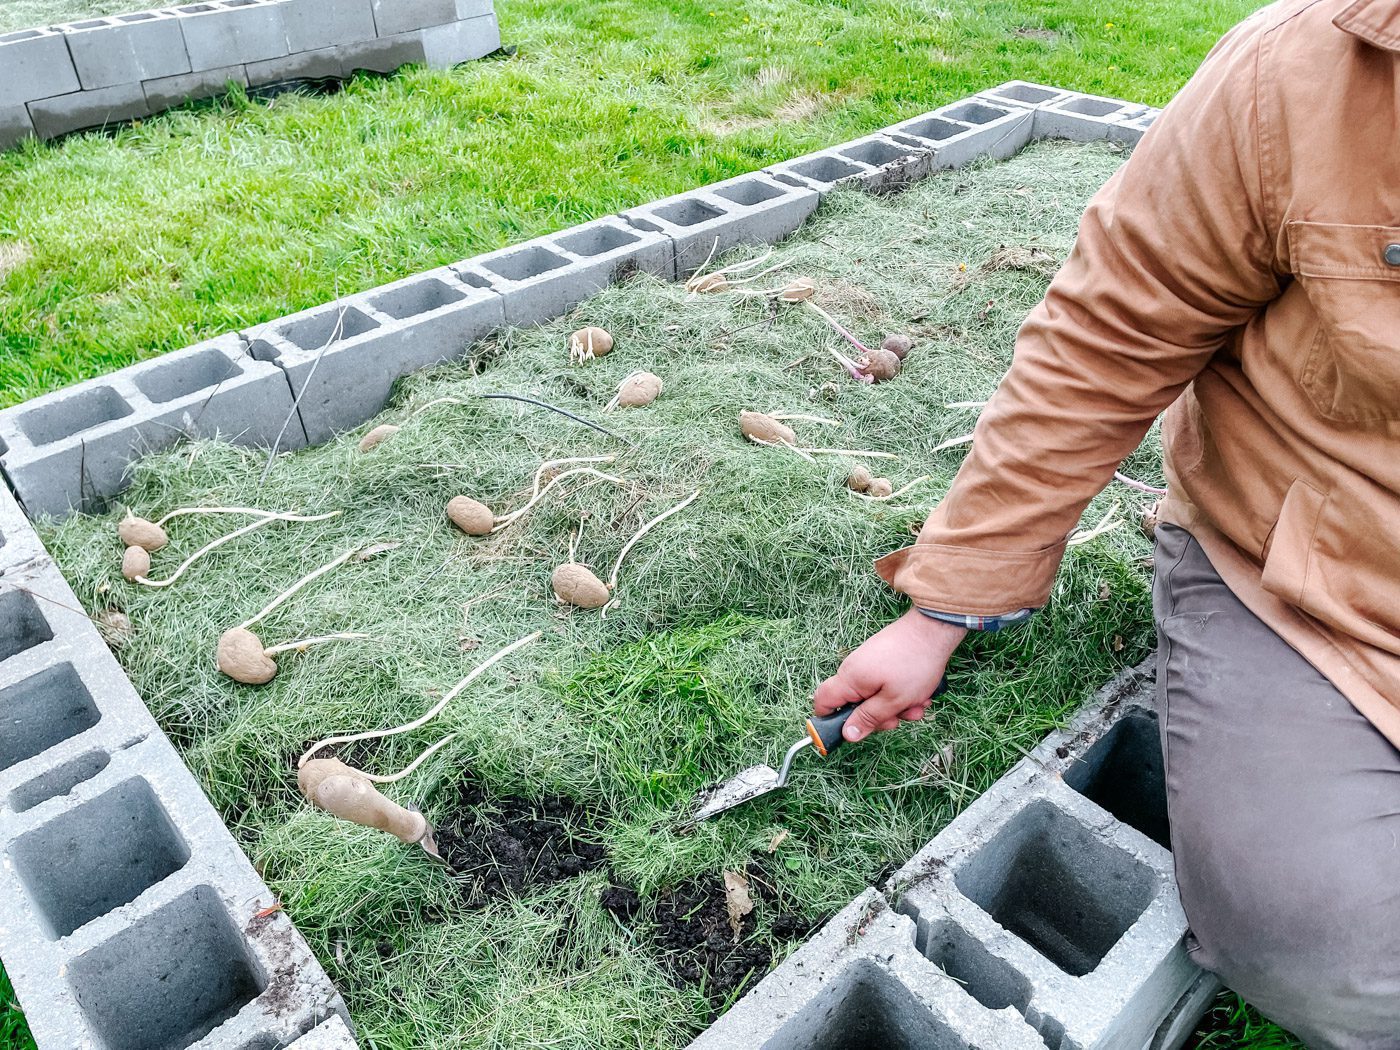
Typically in a small raised garden bed a couple bags of quality potting soil with some compost is enough to fill it. But since the cinder block raised garden bed is fairly big, it takes a large amount of soil to fill the bed to the top. To save money on soil, you can load the bottom of the bed with untreated straw, grass clippings, leaves, mulch, wood chips or even tree stumps.

What Can You Plant in a Raised Garden Bed?
There are an endless amount of veggies, fruits, flowers and herbs that you can grow in a raised garden bed. Here are just a few ideas on what to plant in a raised bed:
- Bush beans
- Green peppers
- Lettuce
- Kale
- Culinary herbs such as thyme, oregano or parsley
- Medicinal herbs such as calendula, lemon balm or mint
- Garlic
- Potatoes
- Sweet potatoes
- Strawberries
- Blueberries
- Onions
- Shallots
- Lavender
Should I Line my Raised Garden Bed to Prevent Weeds and Grass?
If you have a weed or pest problem, lining your raised garden bed with a fabric, mesh or plastic ground cover can be beneficial. We chose to line the edges of the garden bed with landscape fabric and the inside of the bed with cardboard.
Where to Put a Raised Garden Bed
When selecting a location for your raised garden, choose a spot that gets plenty of sunlight, has good drainage and is, ideally, close to a water source. It is easier to water, maintain and harvest the vegetation if the bed is near your home. Much less back and forth walking with a heavy watering is ideal on our homestead!
DIY Raised Garden Bed Video Tutorial
Step by Step Raised Garden Bed Plans
Supplies to Build a DIY Cinder Block Raised Garden Bed
36 8” x 8” x 16” concrete blocks
8 8” x 8” x 16” smooth sided concrete blocks (for the corners)
20 8” x 4” x 16” concrete solid block (such as these from Home Depot)
Landscape fabric (optional)
Scrap pieces of cardboard (optional)
Soil
How to Build a Raised Garden Bed With Concrete Blocks

Begin gathering sixteen 8” x 8” x 16” concrete blocks and four 8” x 8” x 16” corner blocks for the first layer of the raised bed. If using fabric as a weed barrier, cut two strips of landscape fabric approximately 14” x 112” and two strips in the dimensions of 14” x 64”. Lay all four pieces of fabric out in the shape of a rectangle, being sure that the corners overlap. This will help to prevent any weeds or grass from growing up into the holes of the concrete blocks.
Place four 8” x 8” x 16” smooth sided corner blocks at each corner of the garden bed directly on top of the landscape fabric. Between each corner brick, add the remaining sixteen 8” x 8” x 16” concrete blocks. When finished you should have 6 concrete blocks on the long sides and 2 on the short sides. See completed garden bed photos above for reference.
Tip: To keep your blocks going in a straight line, it helps to use a wooden board as a straight edge to follow.
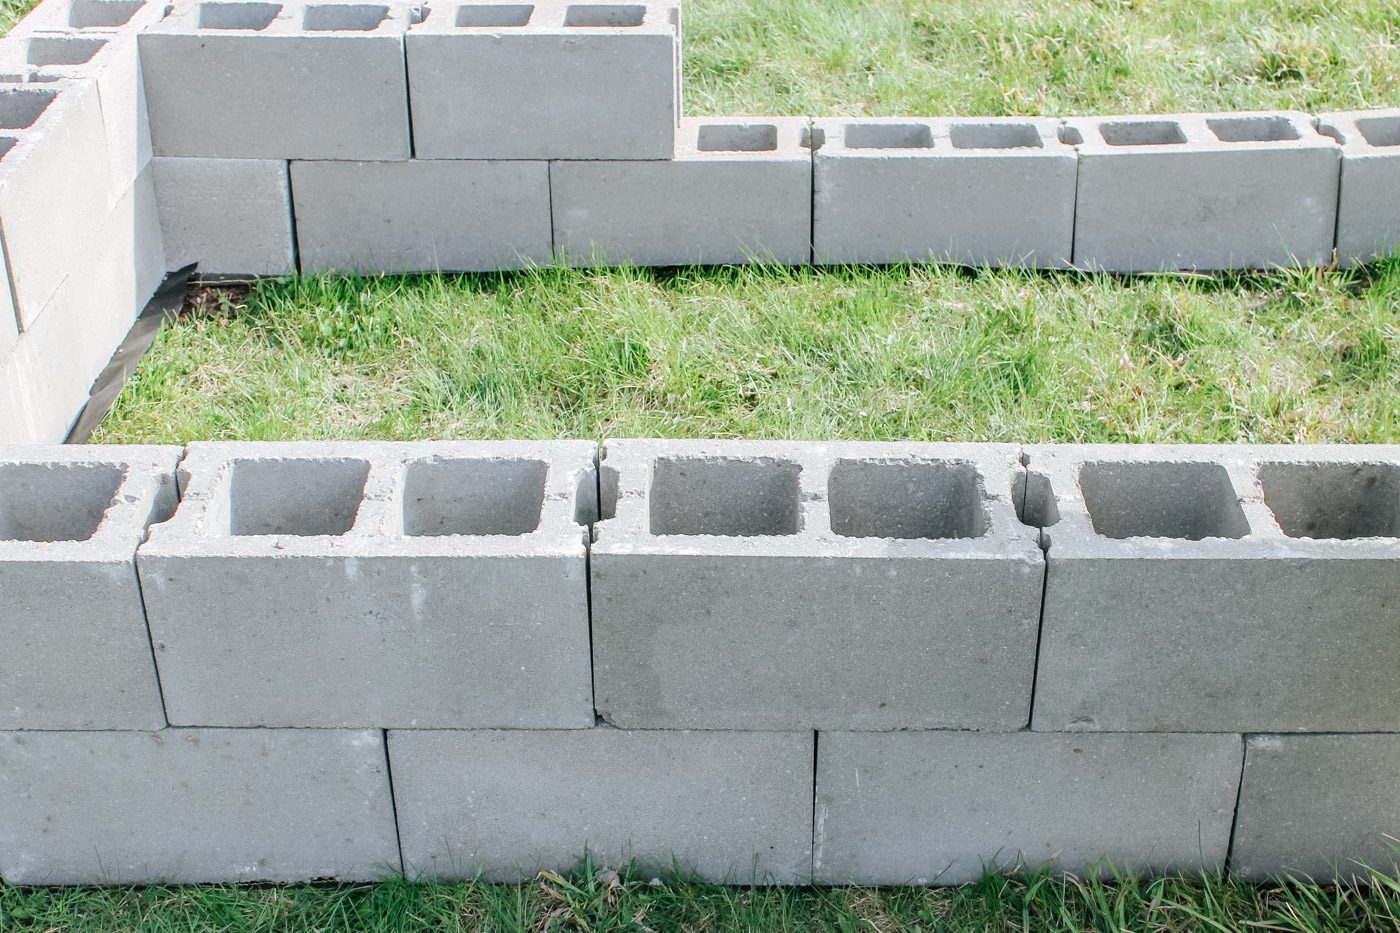
Once the first layer has been completed, repeat the process to build the the second layer. Stagger the bricks so that half of the block overlaps the next block. You do not want the joints of your wall to be even or the walls will become weak and may shift over time.
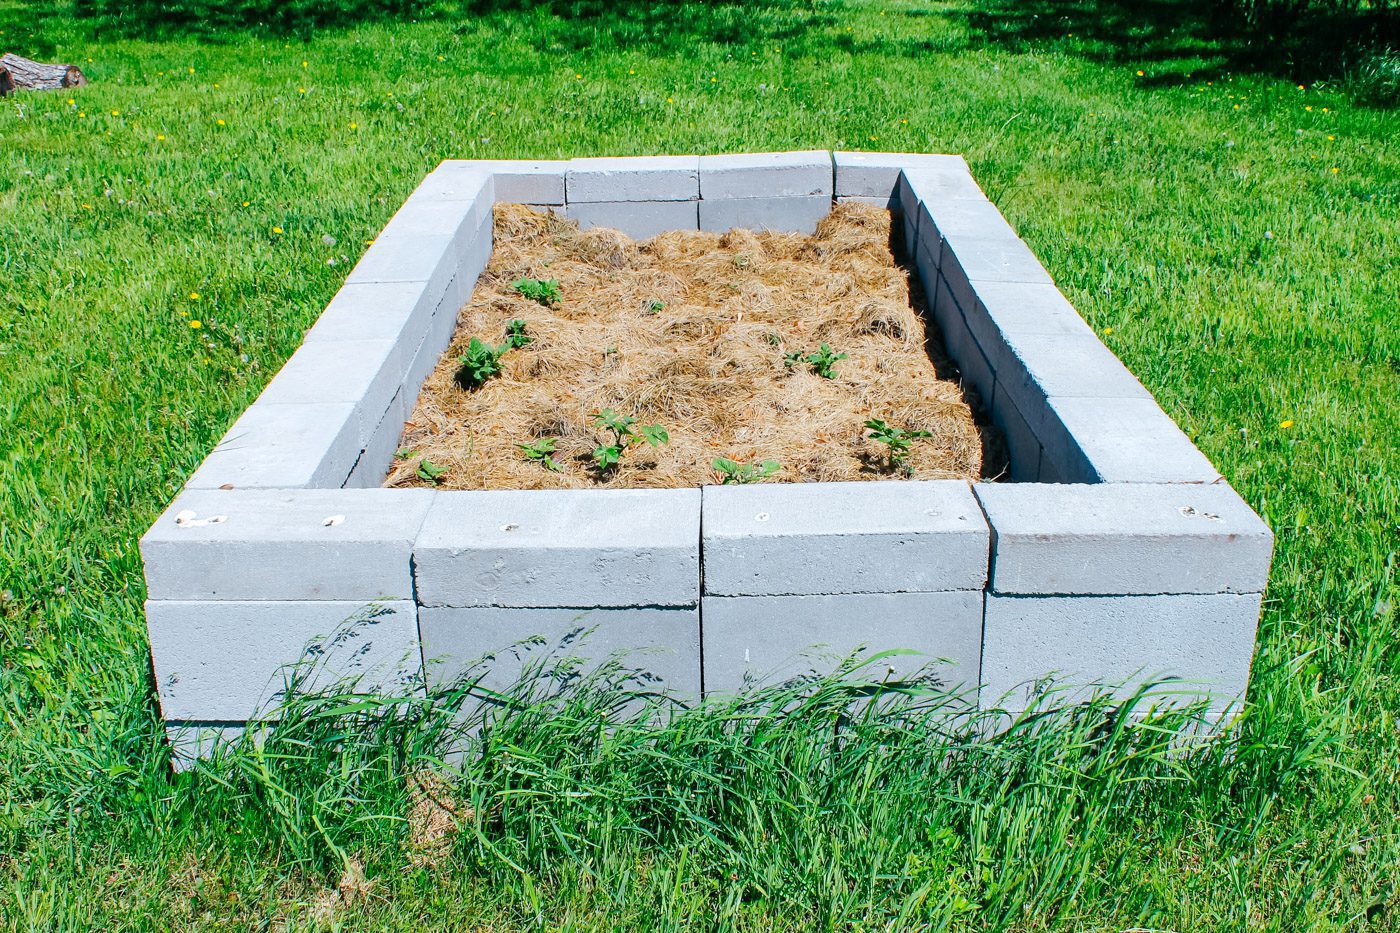
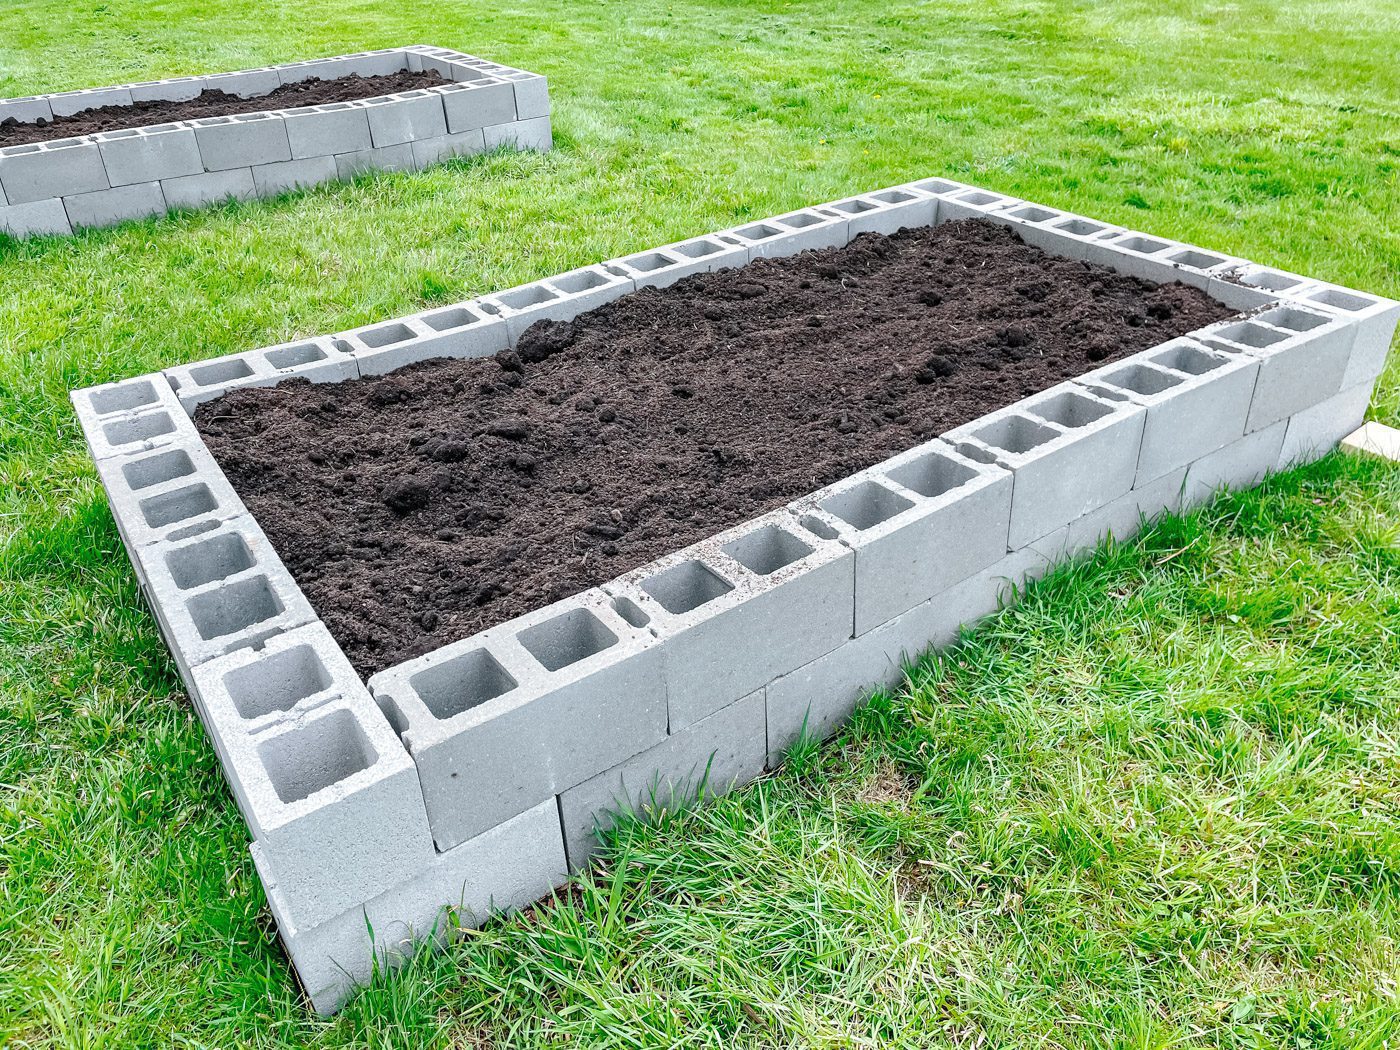
To finish off the walls of the garden bed, add twenty 8” x 4” x 16” concrete solid blocks to the top of the second layer. These blocks not only give the stone raised beds a finished look, they also help to prevent pesky weeds from growing inside the holes of the concrete blocks.
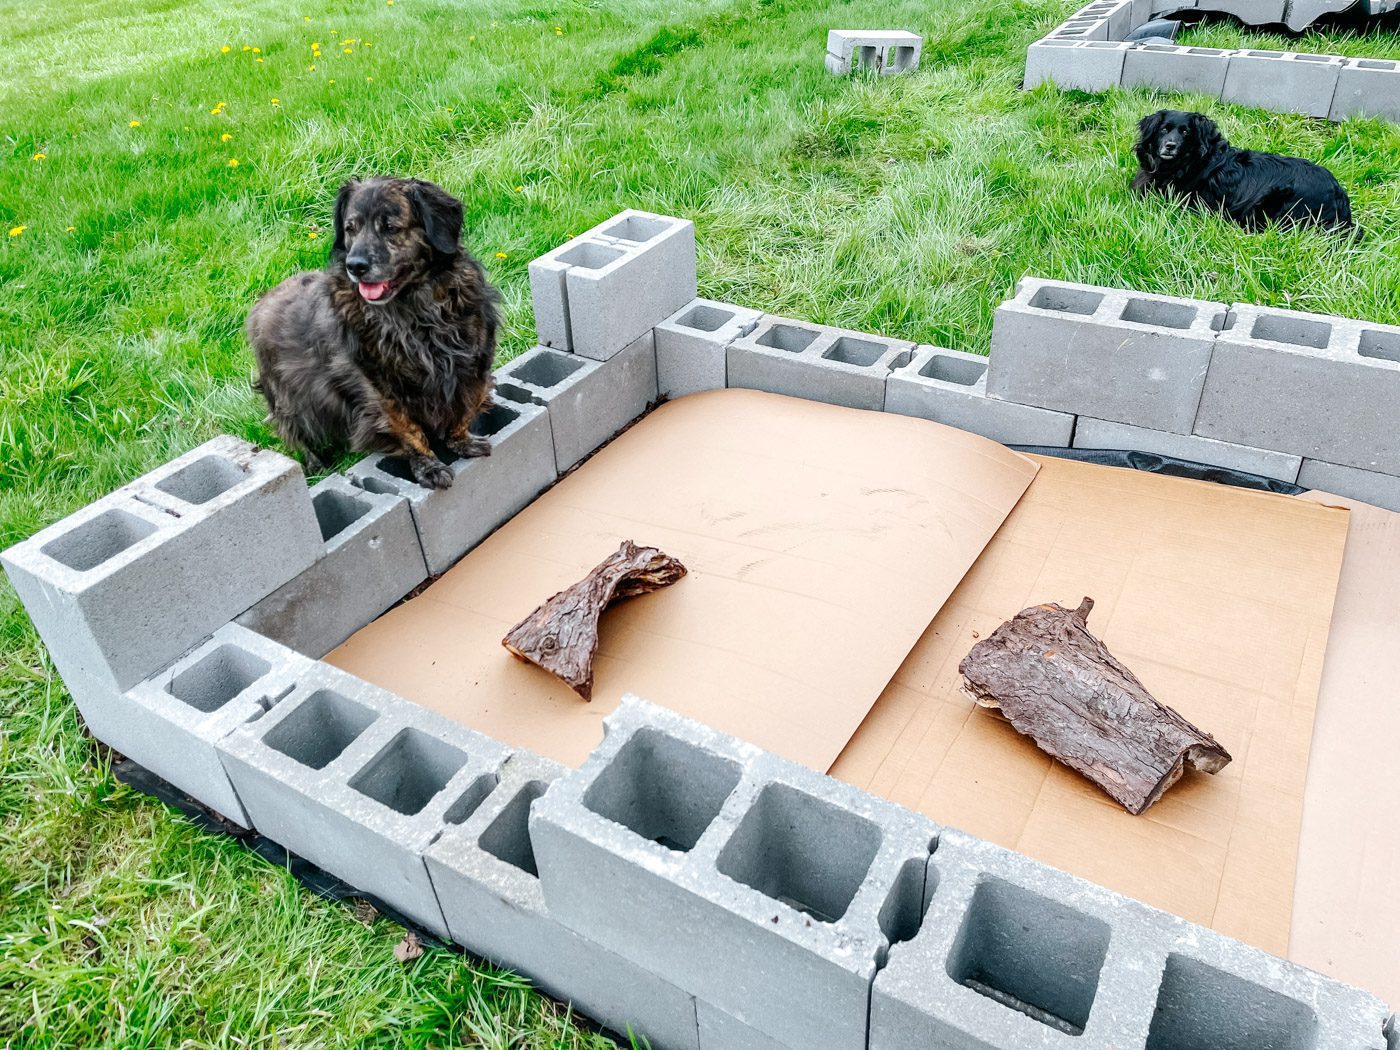
Next, lay strips of cardboard down into the bottom of the concrete raised bed. The purpose of the cardboard is to suppress the weeds. Technically you could lay landscape fabric down instead of the cardboard but we wanted the worms to be able to get into the soil once the cardboard decays.
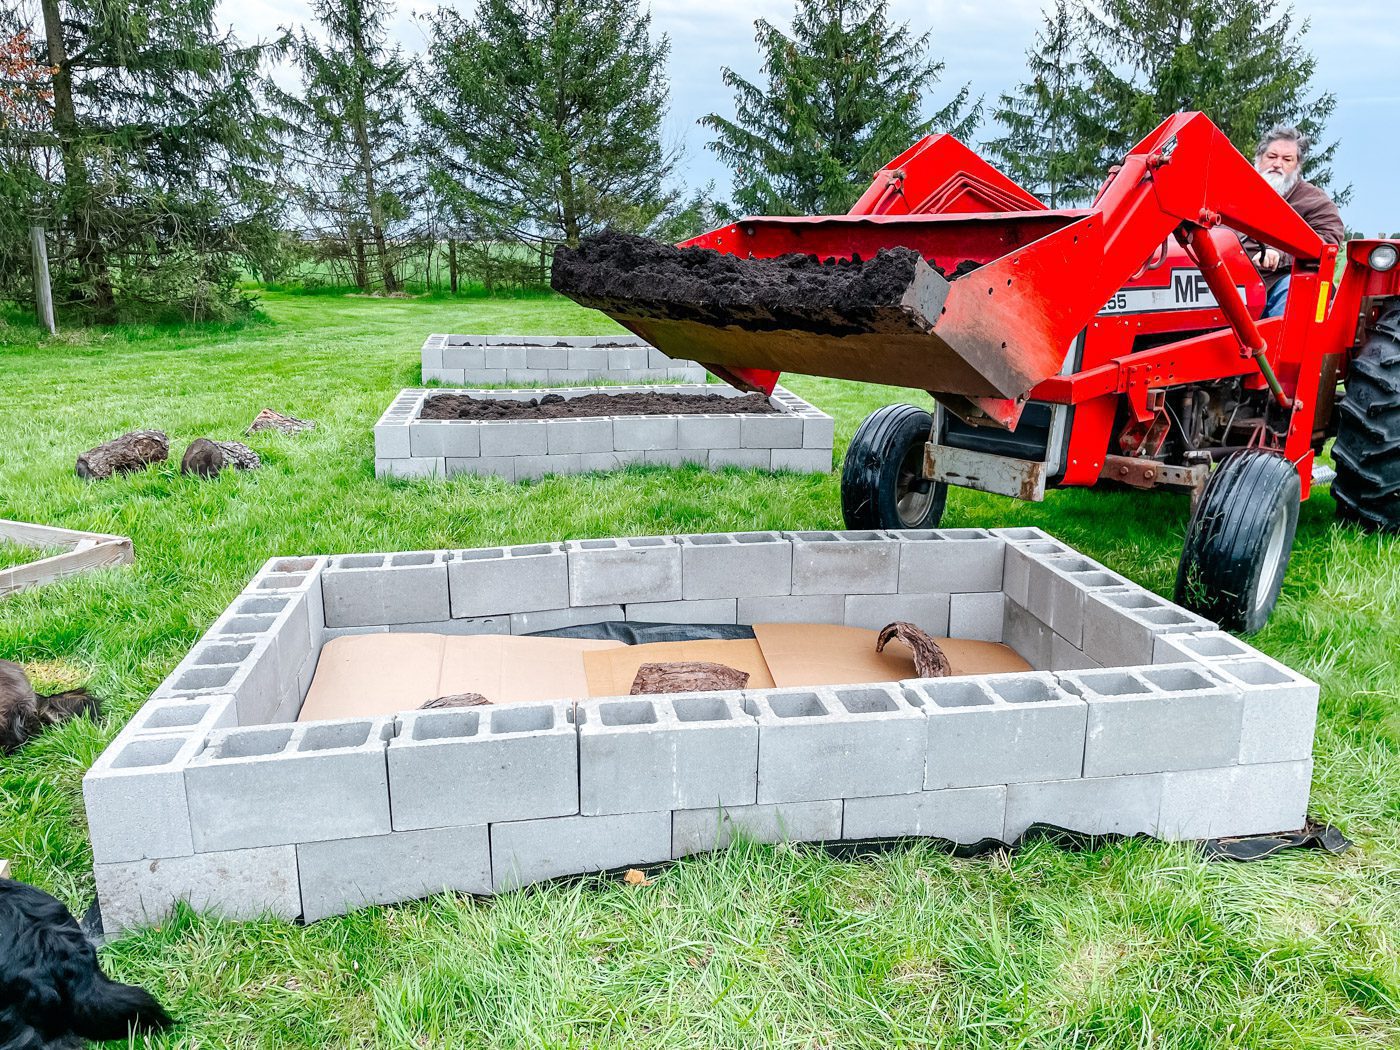
Fill the raised beds with soil. If you have things like grass, tree branches or straw, lay them on the bottom of the bed. This will prevent you from having to fill the beds with so much dirt.
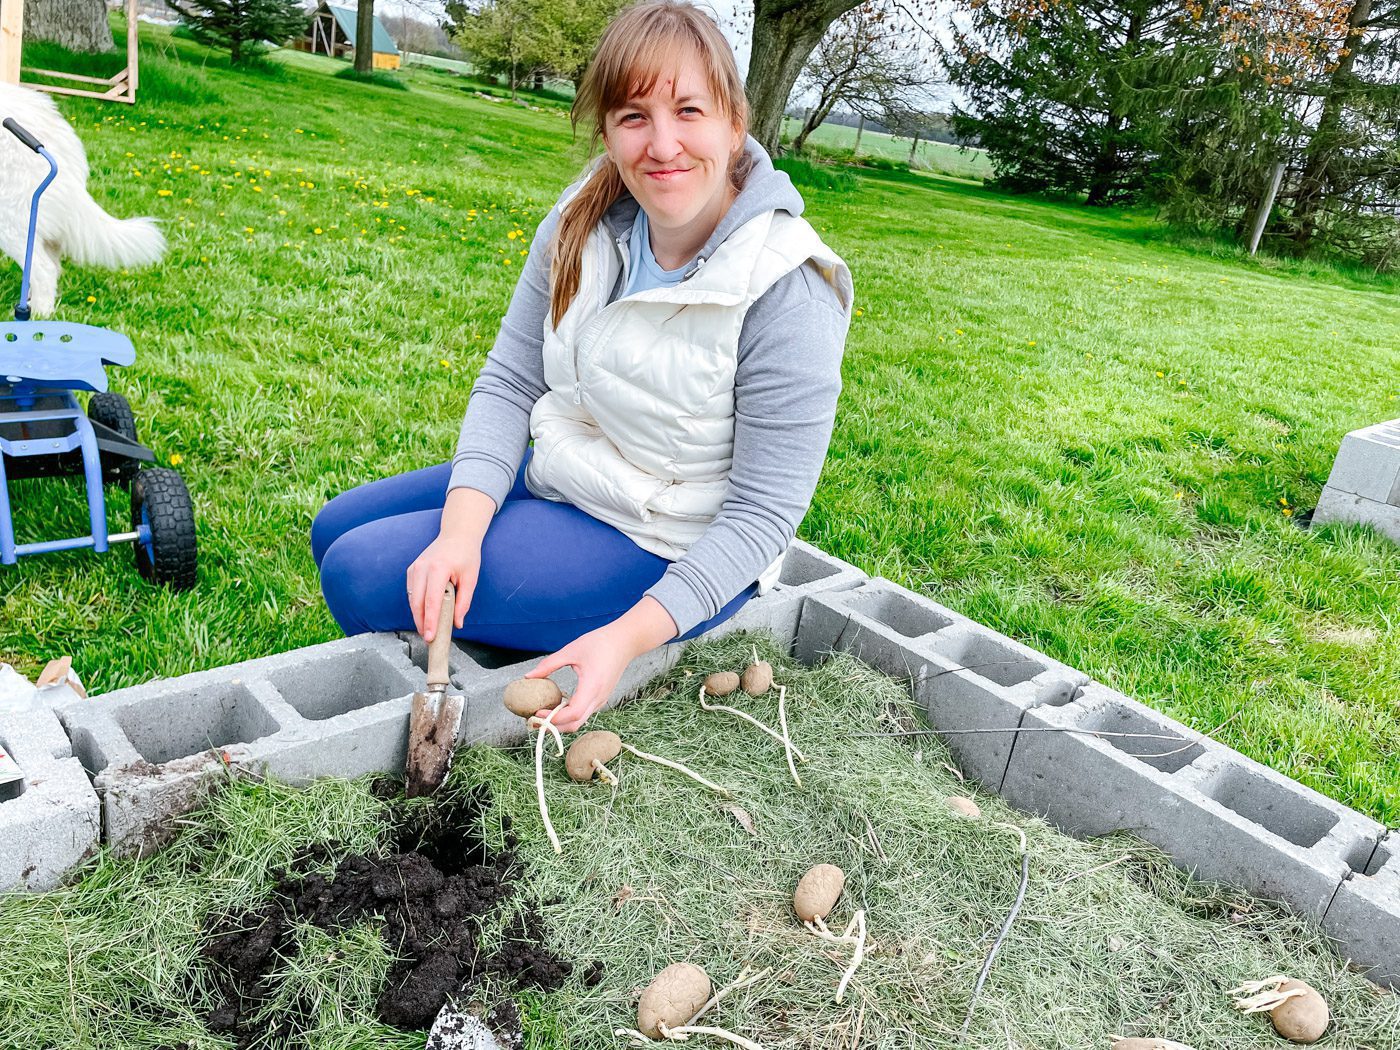
The DIY raised garden bed is now ready for planting. We planted potatoes, carrots and onions in our beds.
The finished concrete block raised bed will be 4’ x 8’ on the inside when completed.
More DIY Garden Tutorials
How to Maximize Your Gardening Space
How to Build a Raised Herb Garden,
Cinder Block Raised Garden Bed
Materials
- 36 8” x 8” x 16” concrete blocks
- 8 8” x 8” x 16” smooth sided concrete blocks (for the corners)
- 20 8” x 4” x 16” concrete solid block
- Landscape fabric (optional)
- Scrap pieces of cardboard (optional)
- Soil
Instructions
- Begin gathering sixteen 8” x 8” x 16” concrete blocks and four 8” x 8” x 16” corner blocks for the first layer of the raised bed. If using fabric as a weed barrier, cut two strips of landscape fabric approximately 14” x 112” and two strips in the dimensions of 14” x 64”. Lay all four pieces of fabric out in the shape of a rectangle, being sure that the corners overlap. This will help to prevent any weeds or grass from growing up into the holes of the concrete blocks.
- Place four 8” x 8” x 16” smooth sided corner blocks at each corner of the garden bed directly on top of the landscape fabric. Between each corner brick, add the remaining sixteen 8” x 8” x 16” concrete blocks. When finished you should have 6 concrete blocks on the long sides and 2 on the short sides. See completed garden bed photos above for reference.
- Once the first layer has been completed, repeat the process to build the the second layer. Stagger the bricks so that half of the block overlaps the next block. You do not want the joints of your wall to be even or the walls will become weak and may shift over time.
- To finish off the walls of the garden bed, add twenty 8” x 4” x 16” concrete solid blocks to the top of the second layer. These blocks not only give the stone raised beds a finished look, they also help to prevent pesky weeds from growing inside the holes of the concrete blocks.
- Next, lay strips of cardboard down into the bottom of the concrete raised bed. The purpose of the cardboard is to suppress the weeds. Technically you could lay landscape fabric down instead of the cardboard but we wanted the worms to be able to get into the soil once the cardboard decays.
- Fill the raised beds with soil. If you have things like grass, tree branches or straw, lay them on the bottom of the bed. This will prevent you from having to fill the beds with so much dirt.
- The DIY raised garden bed is now ready for planting. We planted potatoes, carrots and onions in our beds. The finished concrete block raised bed will be 4’ x 8’ on the inside when completed.


Thinking of building a cinder block garden
Sounds like a great idea!
what a nice, clear tutorial! I saw the concept on The Spruce, originally, but I like how you’ve finished these on top and the instructions were easy to understand for a beginner. Thank you!
Instead of putting solid blocks on the top row, I plan to plant flowers, wild garlic etc for pest control.
That sounds lovely