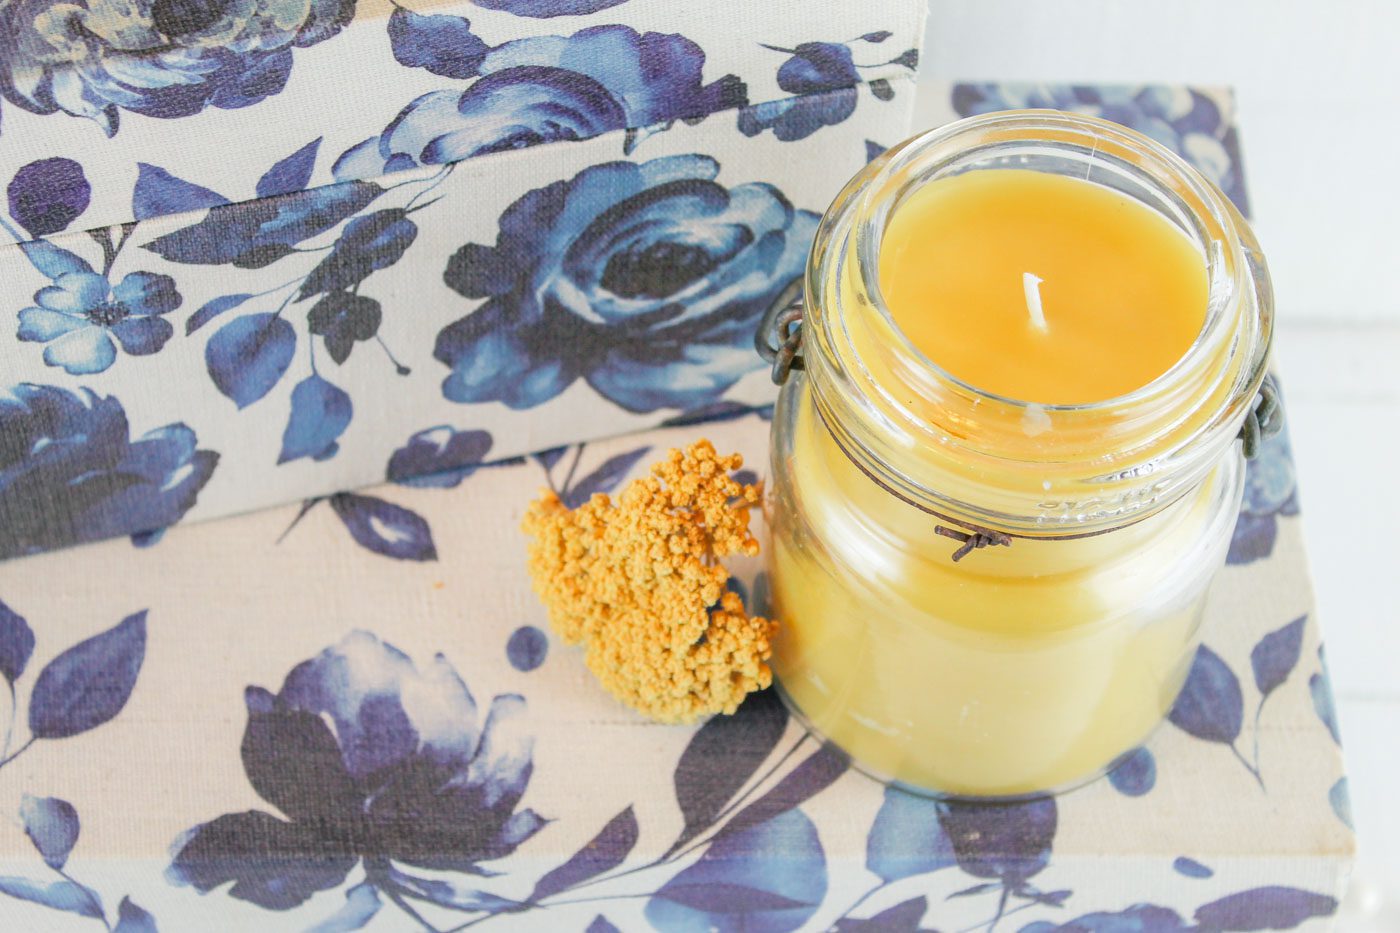
Illuminate your home with the beautiful ambience and soothing glow of a homemade beeswax candle. Discover how easy it is to make candles at home using just a pound of wax, a wick and a jar in this step by step candle making tutorial.

This post contains affiliate links, which means I make a small commission at no extra cost to you. In any case, I only link to products we actually use on our homestead and that I believe can truly benefit to you. See my full disclosure here.
Warm and cozy.
There is nothing quite like lighting a candle, snuggling up on the couch with a comfortable blanket, while relaxing to the soft flicker of a candle flame.
My family has always had a love for candles. I remember when I was younger my Mom and I would wait all year to go to the candle shop for their big annual sale where you could buy one candle, get one free. We’d spend a long time sniffing the different candles, deciding which ones were our favorites. We often leaned towards the scented candles that smelt like baked goods or were full of warm spices like cinnamon and clove. Occasionally we would select a fruity, tropical fragrance for the summer time when the house would be closed up and the air conditioner was running. When we got back home, we’d store the candles away, taking one out of the cabinet and burning it as needed. What fond memories those times were.
When we moved to a more rural area, trips to the nearest mall with a candle shop became less frequent. Eventually we stopped altogether and only purchased a candle on special occasions.
As I delved into the realm of natural living, making my own cleaners and cosmetics, I began experimenting with making candles at home. My first candle making experience was with my cousin, using soy wax and some other ingredients. The candle turned out abominably. Though it looked nice, it barely burned and in the end I just had to toss it. Looking back, we had no idea what we were doing and I probably should have researched how to make candles before tossing a bunch of random ingredients into a pot. Now, that I am older and wiser, I have learned how to make a candle that is not only beautiful and smells great but burns for hours on end.
Making a candle at home using beeswax is quite easy. All you need is a pound of wax, a candle wick, a container to burn your candle in and a some type of fragrance, if desired. The recipe below can easily be made in an afternoon and can certainly be doubled to make up a dozen little jar candles to give away as gifts.
What is Beeswax?
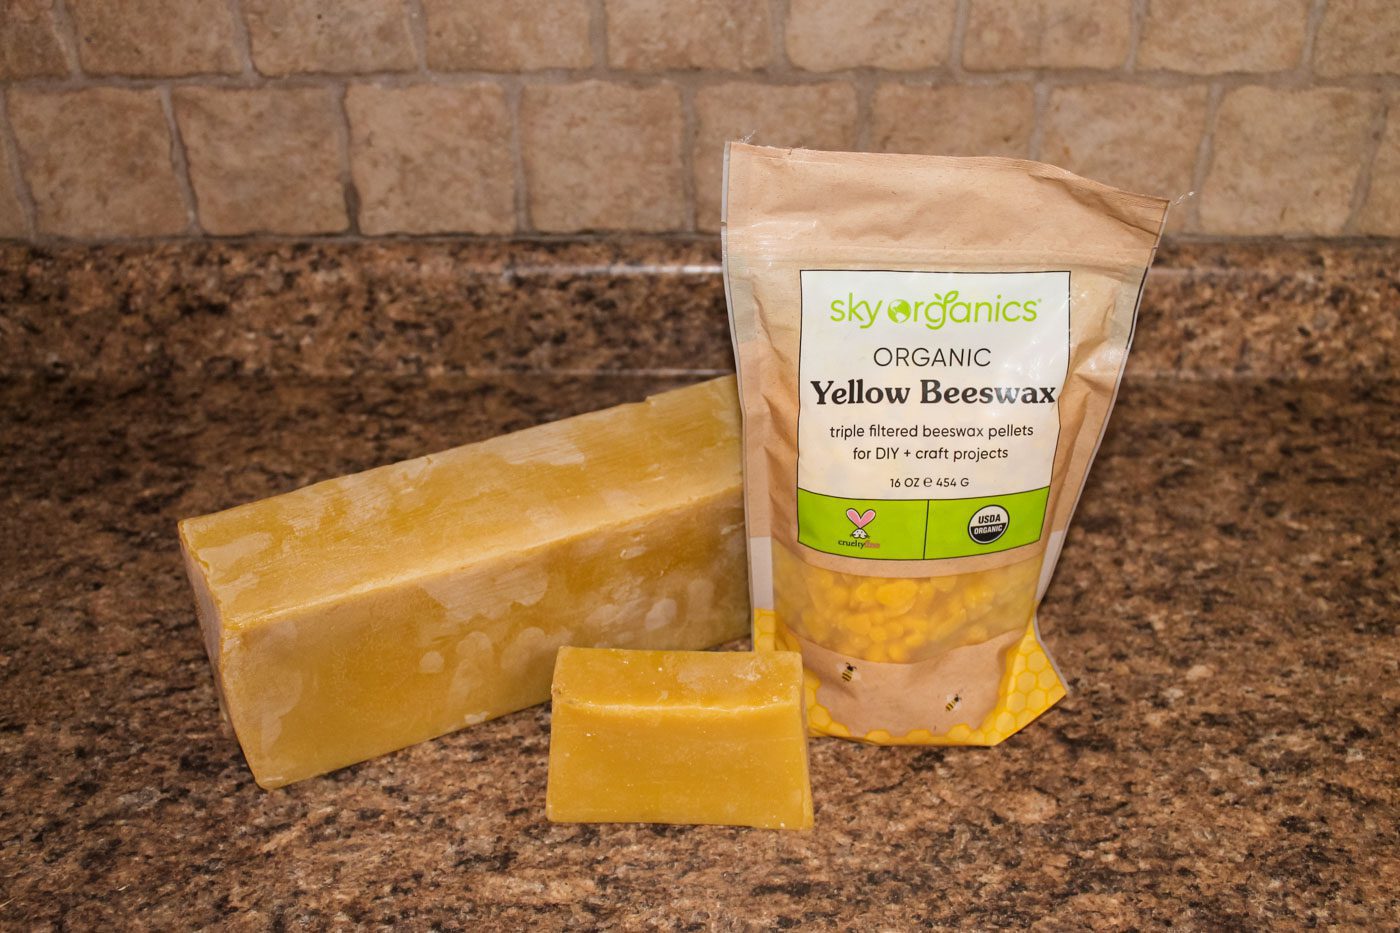
Beeswax is a natural form of wax created by honey bees. The wax is generally produced by the younger worker bees from the wax-producing glands on their abdomen. Bees will use the wax to store food as well as to build a place for the queen to lay her eggs. Today we use wax to create everything from beeswax candles and lip balm to furniture polish and salves.
Where to Purchase Beeswax for Candle Making?
There are a variety of sources to purchase beeswax from. If you already have bees, then you are set! Jump below to learn how to make a DIY beeswax candle. However, if you are like me and don’t have any bees you can purchase beeswax from a local beekeeper in your area or an online resource. A Drop of Honey is one of my favorite places to purchase beeswax in bulk. Amazon also sells beeswax in an array of sizes and shapes, including bars, blocks and pastilles. I have enjoyed using these beeswax pellets for many of my DIY projects.
Candle Making Tips
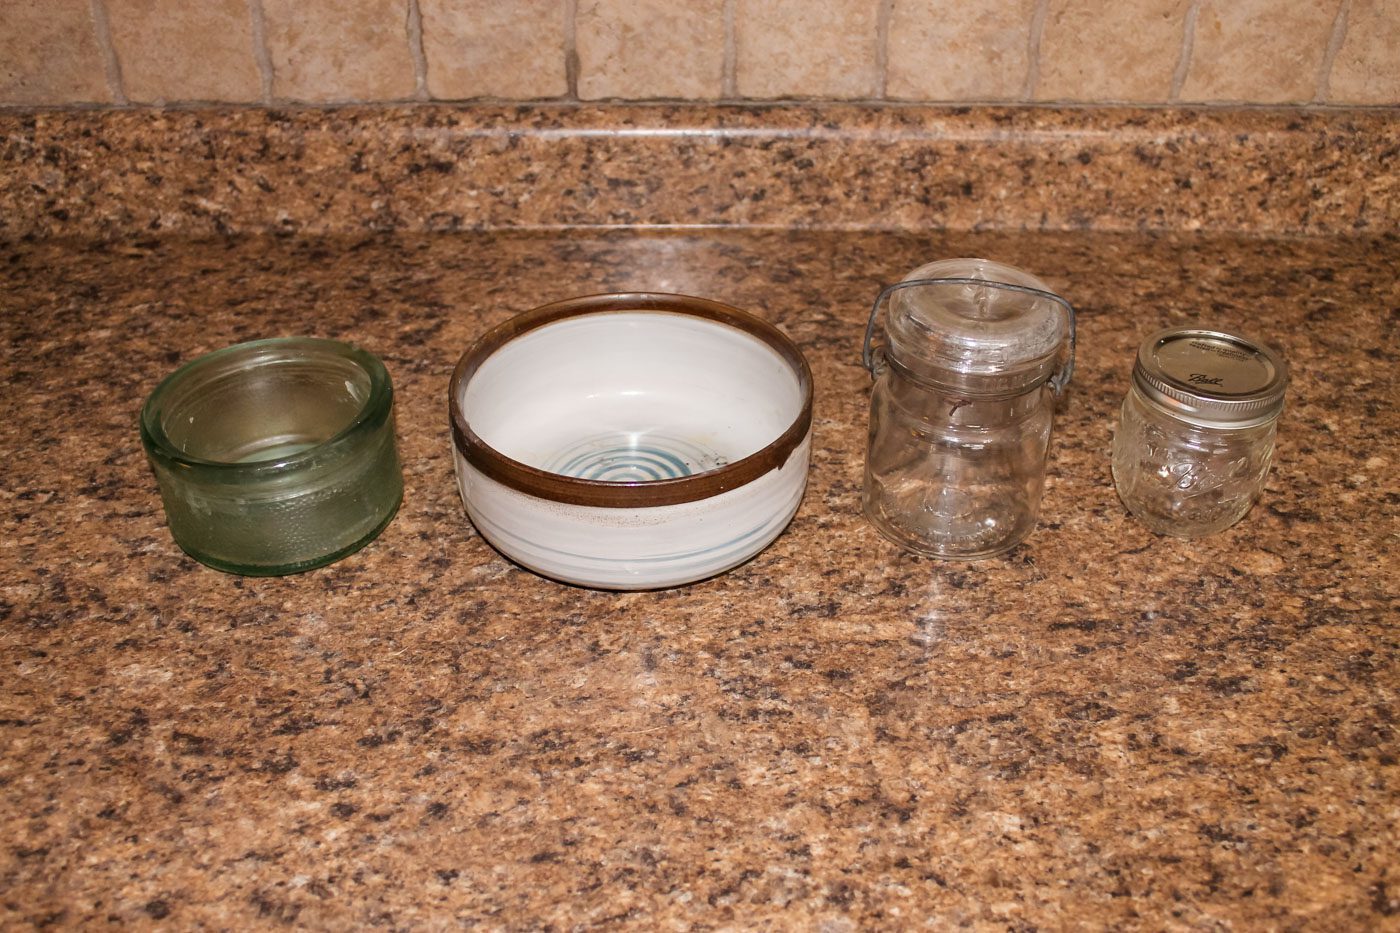
- You can create a beeswax candle in a variety of different vessels. A Ball canning jar is a great, easily accessible option. You can also use antique crocks, tea cups and glass bowls. I like visiting thrift shops to find containers to make handmade candles in.
- To create a makeshift double boiler, fill a saucepan with several inches of water and place a heatproof container inside the saucepan to melt the beeswax. The heatproof container can be in the form of a glass mason jar, a tin can, a glass bowl set on top of the saucepan or a candle making pitcher.
- It is nearly impossible to remove beeswax from a jar or container. I like to dedicate certain jars for my candle making supplies so that I can reuse them without worrying if there is residual wax stuck to the inside of the container.
- To make cleanup easier, cover your work surface with wax paper or parchment paper. One too many times have I dripped melted beeswax onto my kitchen counter, only to have it solidify in seconds, leaving me to use a plastic scraper to remove the wax from my countertops. Save yourself a little work by covering your table or countertop with some paper before you get started making your homemade candles.
- To secure the wick to the bottom of your container, use a hot glue gun. Alternatively, you can attach the wick using a glue dot, a dab of melted beeswax or a wick sticker.
DIY Beeswax Candle
Relax and unwind with a homemade beeswax candle, made with only natural ingredients. Learn how to make a simple candle using natural wax, oils and a cotton wick. Perfect for decorating your home or giving away as a DIY Christmas present or handmade gift.
Homemade Candle Ingredients
1 pound beeswax
1/2 cup coconut oil or cocoa butter, optional
Fragrance (1 teaspoon essential oil or 1 ounce fragrance oil), optional
Glass container for candle
Candle wick
Vessel to melt the beeswax in (such as a mason jar or candle making pot)
How to Make a Candle With Beeswax
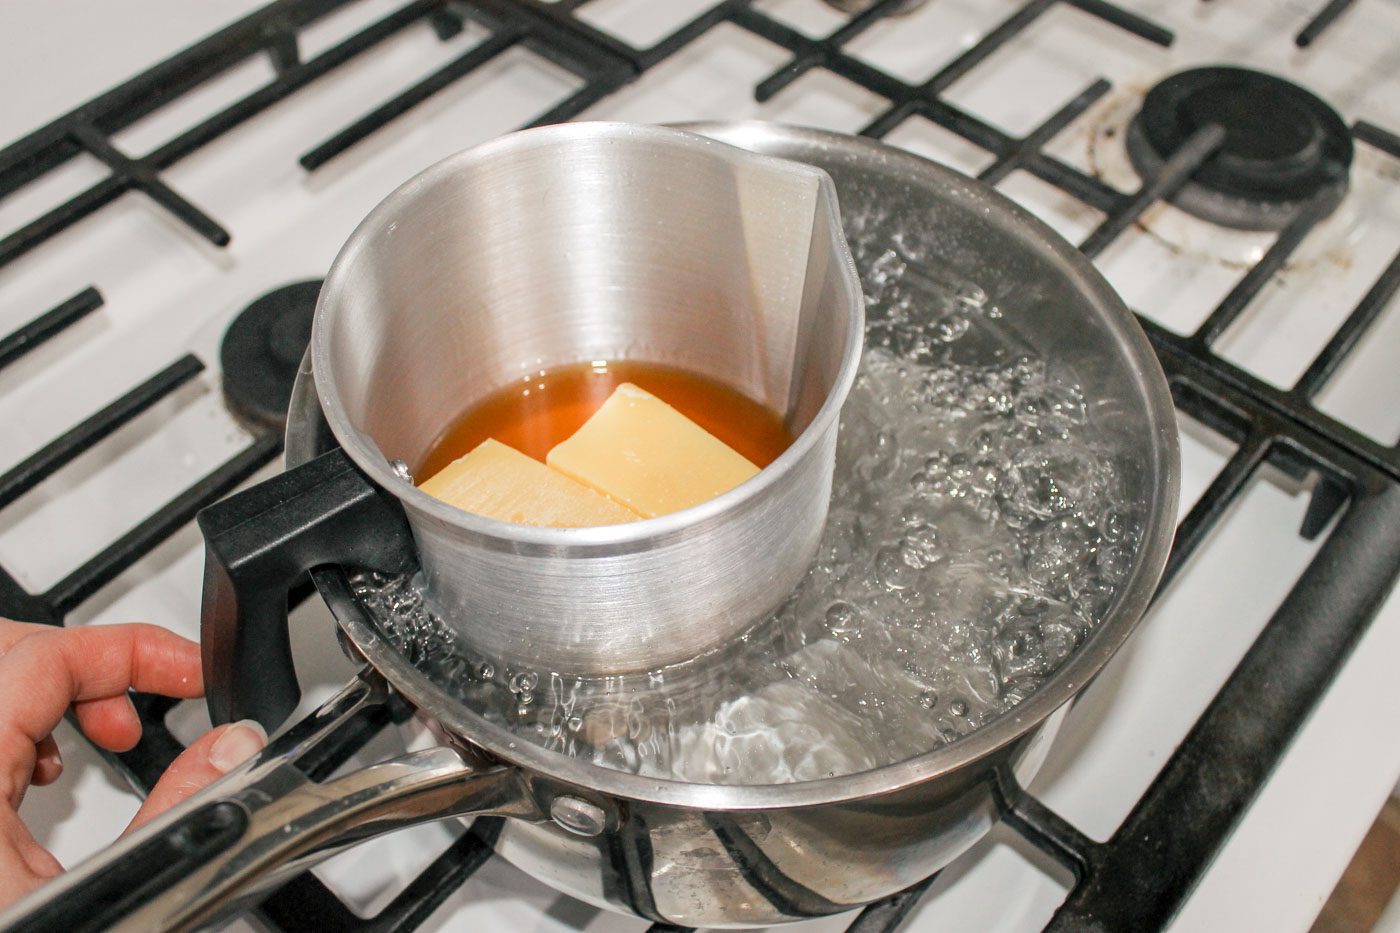
Fill a stock pot with several inches of water. Place your dedicated container for melting the wax into the pot. This will be our makeshift double boiler. Add the beeswax into the container along with the coconut oil or cocoa butter, if using. Turn the stove to medium. Bring water to a gentle boil and begin melting the wax.
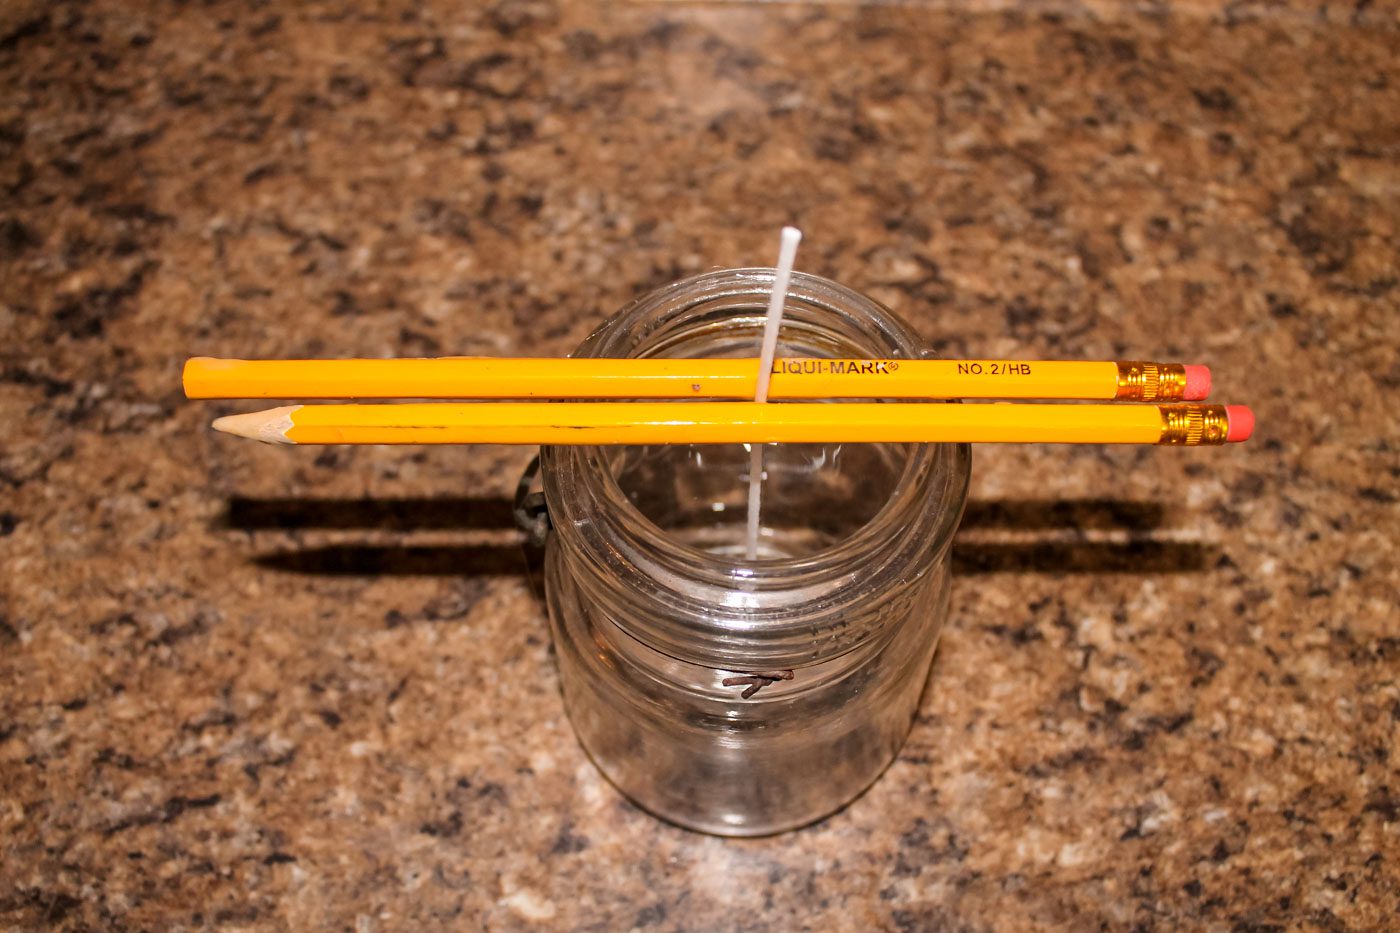
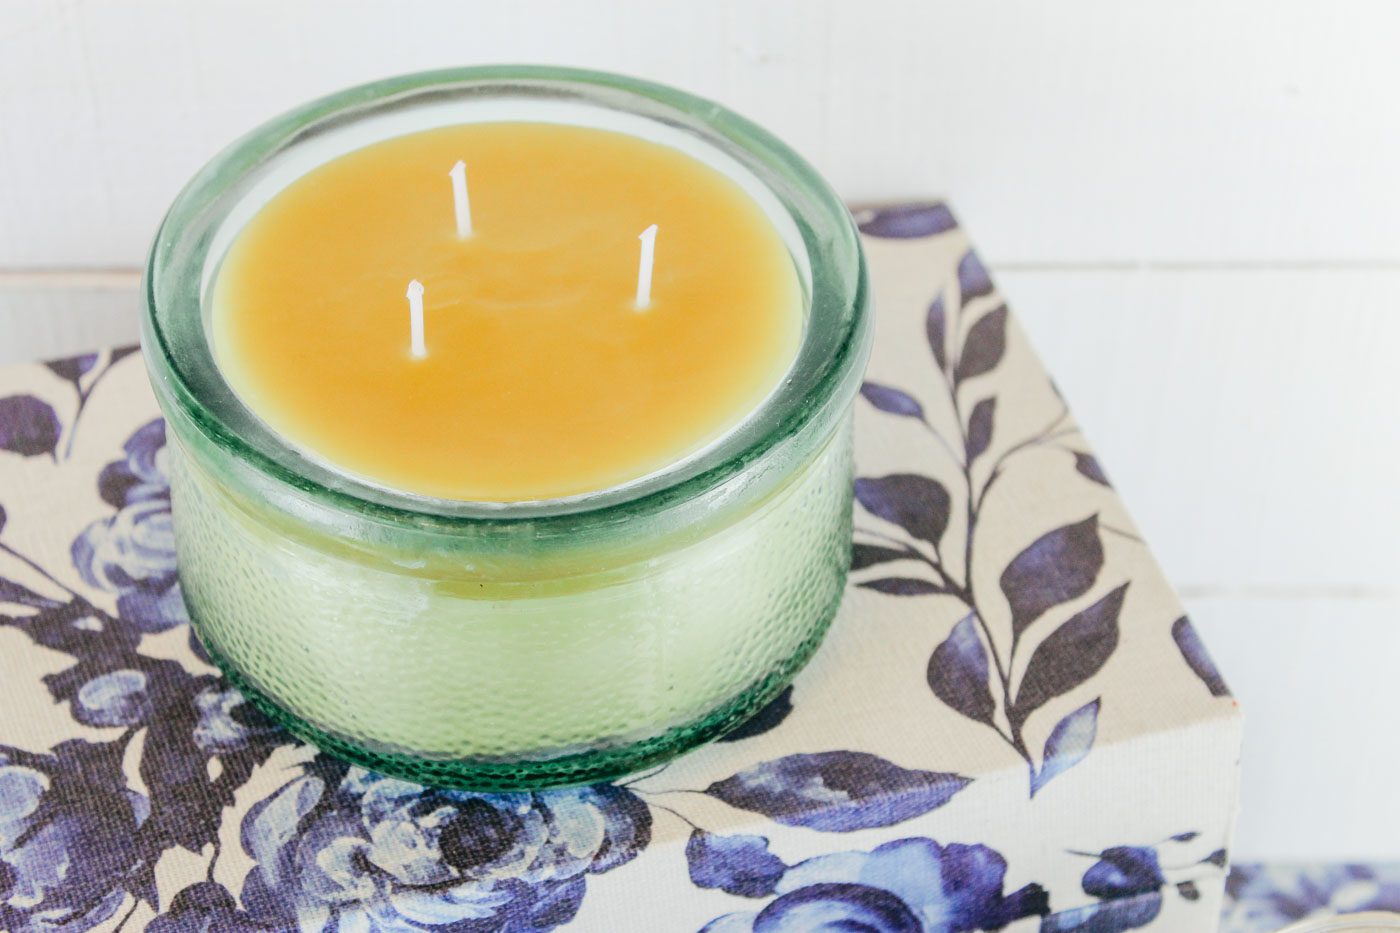
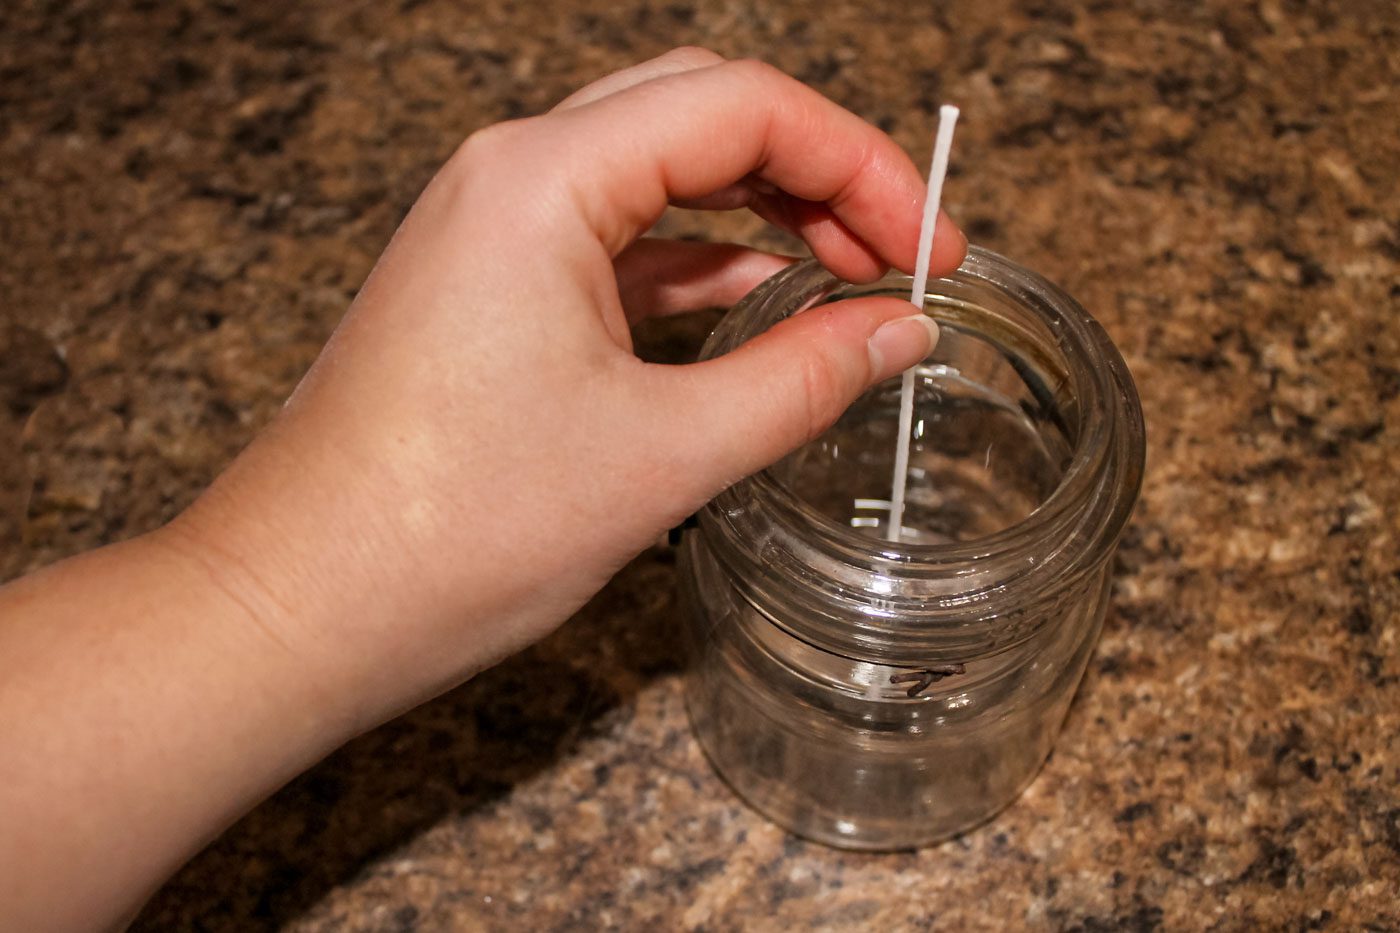
While the wax is melting, use a glue gun to attach the wick to the bottom center of the jar. If your chosen vessel is large, you may need to use more than one wick. To stabilize the wick(s) place pencils or dowel rods around the wick. You can also wrap the wick around the pencil if the wick is super fussy and won’t stand up straight against the rod.
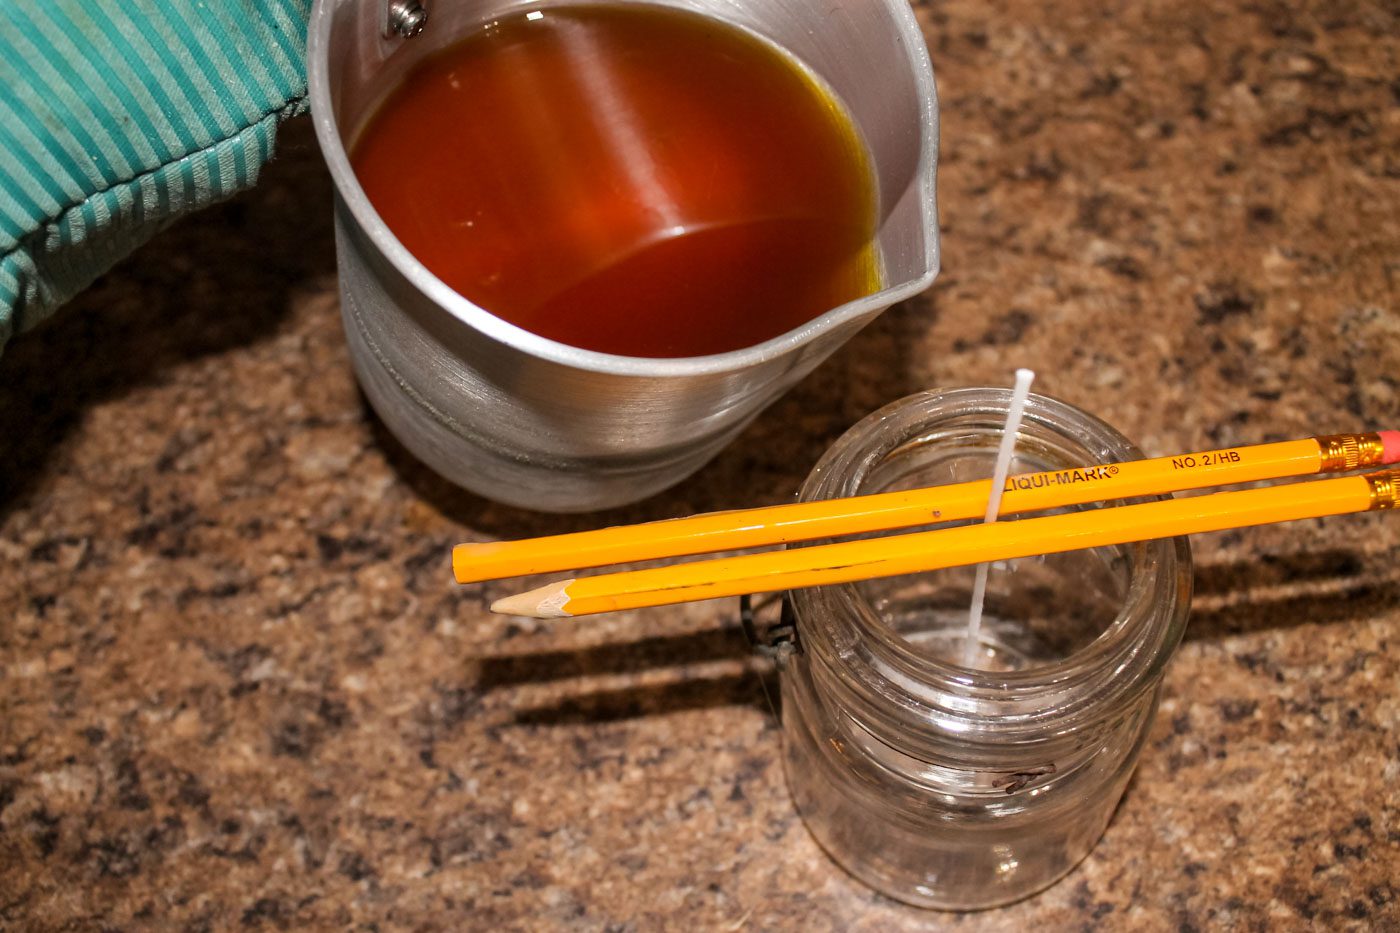
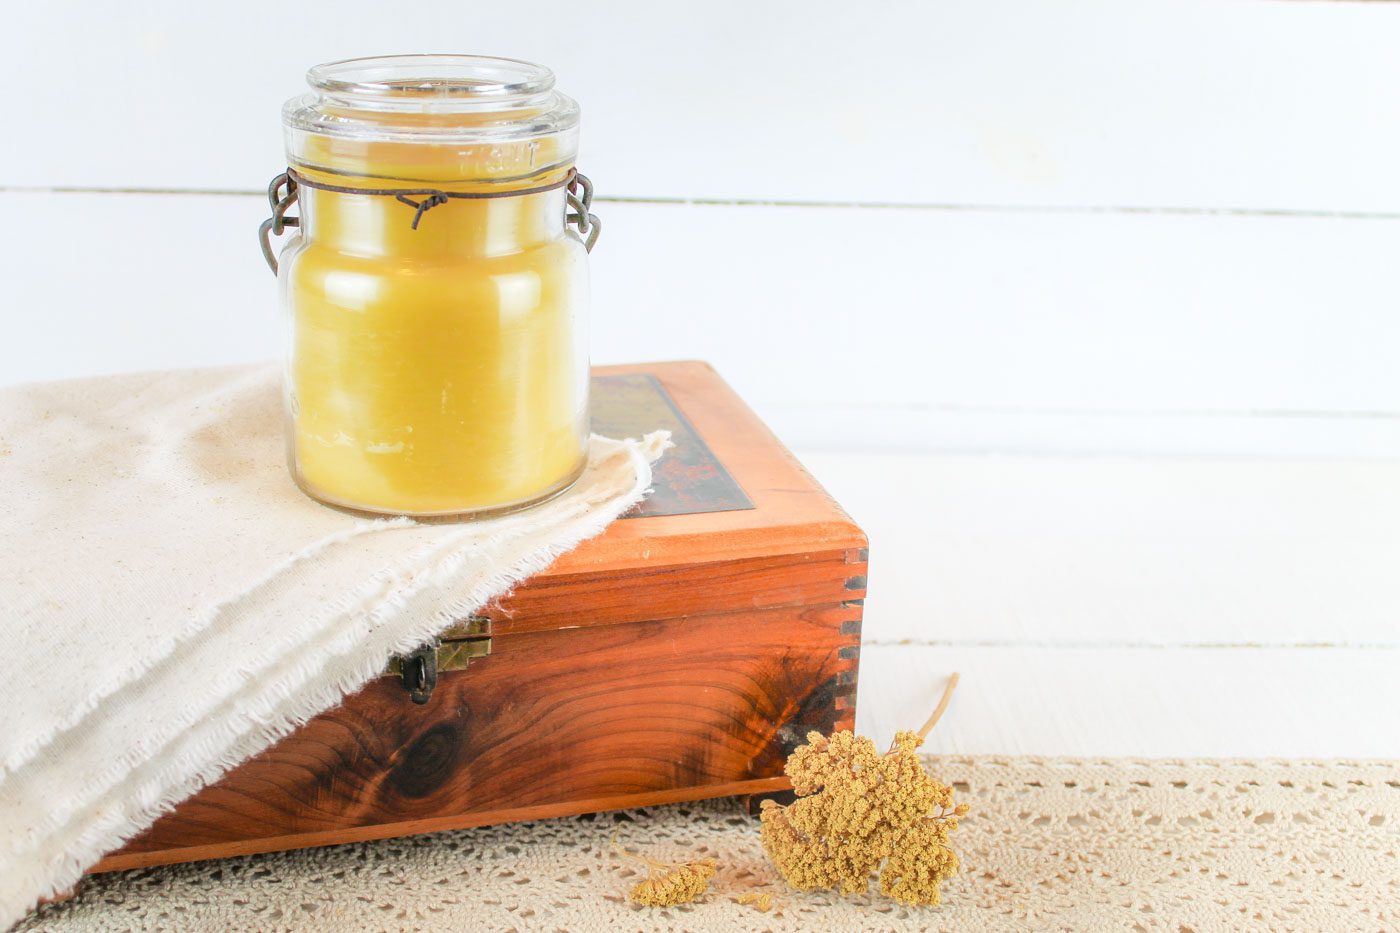
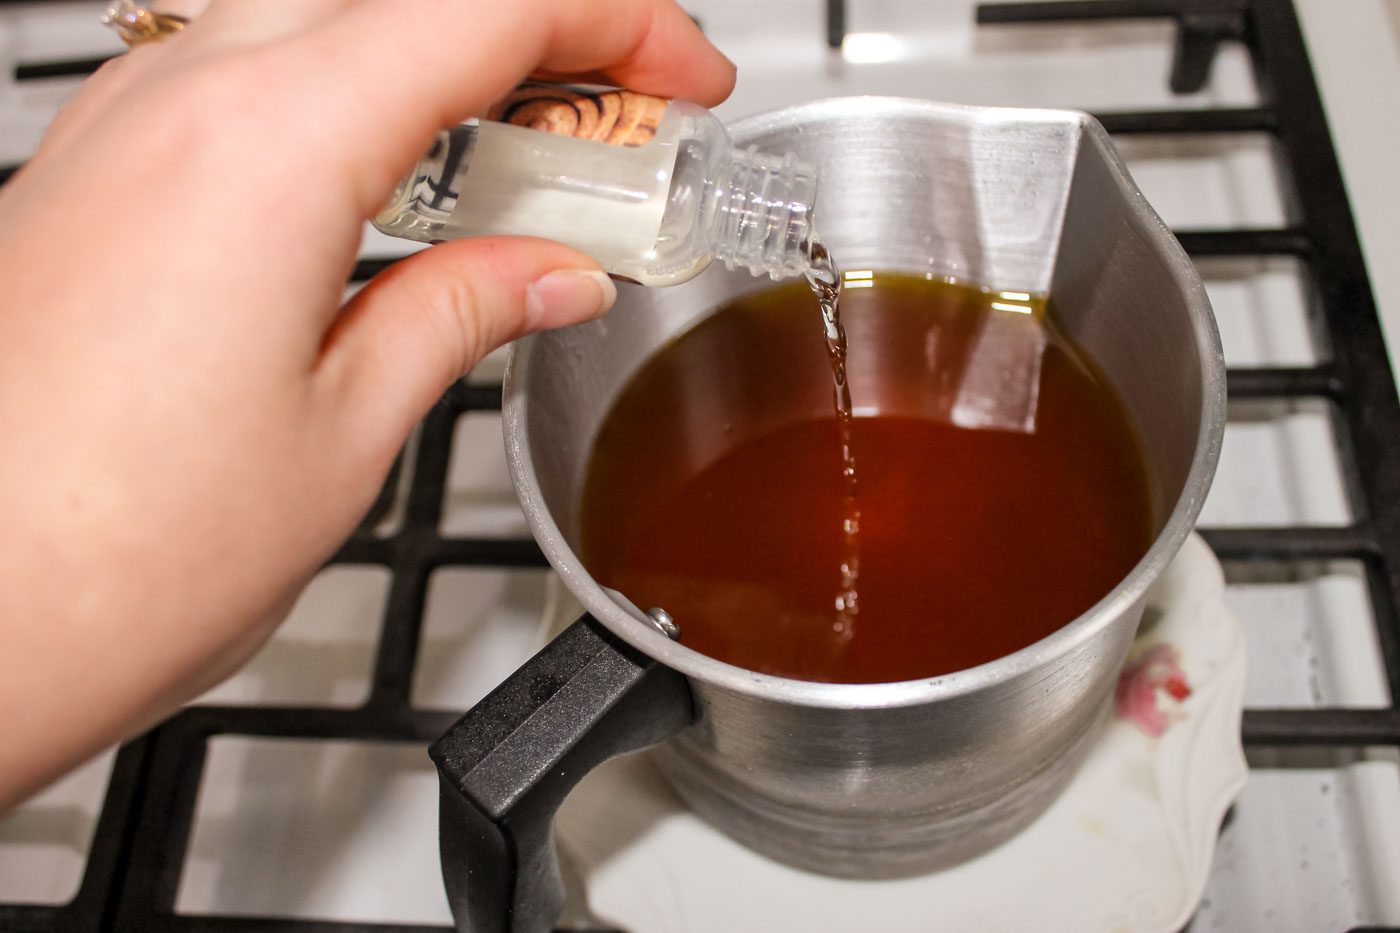
When the beeswax is melted, add in a fragrance, if desired. Immediately pour the wax into the candle container. Allow the wax to cool. Trim the wicks to 1/4 inch length. Wait a day or two for the candles to finish curing before lighting them.
Candle FAQ
How Long Do Beeswax Candles Burn?
Burn time depends on the type and size of the candle you create. Molded candles, around the size of 4-5 inches in diameter can last at least 60 hours or more.
Why Add Coconut Oil to Beeswax Candles?
By adding a bit of coconut oil into the melting beeswax, you will encourage the finished candle to burn more evenly and prevent tunneling. Coconut oil is an optional additive.
Can Beeswax Candles Be Scented?
Yes. Although beeswax already has a subtle, natural scent to it, you can mix in additional scents to the wax to create a more fragrant candle. Some scent options include fragrance oils, essential oils or even cocoa butter for a light chocolate scent.
Can You Use Essential Oils in Candles?
Technically yes, essential oils can be used in candle making. I have used them in scented wax melt recipes made with soy wax. However, with that being said essential oils are not the best choice for candle making.
Yes, I know this can be a controversial topic among homesteaders or those seeking a natural lifestyle.
The first reason I do not recommend using essential oils to scent your candle is because these oils were not made to be burned. Rather they were made to be used in salves, balms, roller ball applicators and the like. At best, the scent of the essential oil will appear for a moment and then dissipate as the candle burns.
The second reason I usually do not add essential oils in my candles are because they are not strong enough to provide a powerful, long-lasting scent that you may be used to if you were to burn a commercially made candle. If you decide you’d prefer to add an essential oil into your candle, plan to use a large amount, sometimes 1 to 2 teaspoons depending on how much wax you are using to create your candle.
Lastly, just as using an essential oil diffuser around pets is not safe, burning candles created with a high amount of essential oils can be dangerous for pet health as well.
If you’d prefer to scent your candle with essential oils, you will want to use at least 100 drops (1 teaspoon) per pound of beeswax. Alternatives to scenting your candles include fragrance oils (use 1/2 ounce to 1 ounce per pound of beeswax), cocoa butter or just the natural scent of the beeswax.
What Kind of Wick to Use for a Beeswax Candle?
Choosing the correct wick will help ensure a proper burn and prevent the candle from burning too quickly or sputtering out. While there is quite a lot of information available online and in books about the science behind selecting the right kind of wick, for the purpose of a creating a simple homemade candle intended to be burned at home or given as a gift, I recommend a braided cotton wick. I have had great success with this cotton candle wick, with a tab on the bottom, making it easy to attach to a jar.
Other DIY Projects You Will Enjoy
Homemade Lip Balm
Wooden Planter Box
Gingerbread House
Moisturizing Lotion Bar

How to Make Beeswax Candles
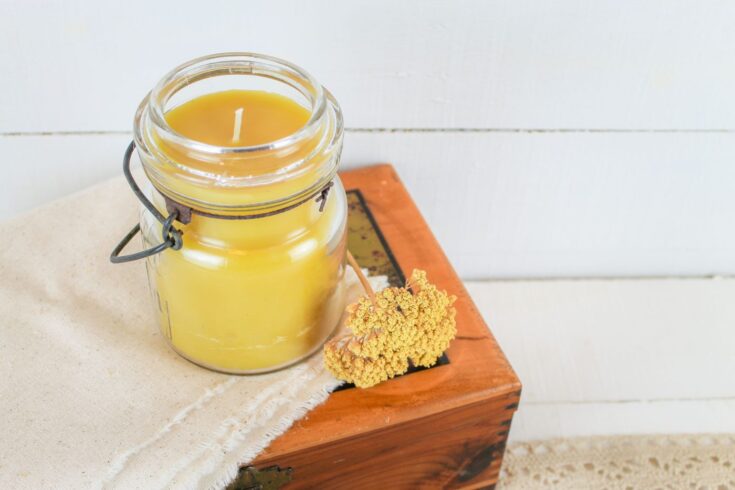
Illuminate your home with the beautiful ambience and soothing glow of a homemade beeswax candle. Discover how easy it is to make candles at home using just a pound of wax, a wick and a jar in this step by step candle making tutorial.
Materials
- 1 pound beeswax
- 1/2 cup coconut oil or cocoa butter, optional
- Fragrance (1 teaspoon essential oil or 1 ounce fragrance oil), optional
- Glass container for candle
- Candle wick
- Vessel to melt the beeswax in (such as a mason jar or candle making pot)
Instructions
- Fill a stock pot with several inches of water. Place your dedicated container for melting the wax into the pot. This will be our makeshift double boiler. Add the beeswax into the container along with the coconut oil or cocoa butter, if using. Turn the stove to medium. Bring water to a gentle boil and begin melting the wax.
- While the wax is melting, use a glue gun to attach the wick to the bottom center of the jar. If your chosen vessel is large, you may need to use more than one wick. To stabilize the wick(s) place pencils or dowel rods around the wick. You can also wrap the wick around the pencil if the wick is super fussy and won’t stand up straight against the rod.
- When the beeswax is melted, add in a fragrance, if desired. Immediately pour the wax into the candle container. Allow the wax to cool. Trim the wicks to 1/4 inch length. Wait a day or two for the candles to finish curing before lighting them.
Pin for Later


I had no idea how easy it was to make your own homemade beeswax candles! I will definitely have to try making my own. Thanks for the tutorial!
You are most welcome!
Does it matter if it’s fractured or unfractured coconut oil ?
I believe both types of coconut oil should work.
How do you prevent sinkholes?
Sinkholes can be caused be a variety of things including uneven cooling after the wax has been poured into the candle mold, air bubbles trapped in the wax or the temperature of the wax is too hot which will take the candle longer to solidify and can cause that dreaded uneven cooling. The only two methods that I have heard bring some success is either to remelt the top of the candle with a heat gun or sometimes people will pour a second layer of wax to hide the sinkholes. Hope that helps 🙂
i do not now how to make it but i will try it zithe your edia thanks