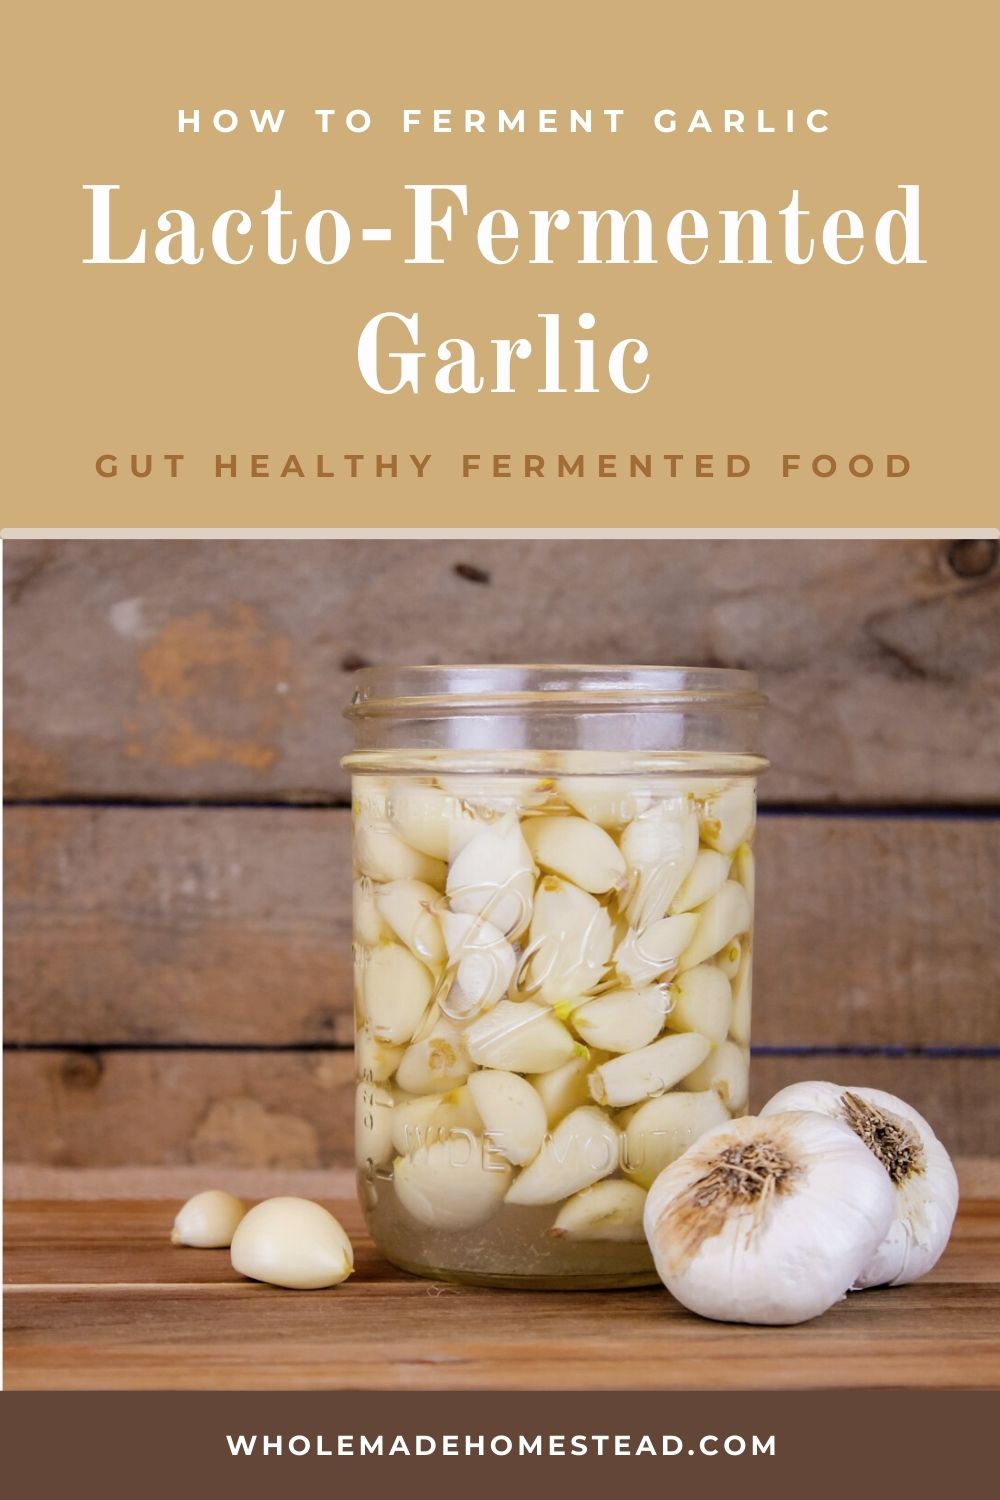
Add instant flavor to any dish with lacto-fermented garlic. Packed full of probiotics, prebiotics and natural antibiotics, this fermented food is a must have. Learn how easy it is to ferment garlic using just salt, water and a jar.
There are 5 food groups. Grains, protein, fruits, vegetables and garlic.
Garlic being predominately important. At least on our little homestead.
I have always had a love of garlic. Garlic bread. Garlic butter. Garlic in my salad dressing. Garlic being tossed into my spaghetti or skillet roasted chicken. There aren’t many meals that garlic does not go well with.
For most of my life, I have just used the jar of minced garlic from the grocery store. When a recipe calls for a couple cloves of garlic, I put a few spoonfuls of minced garlic into the pan. It wasn’t until last year when I began frequently eating fermented foods, that I discovered fermented garlic. Consuming raw fermented garlic has numerous health benefits including supporting the digestive system, boosting the immune system, it is a natural antibiotic and can help maintain healthy blood pressure levels. With all of those benefits, I’m now adding fermented garlic into more of my meals!
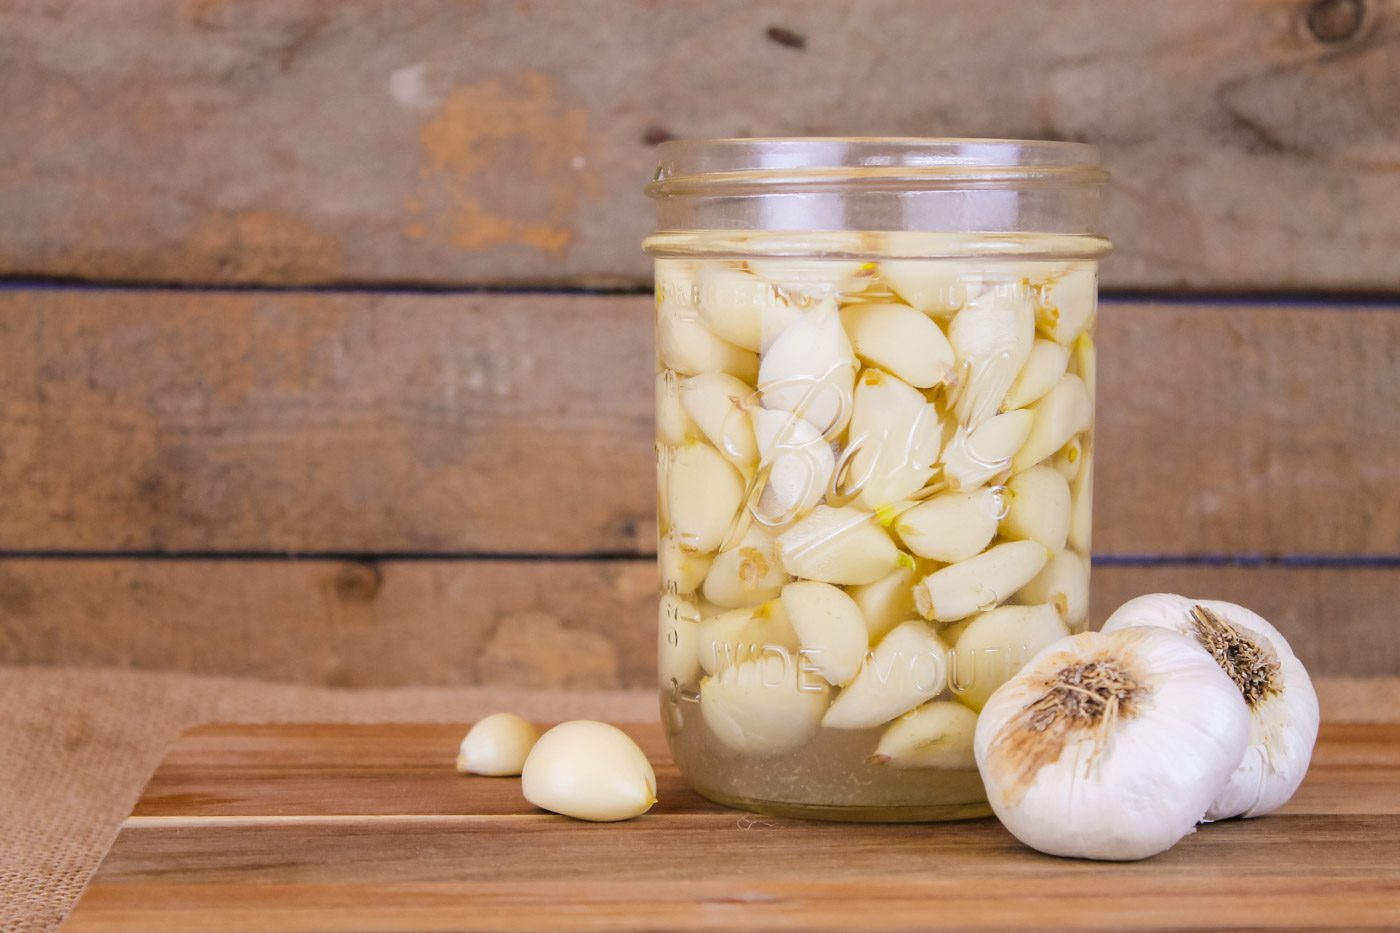
Fermenting garlic has to be one of the easiest foods to ferment. Besides carrots. There is no chopping, no shredding and no waiting for a natural brine to occur. The worst part about lacto-fermented garlic is taking the time to peel each individual garlic clove. It is a bit tedious. During the peeling process I highly suggest listening to your favorite podcast or tune to make the time past by quicker. When the process is complete, simply pour a salt water brine over the garlic, add a weight and lid and you’re done. In three short weeks, you will have an entire jar full of garlic to use in your favorite dishes. Lacto-fermented garlic lasts in the fridge for about a year, though mine is always gone long before that.
What is lacto-fermentation?
Lacto-fermentation is the simple process of pickling your vegetables to create a surplus of probiotics and flavor. To lacto-ferment a vegetable, such as kraut, first add salt to draw out the juices of the vegetable. By packing the kraut into a salt brine, you allow the lactic-acid to take over, causing the number of vitamins to sky rocket and the good bacteria to take over. In lamest terms, think of lacto-fermentation as controlled decay. Salt — your best friend, helps you to make sure the good guys (bacteria) win and the bad guys (yeast, mold and other bacteria) to skedaddle. When the kraut is finished fermenting, place it into the fridge and it will be preserved for many months.
Some vegetables, like garlic, cannot create their own brine. This is why you need to create a salt water brine for the garlic to ferment in. During the process of osmosis, the water in the vegetable is replaced with the salt water brine, thus starting the lactic-acid fermentation process.
10 Ways to Use Fermented Garlic
There are a variety of ways to add fermented garlic into your diet. Here are a few ideas to get your started.
- Mix into a homemade dressing such as my Italian dressing recipe
- Add to pizza sauce or marinara sauce
- Put into a homemade salsa recipe
- Add to soups (heat will kill the probiotics in the fermented garlic but you will still receive other nutrients including adding prebiotics to your gut)
- Add an extra pop of flavor to meals by mincing up a few cloves of fermented garlic and tossing them into your favorite recipe
- Make garlic bread
- Blend into hummus
- Toss into a marinade
- Consume a garlic clove or drink a spoonful of the fermented garlic brine to help prevent colds and viruses
- Add to dips or spreads. Check out my garlic dip recipe below.
Garlic Dip Recipe
This homemade garlic dip recipe was created by my brother. He often uses a jar of minced garlic but I prefer to make it with cloves of fermented garlic to add some probiotics into our meals.
Ingredients
1/2 cup oil
1/4 cup fermented garlic
1Tbs lemon juice
1/8 tsp salt
1 ice cube
Directions
In a blender, add the garlic, lemon juice, salt and ice cube. Blend until the ice has been crushed. While blending on low, slowly drizzle oil into mixture. Continue to grind for another 2 to 3 minutes.
Pour garlic dip into a bowl. Serve with veggies, breadsticks or drizzled onto pizza, cheesy bread or cooked rice.
How to Ferment Garlic
This post contains affiliate links, which means I make a small commission at no extra cost to you. In any case, I only link to products we actually use on our homestead and that I believe can truly benefit to you. See my full disclosure here.
Makes: 1 pint
Ingredients
Approximately 10-11 heads of garlic
1 Tbs fine sea salt
1 cup water (non-chlorinated)
Supplies
Wide mouth pint glass jar
Fermenting weight
Fermenting lid
How to Make Fermented Garlic
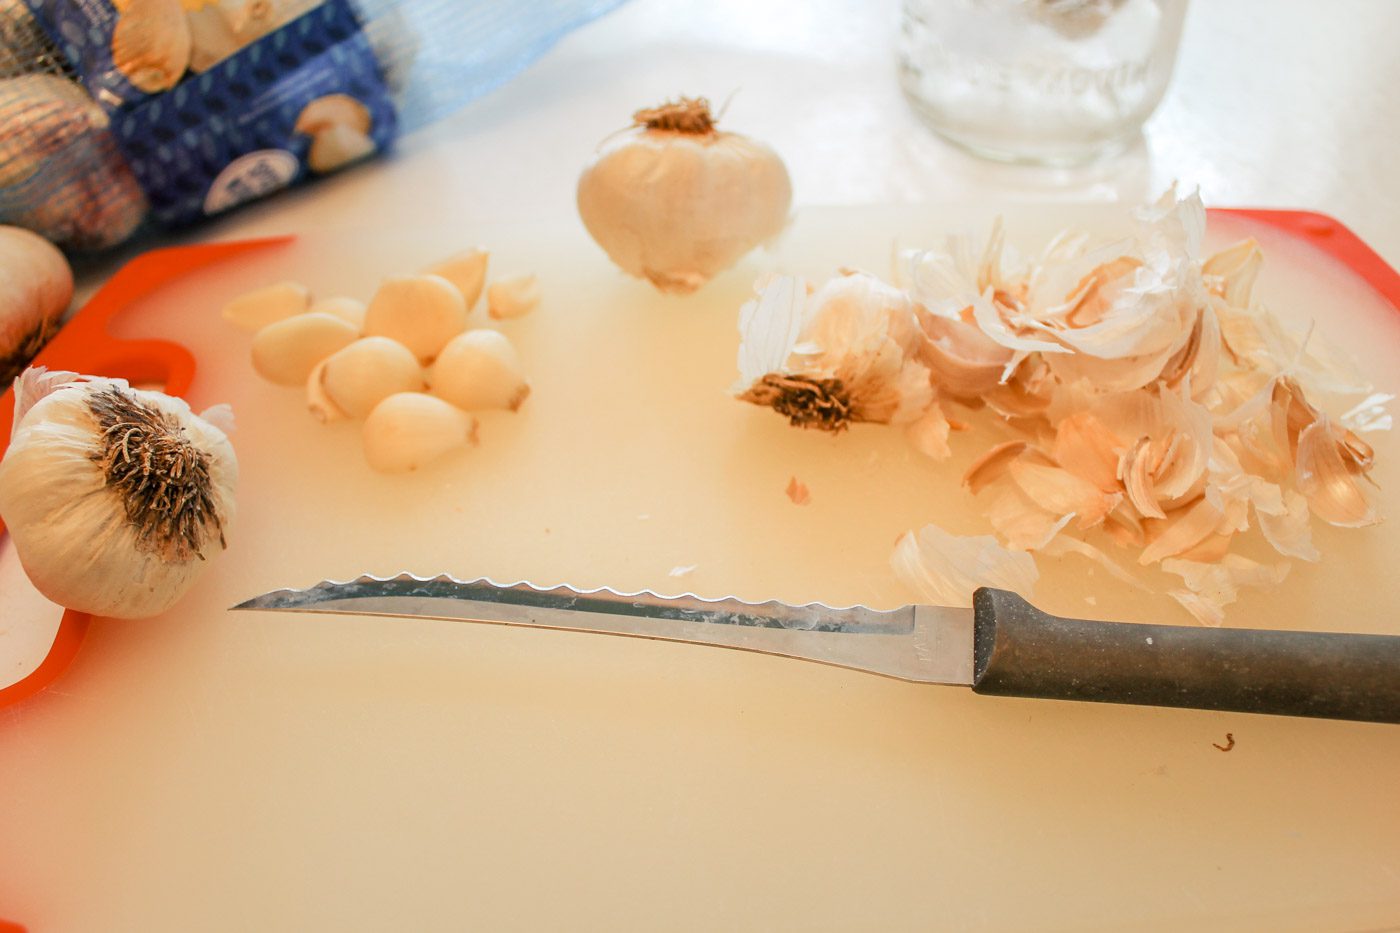
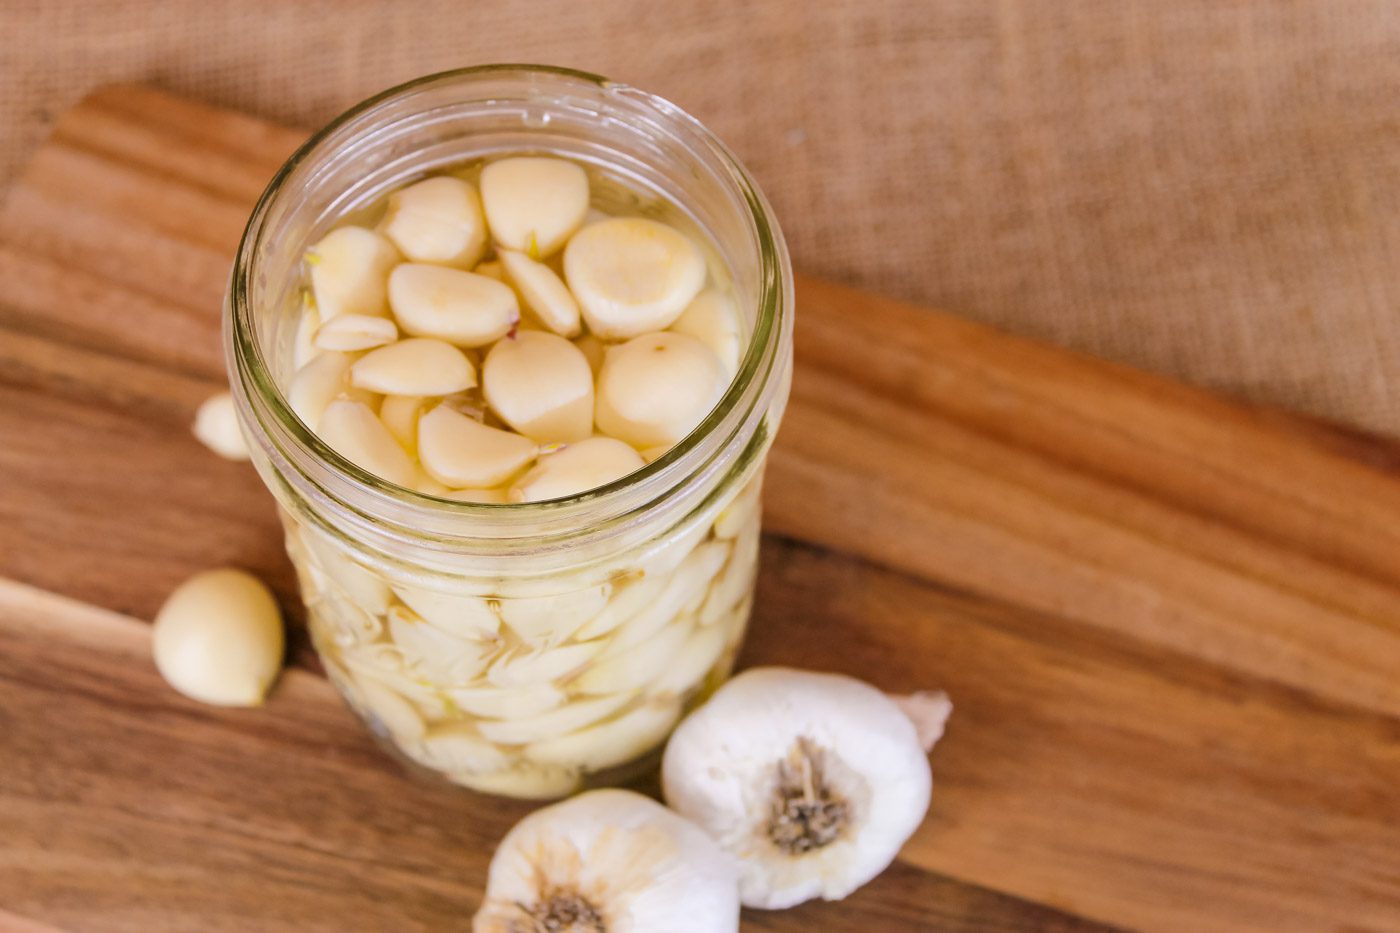
Remove the garlic cloves from the bulb. Peel paper skins from clove. Place cloves into jar, leaving about 1-2 inches of headspace.
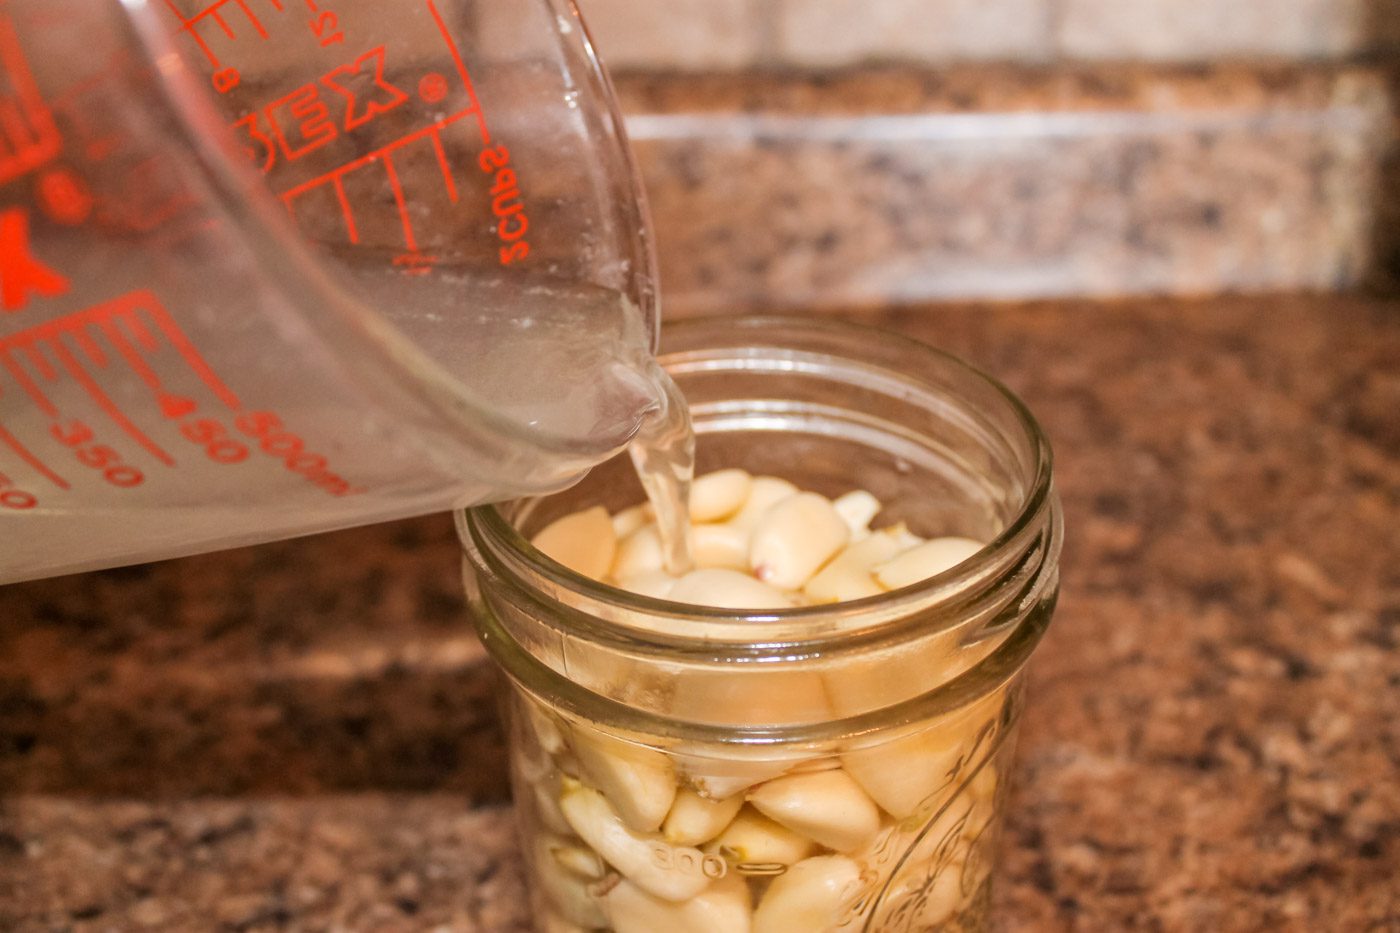
Dissolve sea salt into water. Pour brine overtop. To prevent the garlic cloves from floating to the top, place a weight on top, such as this. Add lid and set aside to ferment for about 3 weeks. Occasionally check on the garlic to make sure the garlic is still under the brine. The garlic will be ready when the flavor is mild.
Store in the fridge for up to one year.
Why is My Fermented Garlic Blue?
Never fear, blue garlic is harmless. Even though it looks odd and it may make you worry, the blue garlic has not gone bad nor will it taste any different. According to America’s Test Kitchen, during the fermentation process, occasionally garlic will turn a blue color due to the isoallin in the garlic breaking down and reacting to the amino acids.
More Fermented Recipes You May Like
Lacto-Fermented Garlic
Add instant flavor to any dish with lacto-fermented garlic. Packed full of probiotics, prebiotics and natural antibiotics, this fermented food is a must have. Learn how easy it is to ferment garlic using just salt, water and a jar.
Ingredients
- Approximately 10-11 heads of garlic
- 1 Tbs fine sea salt
- 1 cup water (non-chlorinated)
Instructions
- Remove the garlic cloves from the bulb. Peel paper skins from clove. Place cloves into jar, leaving about 1-2 inches of headspace.
- Dissolve sea salt into water. Pour brine overtop. To prevent the garlic cloves from floating to the top, place a weight on top. Add lid and set aside to ferment for about 3 weeks. Occasionally check on the garlic to make sure the garlic is still under the brine. The garlic will be ready when the flavor is mild and has a hint of vinegar.
Pin for Later