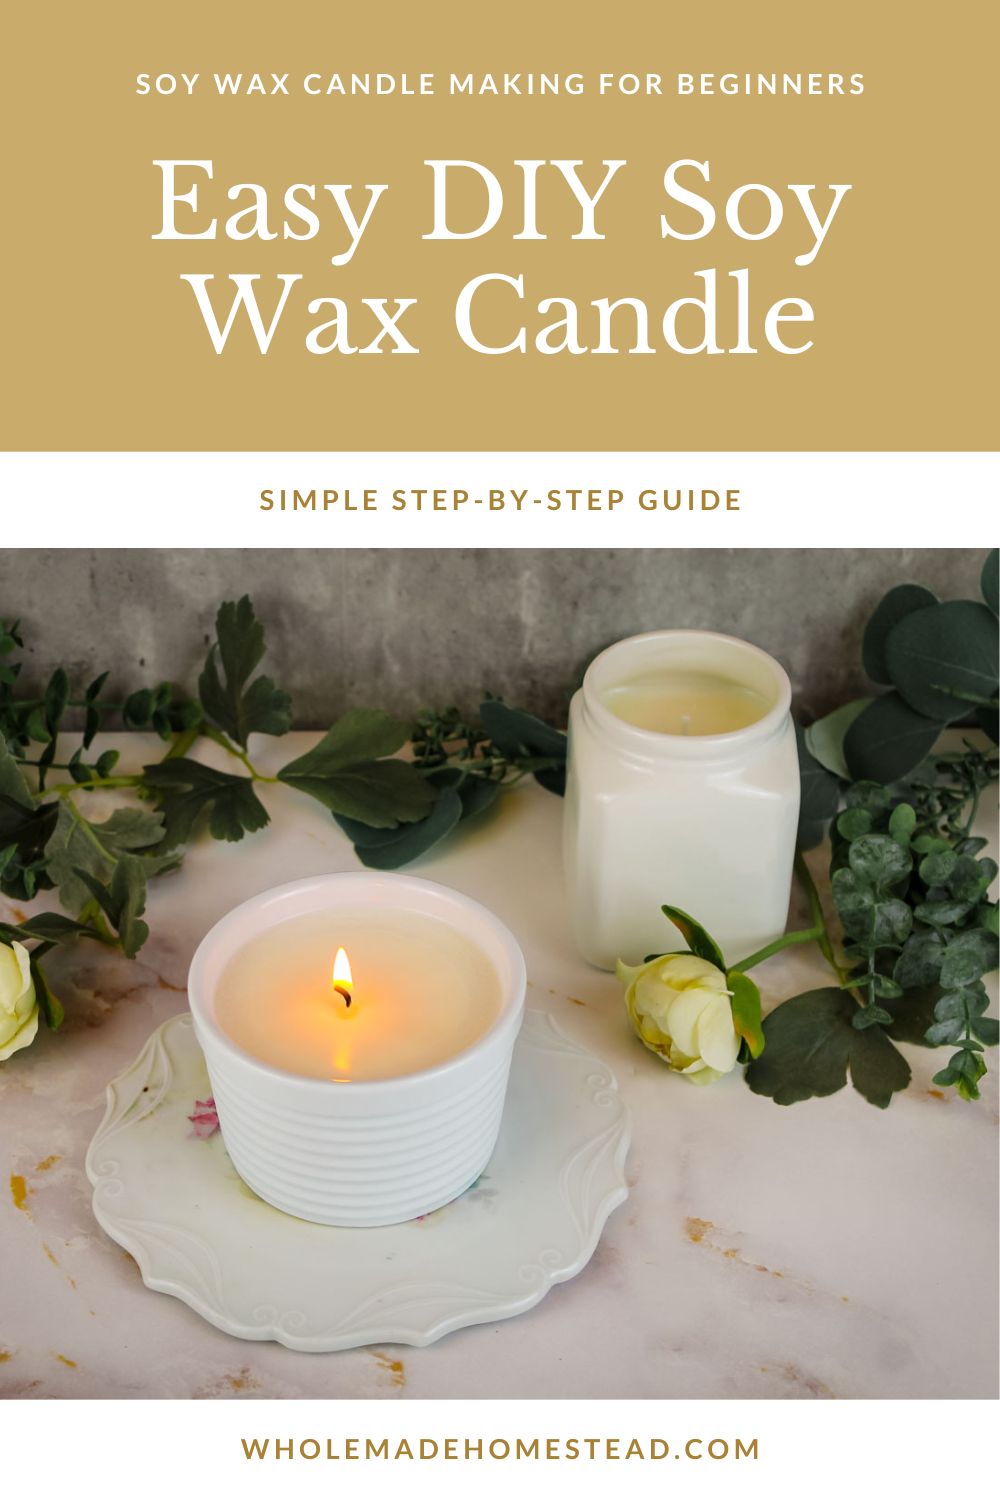
Making beautiful, scented candles at home is easy and fun! In this tutorial, learn how to make a soy wax candle from start to finish using just 3 materials.

This post contains affiliate links, which means I make a small commission at no extra cost to you. In any case, I only link to products we actually use on our homestead and that I believe can truly benefit to you. See my full disclosure here.
Winter hasn’t always been my favorite season.
That is until I became a homesteader.
Prior to our lifestyle change, I dreaded the change in season. The cold, the damp and the dark days seemed to last far too long. To this day, I still detest the lack of sunlight and the short days but I don’t mind the cold nor a bit of snow now and then. I now believe winter is a season of rest which I truly never appreciated until we began growing our own food and raising livestock. Come fall, I now look forward to the first frost and the shift into winter.
Some of the best parts of winter include having more time to take up a new hobby, a pot of homemade soup simmering on the stove and cozying up to the ambience of a handmade candle.
After the evening chores are complete, my husband and I love to sit down on the couch and watch a movie or snuggle up into a blanket and a good book. The warm glow of the candle completes the scene and makes for such a cozy night.
Now is the perfect time to make candle at home. All you need is a bit of soy wax, a candle wick and a container that can high temperatures. Ignite your inner creativity with a DIY candle!
Why Use Soy Wax for Candles?
Making candles at home is not only an easy craft idea to create but is also a great way to avoid toxins from commercially-made candles. Most mainstream candle companies use paraffin wax (a petroleum by-product), synthetic colors, fragrances and more to make their candles. On our homestead, I prefer our indoor air quality to be as pure as possible so we choose to avoid these types of products by making hand poured candles at home.
If you love the cozy feel of candles but also want to avoid burning toxic candles in your home, follow along and learn how to use soy wax for candle making.
There are several natural wax types to select from including beeswax, tallow and soy. Today’s focus is soy wax. Soy is a budget-friendly wax and great for beginners. It is easy to source from online retailers or even in craft stores like Hobby Lobby. A few benefits of using soy to make a DIY soy wax candle with essential oils is that it offers a long burn time, cleans up easily (should you spill the wax or want to reuse your soy wax candle container again), and it holds a scent pretty well.
I usually purchase soy wax flakes from my local art supply store but if you’d like to take the extra step to an even healthier soy wax, look for an organic (non-gmo) soy wax that is grown in the United States. There are some good options available on Amazon.
What Do I Need to Make Candles?
Making DIY candles at home requires a few supplies to get started. Here is what I have found useful:
- Soy wax
- Candle wicks
- Essential oil or fragrance, optional
Tools You May Need
- Container for candle
- Candle making pitcher or mason jar or old tin can
- Pencils, dowel rod or wick centering tool
- Stainless steel pot
- Hot glue gun or candle wick sticker
- Scissors
- Stirring utensil
What is the Best Wick to Use for Making Candles?
Choosing a candle wick can be quite a complicated choice. There are cotton wicks, square braided wicks, paper wicks, wood wicks, some are coated in wax and of course there are a variety of sizes too.
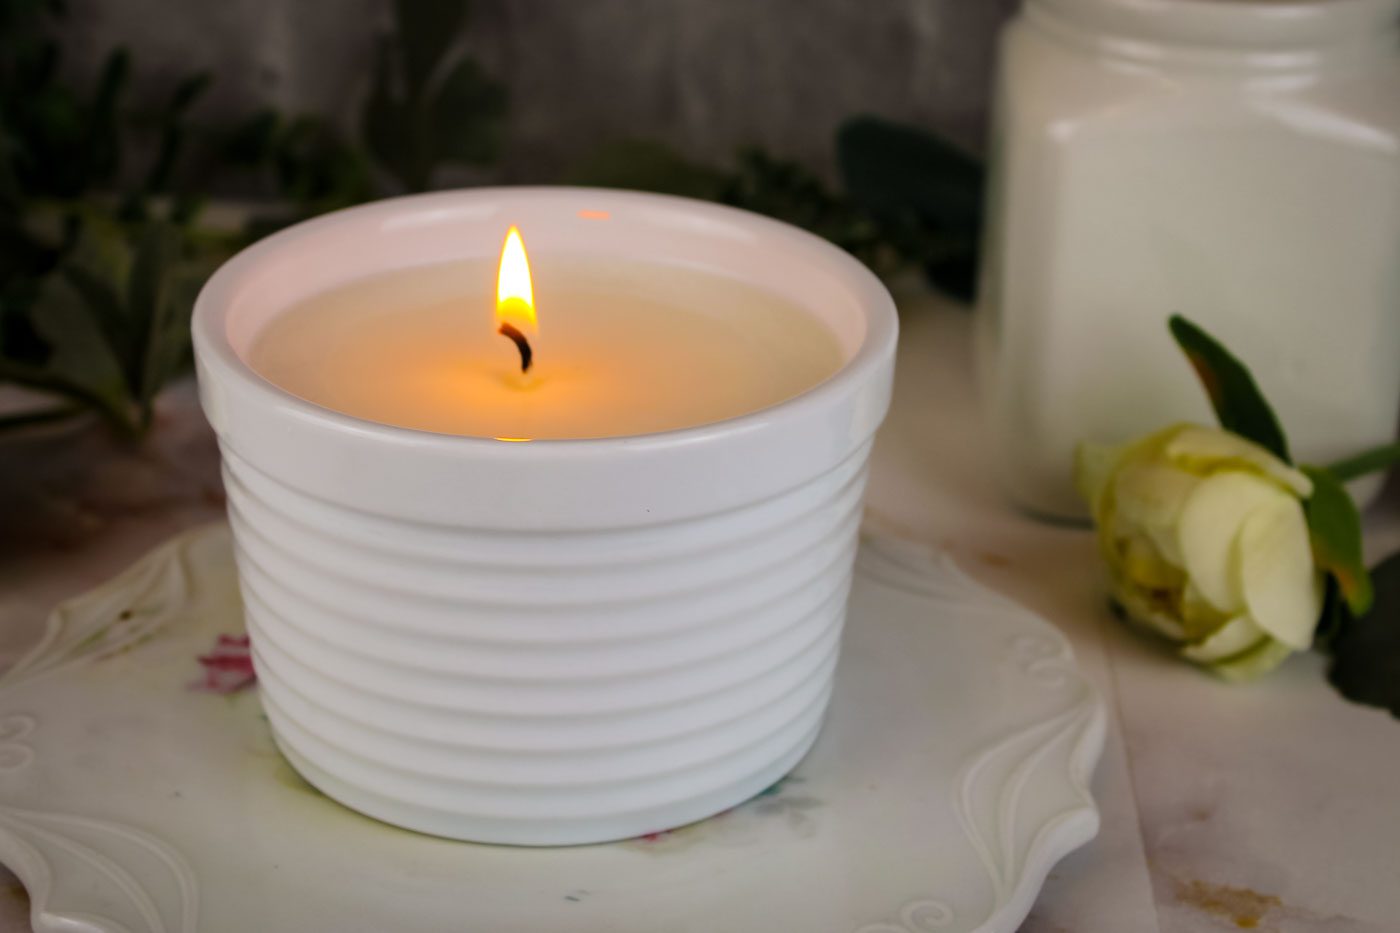
Since I am only making a hand poured soy wax candle purely for the pleasure of burning it in our home, I am not usually too concerned about the vast array of choices. A simple pre-waxed cotton wick works beautifully in both my soy and beeswax candles. A wood wick is also a nice choice.
For more in-depth information about how to pick candle wicks for homemade candles, take a look at this article from Bramble Berry.
What Type of Container is Best for Candles?
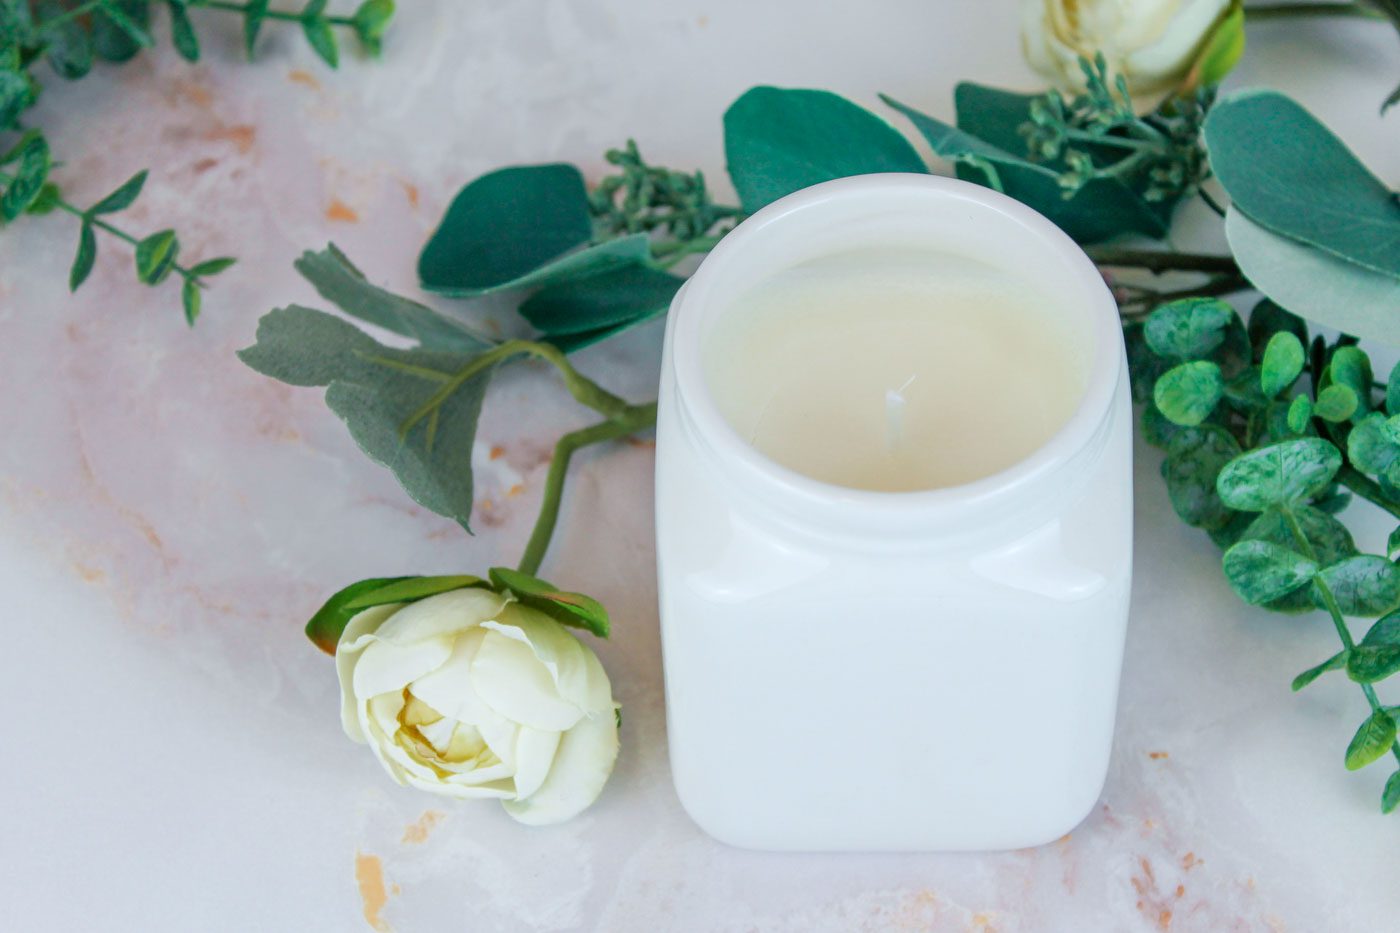
When selecting a container to use for your soy candle, choose a vessel that is heat resistant. Glass, metal and ceramic are all safe choices. If you have an extra canning jar laying around, use it! Mason jars are made to withstand heat for a long period of time so they make great containers for homemade candles.
Making Soy Candles With Essential Oils
Prepare yourself for a bit of controversy.
Essential oils are not the best choice for candle making.
Yes, this isn’t always the most popular opinion, however, I have my reasons.
The first reason I do not recommend using essential oils to scent your candle is because these oils were not made to be burned. Rather they were made to be used in salves, balms, roller ball applicators and the like. At best, the scent of the essential oil will appear for a moment and then dissipate as the candle burns.
If you want a super fragrant candle, like the ones you are used to from the store, you won’t be happy with a soy wax candle with essential oils. Put plainly, they are not strong enough to provide a powerful, long-lasting scent. If you still prefer to add an essential oil into your candle, plan to use a lot, sometimes several teaspoons depending on how much wax you use to create your candle.
An alternative to scenting your candle is to use fragrance oils designed specifically for candle making. Generally, you will want to use about 1 ounce of fragrance per pound of wax.
How to Make a Soy Wax Candle
Learn how to make two beautiful, homemade soy wax jar candles in this simple step-by-step guide. Beginner-friendly candle making tutorial!
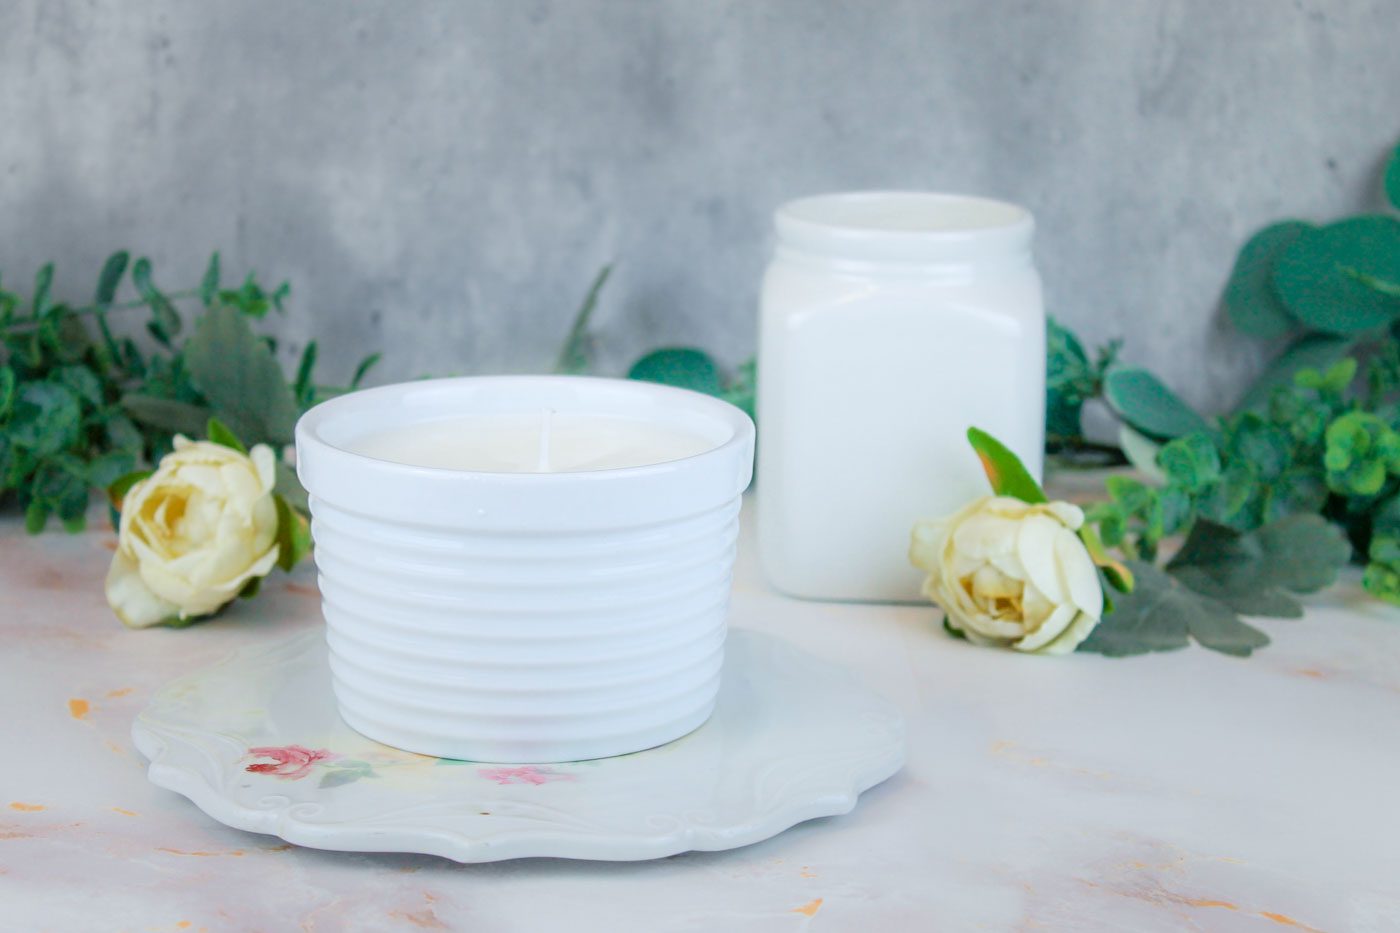
Makes: Two 8-ounce candles
Materials
1 lb soy wax
Candle wicks
Essential oils or fragrance, optional
Two 8-ounce containers
Directions

Fill a stock pot with several inches of water. Place the candle making pitcher into the pot. Add the soy wax flakes to container. Bring water to a gentle boil and begin melting the wax.
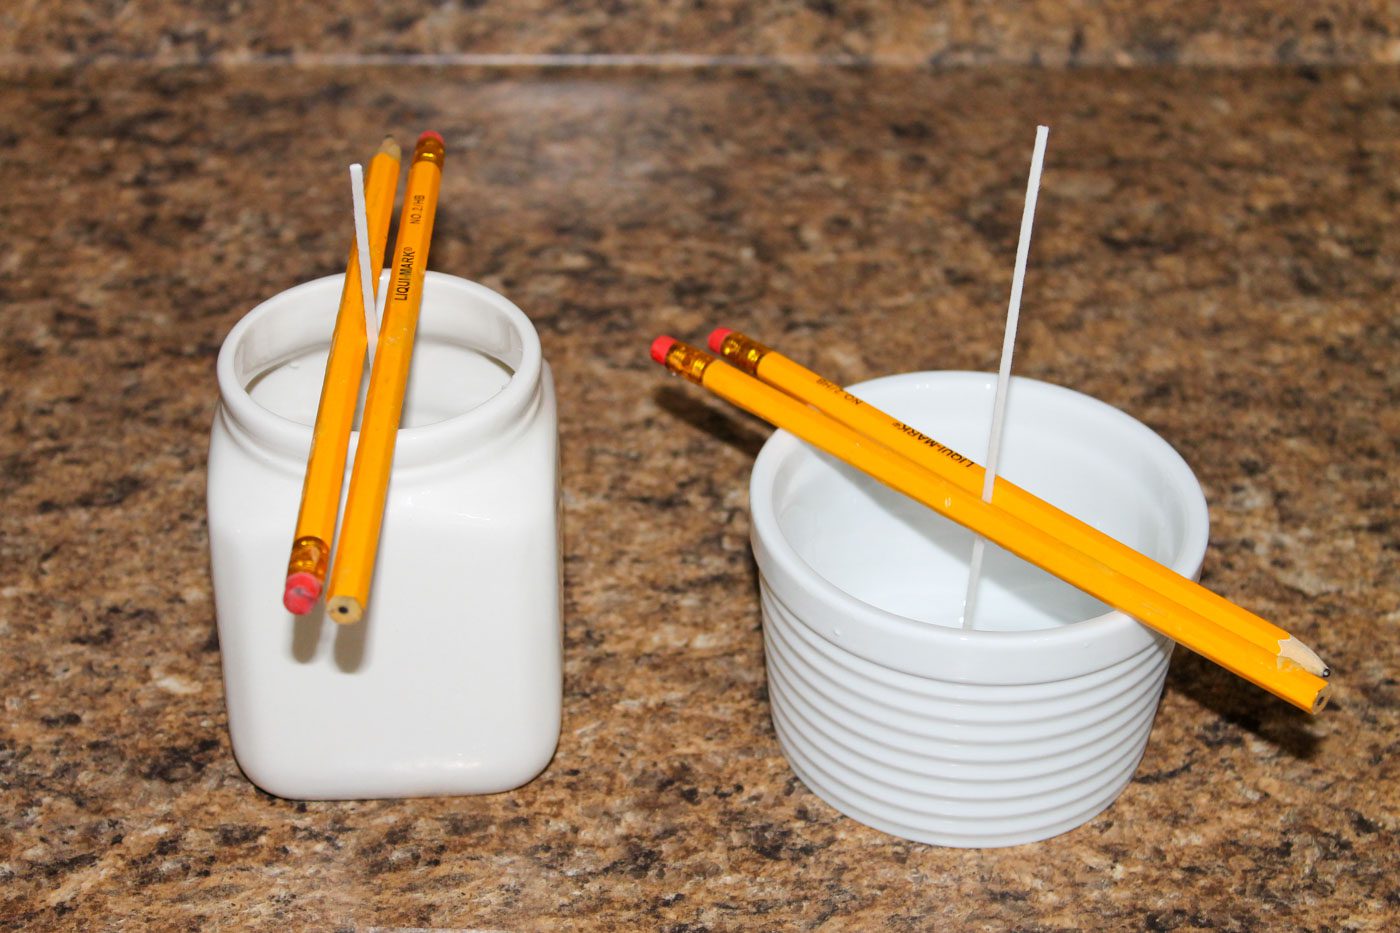
While the wax is melting, use a glue gun to attach the wick to the bottom center of each 8-ounce vessel. If using a cotton wick, you will need to stabilize it while the candle solidifies. To do so, place two pencils around the wick. Alternatively, you can also use a clothespin, a wick bar or a bow tie wick centering tool.
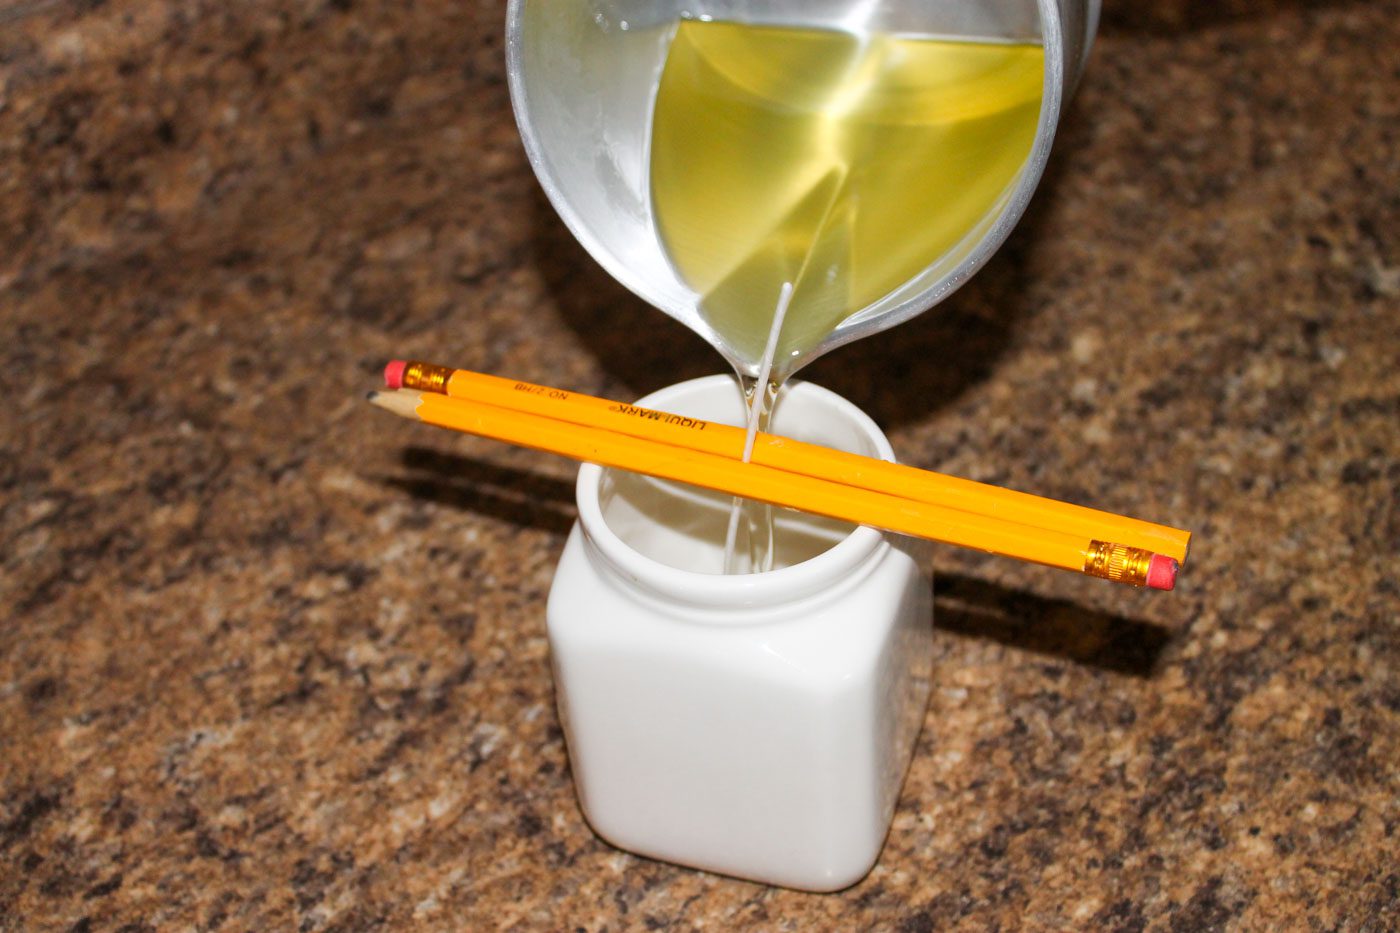
When the wax has melted, remove jar from pot. Allow the wax to cool for several minutes before adding any fragrance or essential oil(s). Carefully pour the wax into the candle containers. Once the wax has completely hardened, trim the wicks to 1/4-inch length. Wait one to three days for the candles to finish curing before lighting them. This helps to ensure the best scent throw.
More Do-it-Yourself Projects

Easy DIY Soy Wax Candle
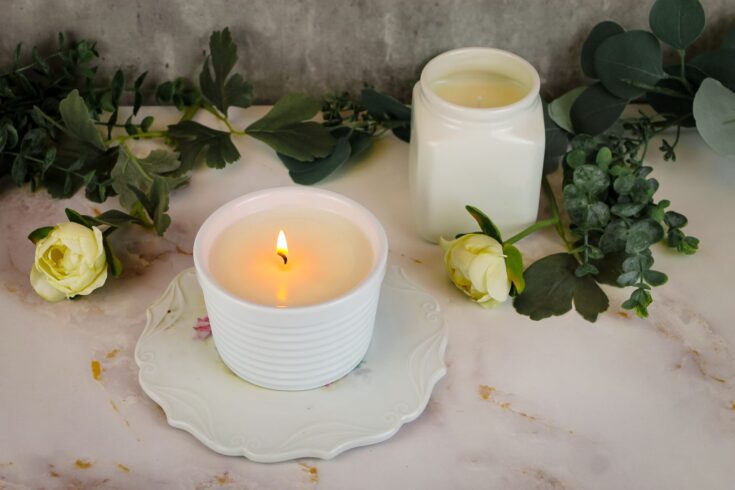
Making beautiful, scented candles at home is easy and fun! In this tutorial, learn how to make a soy wax candle from start to finish using just 3 materials.
Materials
- 1 lb soy wax
- Candle wicks
- Essential oils or fragrance, optional
- Two 8-ounce containers
Instructions
- Fill a stock pot with several inches of water. Place the candle making pitcher or canning jar into the pot. Add the soy wax flakes to container. Bring water to a gentle boil and begin melting the wax.
- While the wax is melting, use a glue gun to attach the wick to the bottom center of each 8-ounce vessel. If using a cotton wick, you will need to stabilize it while the candle solidifies. To do so, place two pencils around the wick. Alternatively, you can also use a clothespin, a wick bar or a bow tie wick centering tool.
- When the wax has melted, remove jar from pot. Allow the wax to cool for several minutes before adding any fragrance or essential oil(s). Carefully pour the wax into the candle containers. Once the wax has completely hardened, trim the wicks to 1/4-inch length. Wait one to three days for the candles to finish curing before lighting them. This helps to ensure the best scent throw.
Pin for Later