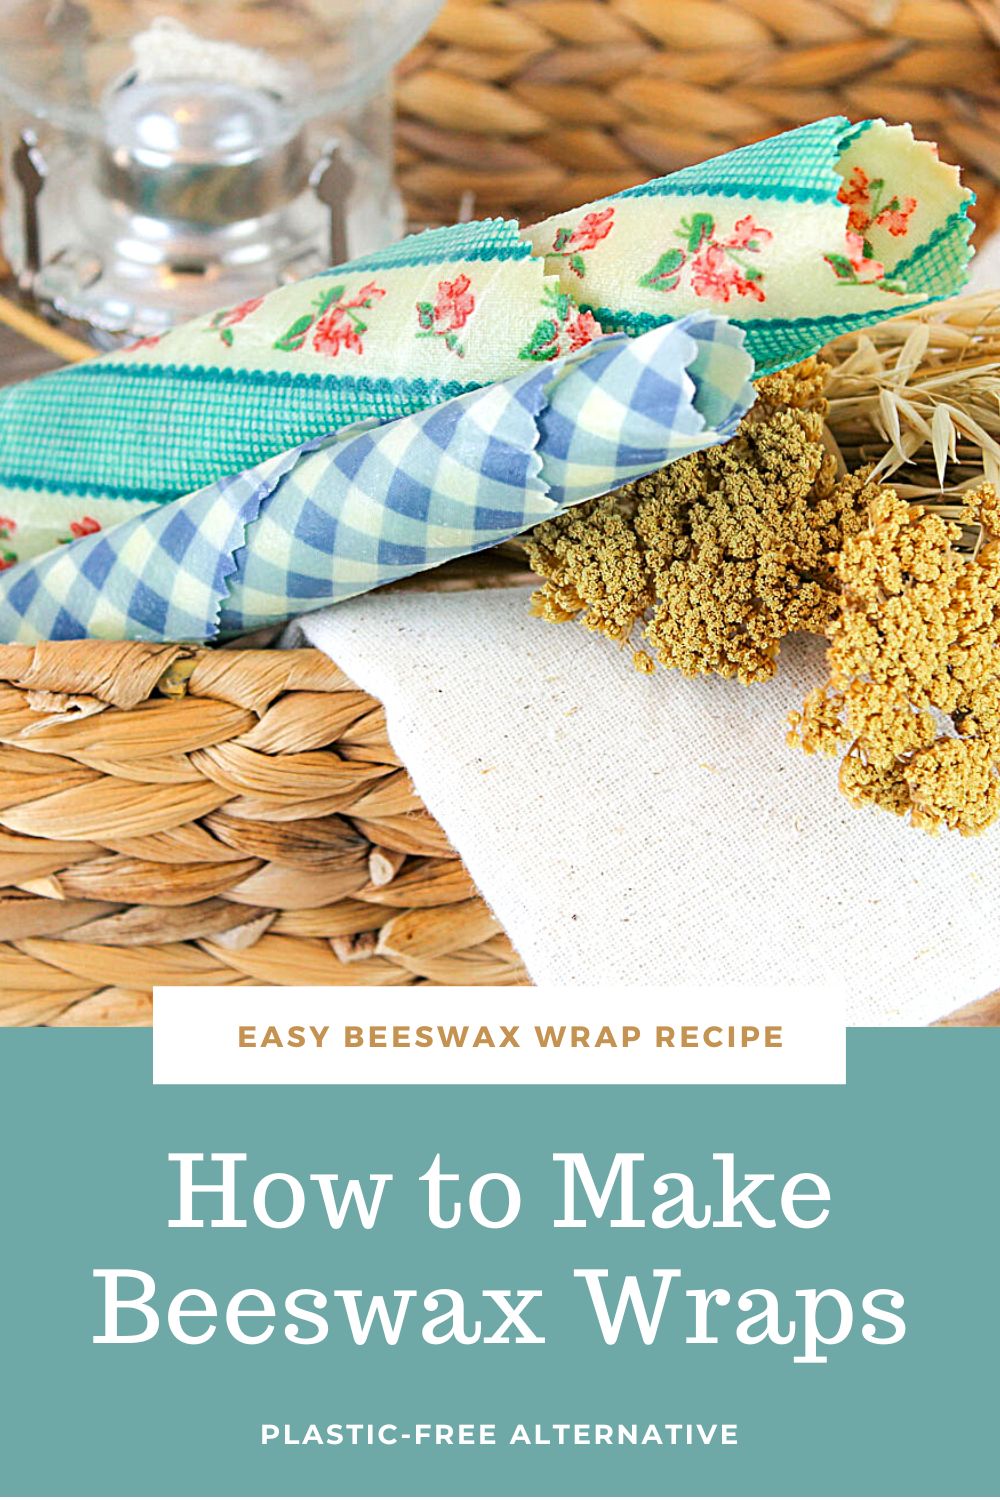
Reusable beeswax wraps are a great healthy alternative to conventional ways of storing food. Learn how to inexpensively make a set to fold around sandwiches, snacks and bowls of leftover soups and side dishes.
Something new is buzzing around the homestead.
They’re called homemade beeswax wraps.
I’ve always been intrigued by these wraps but I never jumped onto the beeswax bandwagon until I started making these natural wraps at home.
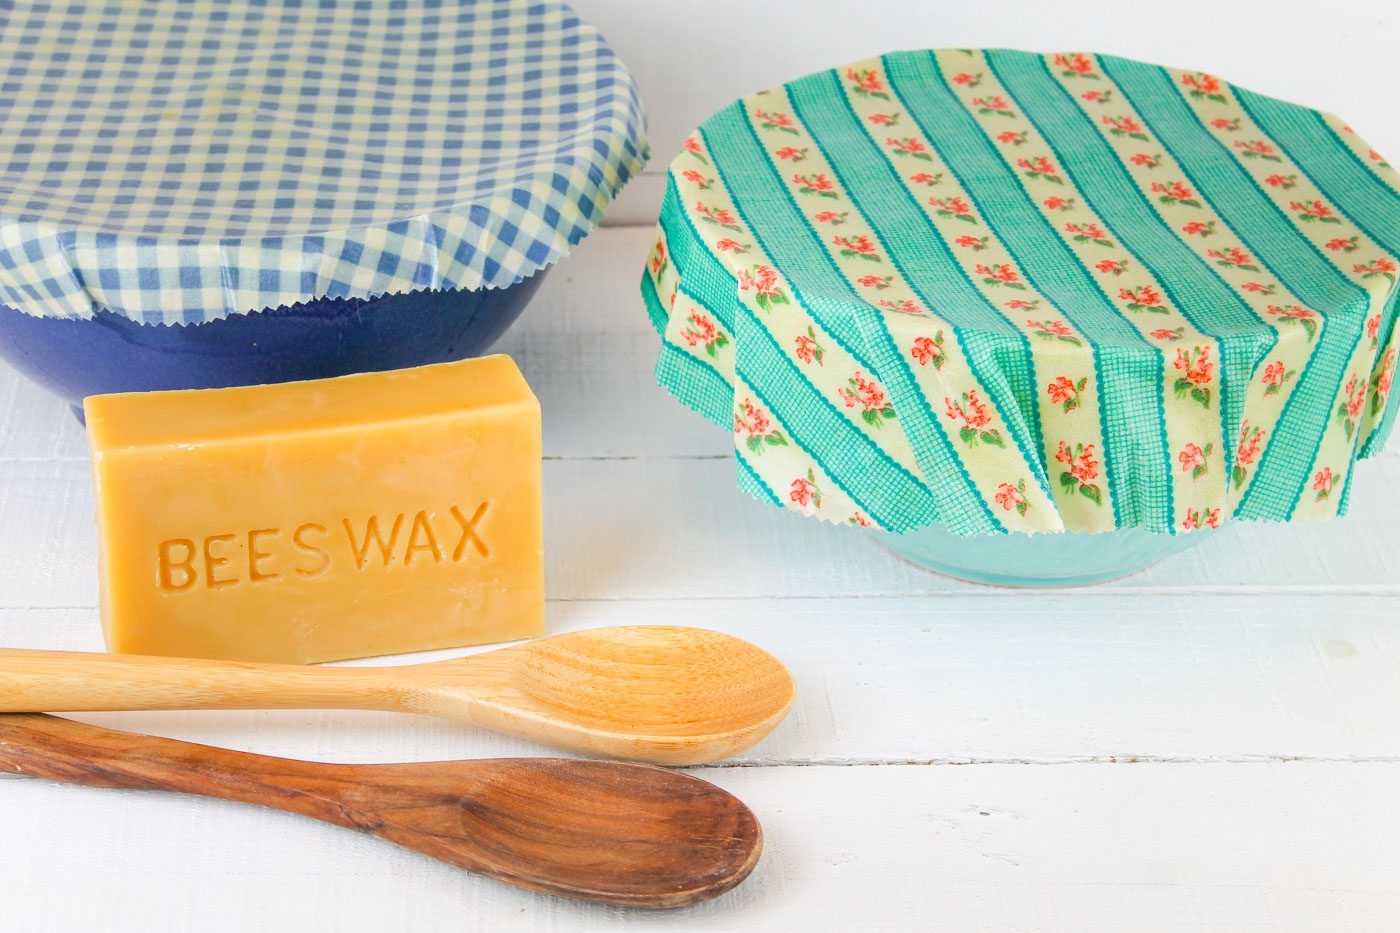
What are beeswax wraps? They are a great alternative to plastic wrap or zipper bags, and are made with just two materials — 100% beeswax and cotton fabric. The wax is melted and spread onto the fabric to create a reusable food wrapper.
Beeswax food wraps have increased in popularity over the last couple of years. You can purchase them from online retailers, big box stores and even small businesses. The only downside to these all-natural wraps is that they can be pretty pricy.
To save a buck, you can make these beeswax wraps at home! Plus you can make them any shape or size you want. All you need is some beeswax (grated, pellets or pastilles) and a bit of cotton fabric (from a thrift store, craft shop or fabric scraps you having laying around). Sticking with my love for all-things-old-fashioned, I love to use vintage floral patterns or plaid but you can pick out your favorite design. The good thing about cotton is that is comes in so many beautiful styles.
Beeswax wraps for food storage are washable, reusable and a cinch to make. Follow along below to learn how to make these chemical-free wraps at home.
Benefits of Using Beeswax Wraps
Plastic-free Alternative. Beeswax wraps are completely natural which means you can skip any plastic or chemical-laden food storage containers.
Saves Money. These wraps are reusable which means you can utilize them in a variety of ways, over and over again without having to buy more containers or plastic zipper baggies.
Keeps Food Fresher for Longer. The beeswax wraps seal food tightly, preventing them from drying out or going stale.
How to Use Beeswax Wraps
- Wrap over a bowl
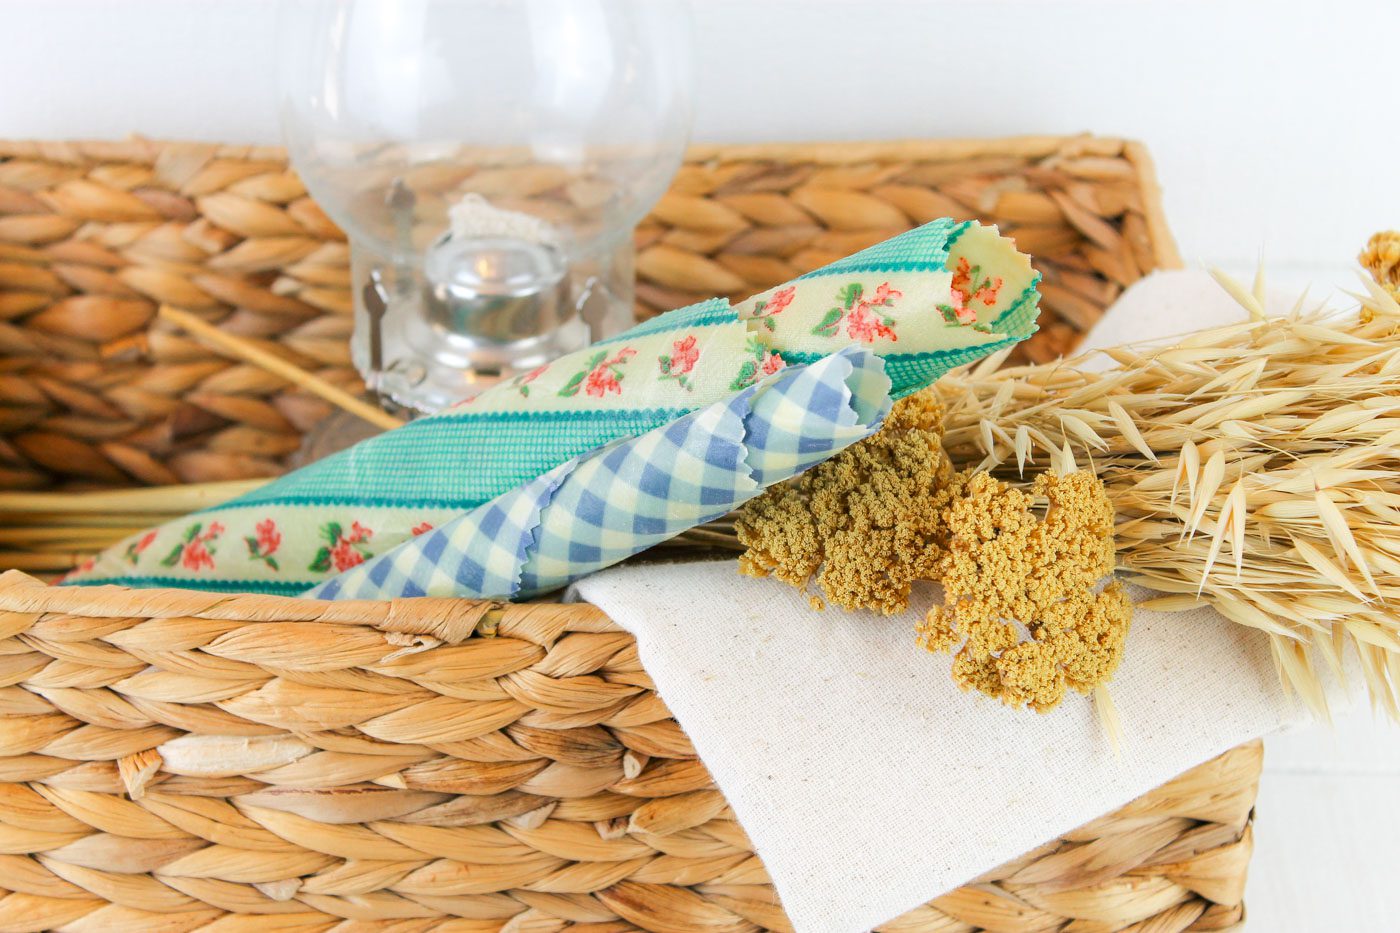
- Fold into a pocket or pouch to store snacks for lunches, trips or time at the playground
- Store leftovers
- Cover a mason jar instead of using a standard lid
- Store or wrap up a loaf of bread
- Roll into a funnel shape and use to fill jars
- Use as a sandwich wrap instead of a disposable plastic bag
Homemade Beeswax Wraps
Easily make your own DIY beeswax wraps at home with just two materials! This fun project is quick to do and is an excellent substitute for plastic wrap. Store sandwiches, leftovers or snacks inside this all-natural beeswax wrap.
This post contains affiliate links, which means I make a small commission at no extra cost to you. In any case, I only link to products we actually use on our homestead and that I believe can truly benefit to you. See my full disclosure here.
Makes: 3 wraps
Materials
1 yard 100% cotton fabric
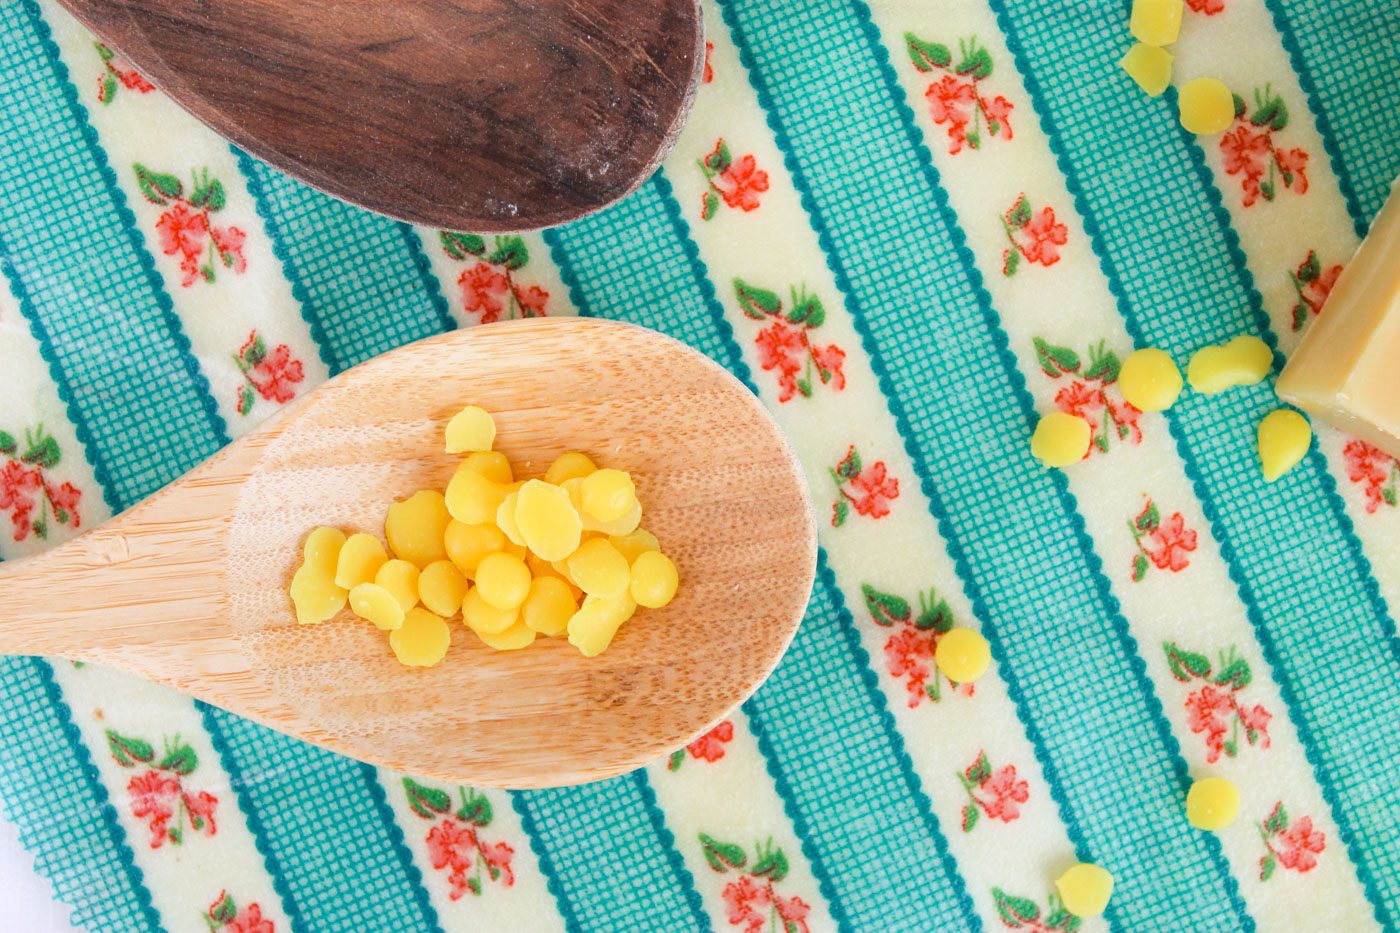
3-4 ounces beeswax pellets
Paintbrush
Pinking shears, optional
Directions
Preheat oven to 200° F. Cut three 12-inch circles from your chosen fabric. (Using pinking shears helps to prevent the fabric from fraying on the edges. But you can leave the fabric as is or hem the edge, if desired.)
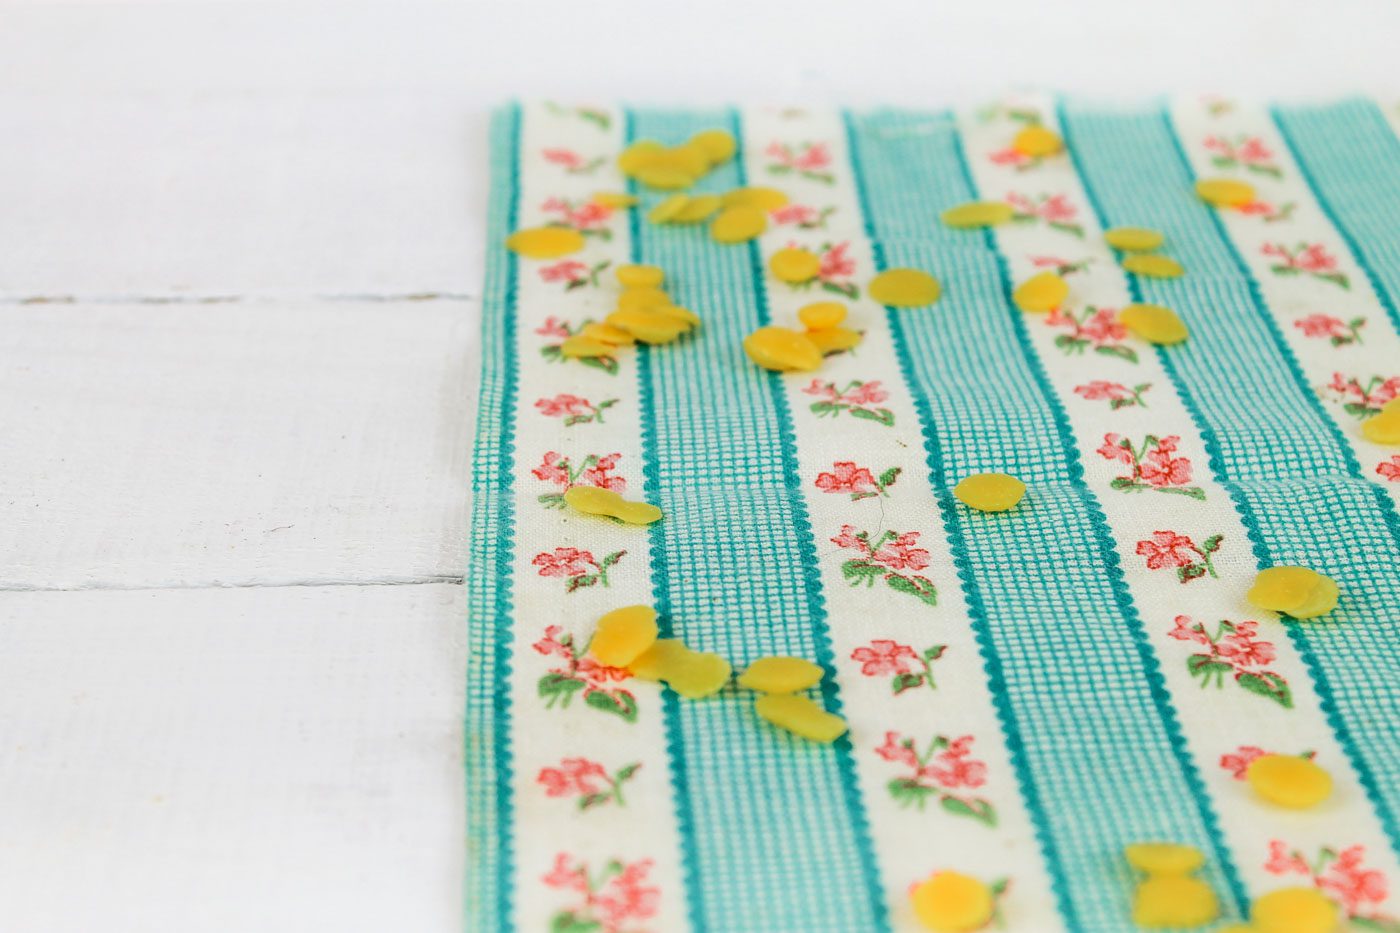
Line a baking sheet with parchment paper. Place one piece of circular fabric on the paper-lined sheet. Sprinkle approximately 3 tablespoons of beeswax over the fabric. Bake for 7 minutes, until the the beeswax has completely melted.
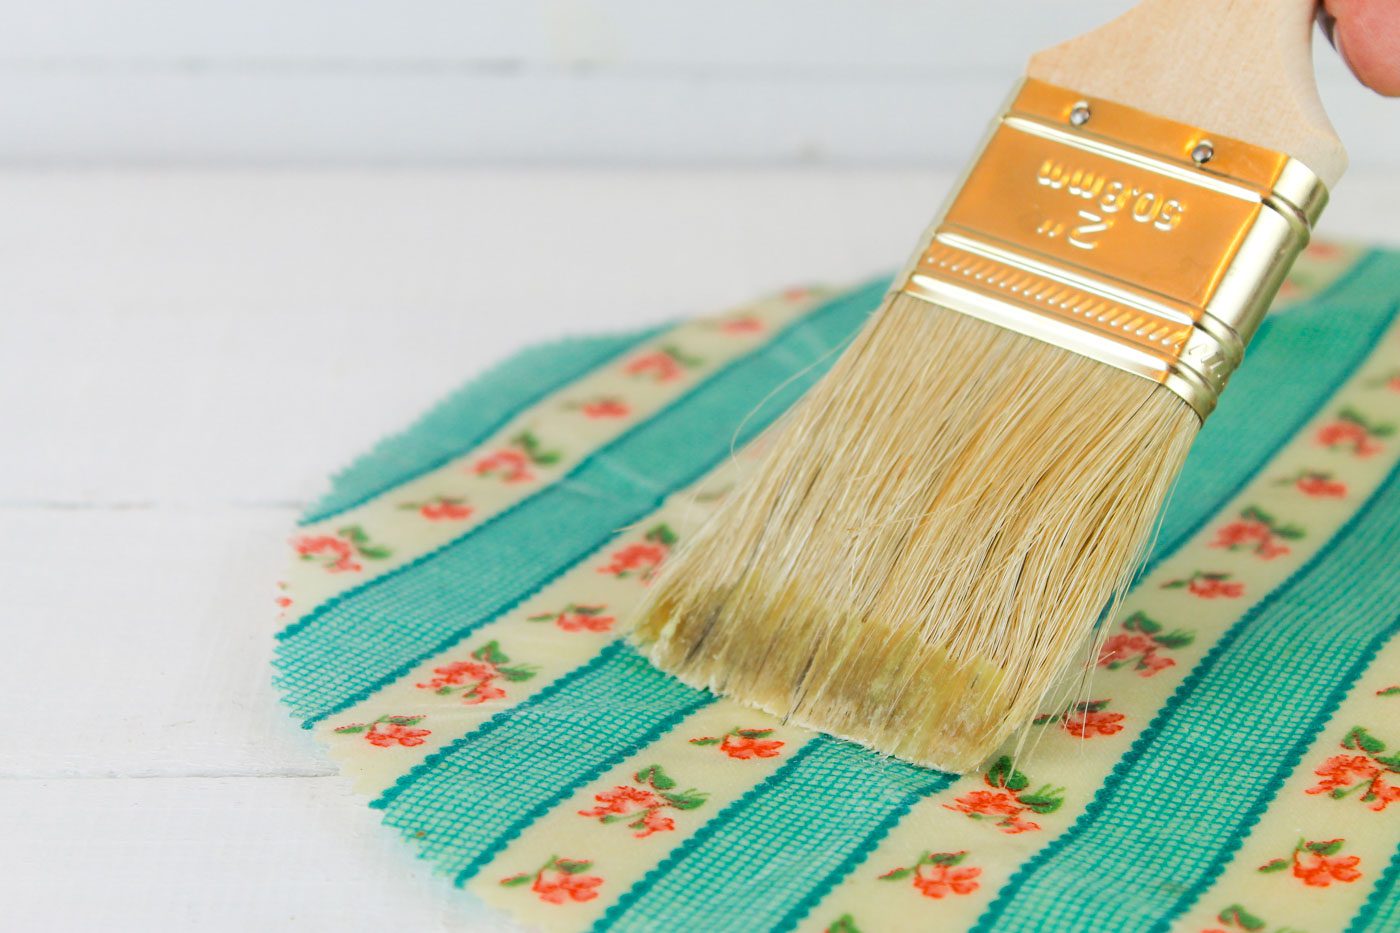
Remove baking sheet from oven. Using a paintbrush (preferably a cheap, disposable brush since beeswax is hard to remove) spread the melted wax to the edges of the fabric. Bake for an additional 1-2 minutes.
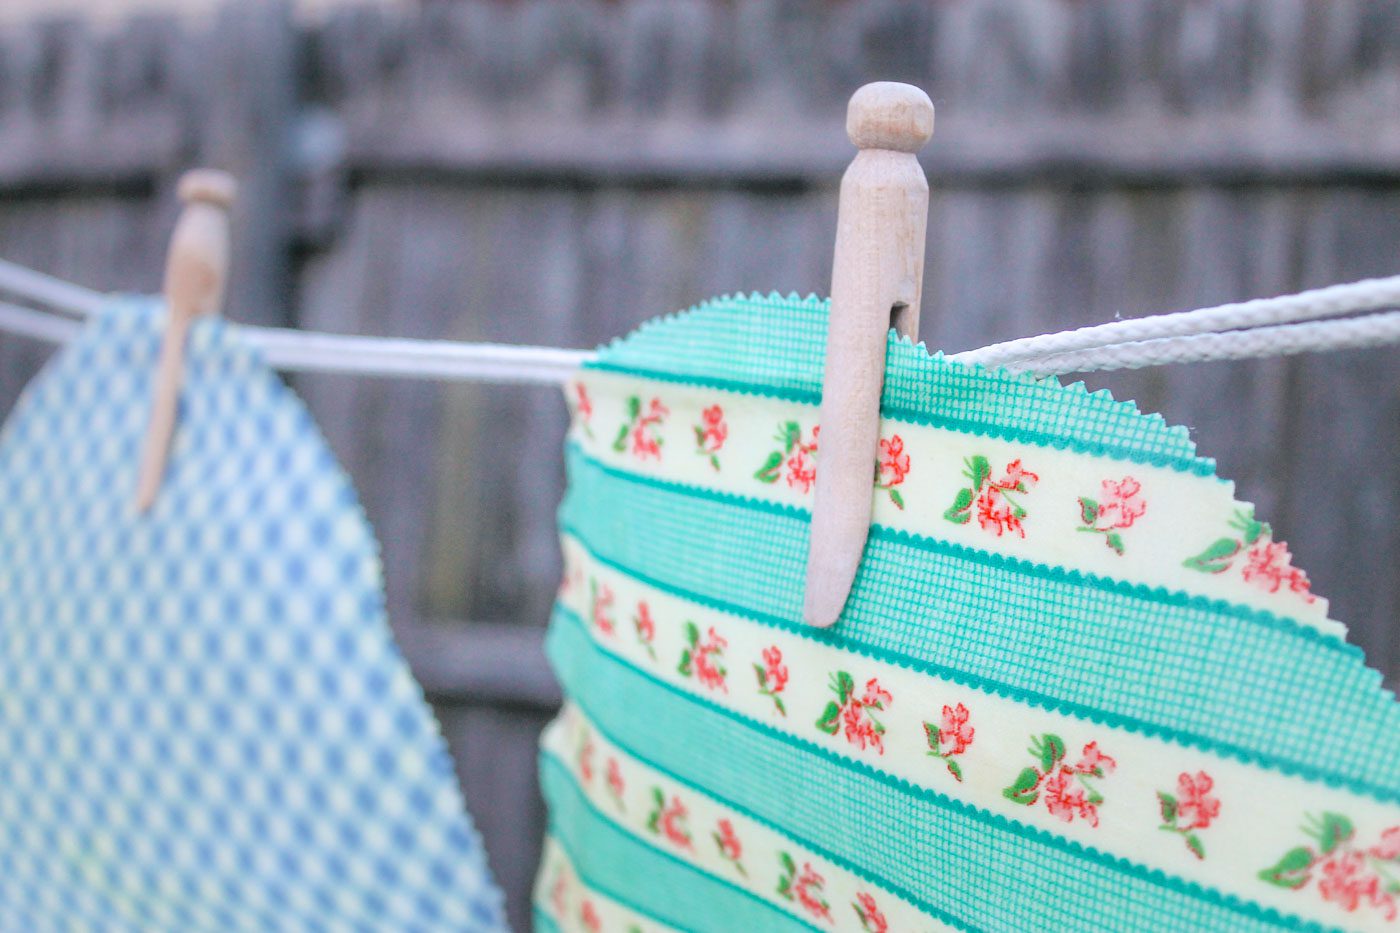
Immediately remove the wrap from the baking sheet so the wax doesn’t harden to the parchment paper. Using a clothespin, hang the beeswax wrap on a clothesline or hanger to dry. The wax should fully harden within minutes. Repeat process with remaining fabric pieces.
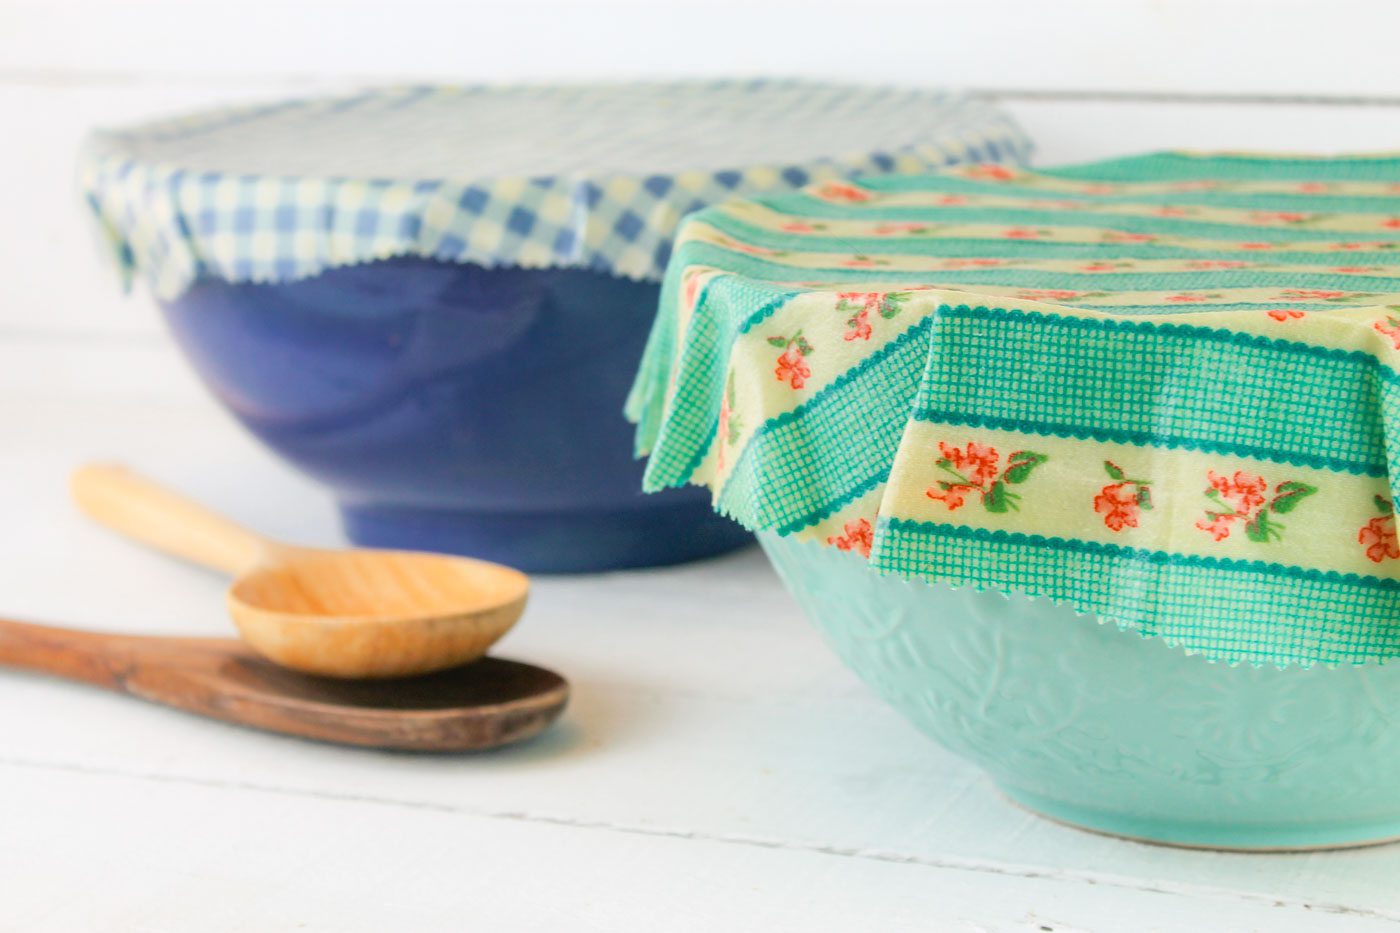
To use the handmade beeswax wrap, cover your food or bowl. Using your hands, press the beeswax around the edge. The heat from your hands will warm the wax, helping it to seal and protect the food.
Tips for Making Beeswax Wraps
- If you’re using a yellow beeswax, be aware that it may give a white or light colored fabric a yellow tint.
- Beeswax can be hard to remove from the paintbrush once hardened. To prevent this from happening, you have two options. First you can purchase a cheap, disposable brush. Once you are finished making your wraps, you can toss it into the trash. Another idea is that you can briefly place the wooden paintbrush into the oven on the parchment lined baking sheet to help melt and soften the wax on the paintbrush.
- When the beeswax wrap has come out of the oven, it is wise to remove it from the baking sheet immediately. Beeswax hardens quickly. I find it best to allow it to finish drying by hanging it up on a clothesline or hanger. Some crafters prefer to let their wraps dry on the baking sheet but personally I have found that this does not result in a smooth wax on the finished product.
- This DIY beeswax wrap tutorial is for making three 12-inch circular wraps. However, you can use the cotton fabric to make any shape or size of bee’s wrap you’d like. A 12” x 12” square would be great for a sandwich wrap. Or you can make the food wrap smaller to cover little bowls or bite-size foods.
FAQ
What is the Best Fabric to Make Beeswax Wraps?
I find that 100% cotton fabric is the best material to make homemade beeswax wraps. The fabric absorbs the melted beeswax well, comes in a variety of really cute patterns and is an affordable material from many craft stores.
How Much Beeswax is Needed to Make a Wrap?
In this beeswax wraps recipe, about 3 tablespoons (1 oz) of beeswax pellets will cover one 12-inch circle of cotton fabric.
How Long Do Beeswax Wraps Last?
When handled with care, beeswax wraps can last for about one year or more. If you find the wrap is losing its sealing abilities, either create a new beeswax wrap or melt down a bit more wax and apply to your current wrap to give it a “refresh”. It’ll be as good as new!
How to Clean Beeswax Wraps
If the beeswax wrap doesn’t have any stuck-on food residue, use a cloth to wipe it clean. For messes that need a bit more care, wash your wrap using cold water, a dishrag and a small amount of soap (if needed). Never use hot water as this could melt the beeswax and destroy your wrap. Hang to dry or set vertically in a dish drainer.

More Natural Living Tutorials
DIY All-Purpose Cleaning Spray
How to Make Natural Laundry Detergent
10 Ways to Use Castile Soap in Your Home
How to Make Beeswax Wraps

Reusable beeswax wraps are a great healthy alternative to conventional ways of storing food. Learn how to inexpensively make a set to fold around sandwiches, snacks and bowls of leftover soups and side dishes.
Materials
- 1 yard 100% cotton fabric
- 3-4 ounces beeswax pellets
- Paintbrush
- Pinking shears, optional
Instructions
- Preheat oven to 200° F. Cut three 12-inch circles from your chosen fabric. (Using pinking shears helps to prevent the fabric from fraying on the edges. But you can leave the fabric as is or hem the edge, if desired.)
- Line a baking sheet with parchment paper. Place one piece of circular fabric on the paper-lined sheet. Sprinkle approximately 3 tablespoons of beeswax over the fabric. Bake for 7 minutes, until the the beeswax has completely melted.
- Remove baking sheet from oven. Using a paintbrush (preferably a cheap, disposable brush since beeswax is hard to remove) spread the melted wax to the edges of the fabric. Bake for an additional 1-2 minutes.
- Immediately remove the wrap from the baking sheet so the wax doesn’t harden to the parchment paper. Using a clothespin, hang the beeswax wrap on a clothesline or hanger to dry. The wax should fully harden within minutes. Repeat process with remaining fabric pieces.
- To use the handmade beeswax wrap, cover your food or bowl. Using your hands, press the beeswax around the edge. The heat from your hands will warm the wax, helping it to seal and protect the food.
Pin for Later