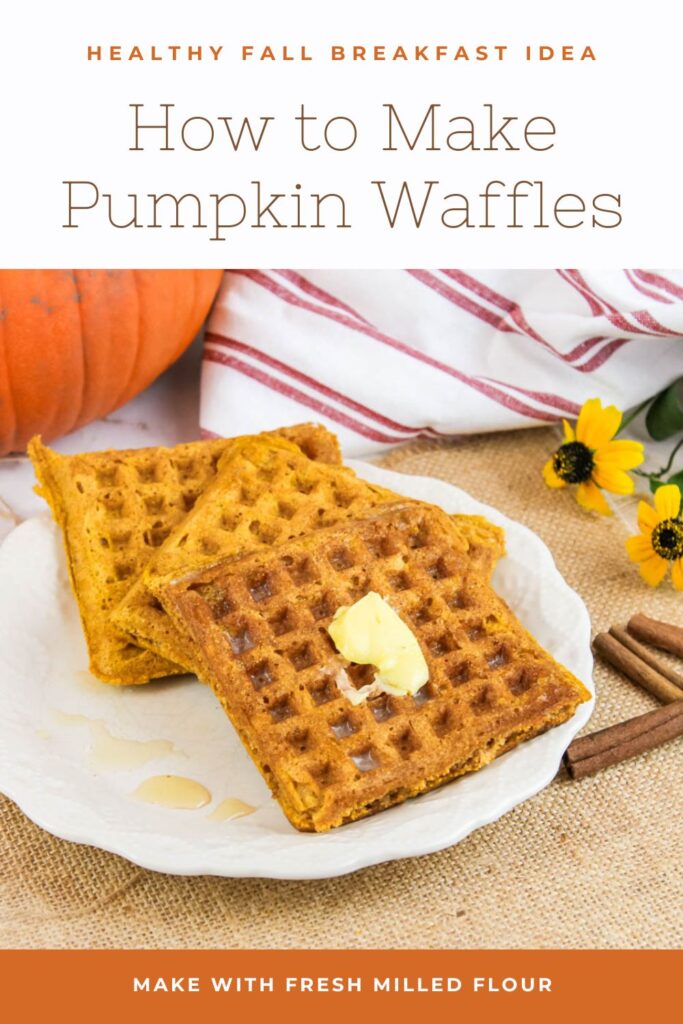
Pumpkin waffles with fresh milled flour is the perfect fall breakfast. Warm, spiced, buttery and topped with maple syrup, nuts or cream. It is simply the best!

As I write this post about pumpkin waffles with fresh milled flour, it is the first week of fall and the total amount of daylight has now equaled the amount of nighttime. No more warm summer days. No more pool time.
But I say, bring it on! I am ready for the change and have always been a fan of fall. In fact, I believe it is my favorite season of all.
Sweaters. Colorful leaves. Fall festivals. And of course, pumpkins.
A cozy autumn breakfast calls for a batch of healthy pumpkin waffles. They are delicious and fill the belly with warm spices and lots of fiber from the freshly milled grains.
The best part (attention busy mothers) is that you can easily double or triple the fresh milled flour breakfast recipe and freeze the waffles to use all throughout the week. Just pop into the toaster and voila, breakfast is served!
Fresh Milled Flour Benefits
Freshly milled flour is better for you in countless ways. Starting with the incredible nutrients you receive to the enormous amount of vitamins, minerals and oils in every single bite. Here a few of the many reasons to switch to using fresh milled flour in all of your baking and cooking.
- You get 100% of the germ, bran and endosperm. No sifting, removing or adding in synthetic ingredients with fresh milled flour.
- Superior nutritional content compared to conventional flour.
- Packed full of both insoluble and soluble fiber.
- No additives or preservatives.
- Terrific flavor.
- Ability to control what goes into your bread so that you can make it your own.
- Improvement of health including blood sugar levels, digestion and weight.

Why You’ll Love This Fall Breakfast Recipe
Terrific Fall Flavor – Made with plenty of fall favorites including cinnamon, pumpkin and pumpkin spice, this pumpkin waffles recipe is a wonderful, cozy breakfast.
Great Make Ahead Meal – Bake up once and you’ll have lots of waffles to use for future breakfast meals. Then simply reheat or pop into the toaster oven for a quick yet healthy breakfast during the busy weekdays.
Delicious – Crisp on the outside and super soft on the inside, these unsweetened pumpkin waffles taste great.
Tools You May Need
This post contains affiliate links, which means I make a small commission at no extra cost to you. In any case, I only link to products we actually use on our homestead and that I believe can truly benefit to you. See my full disclosure here.
Waffle iron
Grain mill
Tips
What are some tips for making the best pumpkin waffles?
- Whisking the eggs until they are fluffy helps to create a lighter waffle.
- Gently mix the ingredients together. Do not over mix. If there are any tiny lumps left, just leave them.
- Let the batter sit for a few minutes for the flour to absorb the liquid. The batter should be fairly thick but still pourable when ready to use.
- Make sure your waffle iron is very hot before pouring the batter in.
- Try not to overfill the waffle iron as it can leak out the edges — I’ve done this one too many times. About 1/4 cup per waffle is what works in my waffle maker but yours may take less or more depending on which brand you have.
- Cool the healthy waffles with fresh milled flour on a wire rack before freezing leftovers. Use wax paper between each layer of waffles to prevent them from sticking to each other.
Ingredients
What are the ingredients for pumpkin waffles?
Flour – soft white wheat is the best type of flour to use for waffles with fresh milled flour and milk. With low gluten formation and a small amount of protein, it create tender, soft waffles. If you have any ancient grains on hand, swap out the soft white wheat for spelt to create spelt waffles recipe.
Eggs – whip until light and fluffy to create a tender waffle.
Butter – adds a delightfully rich flavor. My waffle recipe contains a lot more butter than the average homemade waffle. You can never have too much butter!
Milk – like most of my recipes, I recommend using whole milk for the nutritional content and taste.
Baking powder – a generous amount of this leavening agent is used to help add a lighter feel to the finished waffles.
Salt
Pumpkin puree – one cup gives the waffles a nice flavor. If you are using canned pumpkin, you can use the leftover puree to make a pumpkin pie smoothie.
Cinnamon – two teaspoons may seem like a lot but we wanted the fall spice to shine in these waffles and compliment the pumpkin puree.
Pumpkin pie spice – What is pumpkin without the addition of pumpkin spice?
Vanilla

How to Make Pumpkin Waffles
Makes: 20 waffles
Ingredients
3 cups freshly milled soft white wheat flour
3 eggs
1/2 cup butter, melted
2 1/4 cups milk
2 tablespoons baking powder
3/4 teaspoon salt
1 cup pumpkin puree
2 teaspoons cinnamon
2 teaspoons pumpkin pie spice
1 teaspoon vanilla
Directions
Heat waffle iron. Add the eggs to a large bowl. Using a whisk, beat the eggs until fluffy. Mix in butter, milk, vanilla and pumpkin puree. In a separate bowl, mix together flour, baking powder, salt, cinnamon and pumpkin pie spice. Add dry ingredients to wet ingredients and whisk until smooth.
Using a measuring cup, pour the batter into a waffle maker and cook according to the manufacturers instructions. (Our waffle maker takes about 4-5 minutes.)
Remove waffles from iron. Place on a wire rack while you finish making the rest of the waffles.
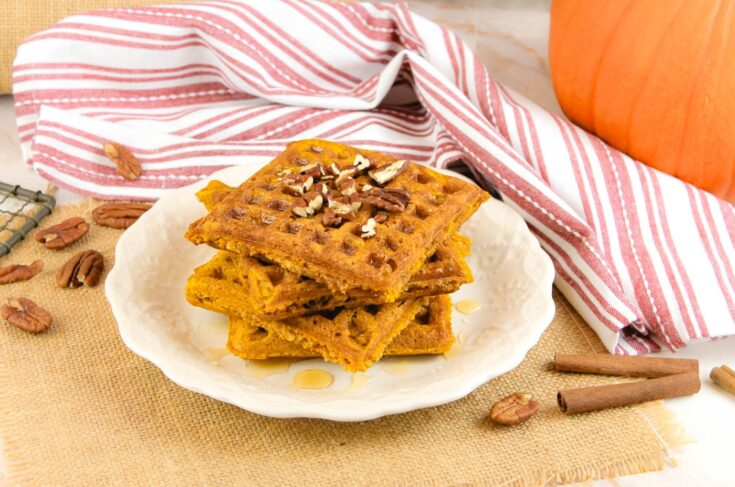
To serve, place a couple of waffles on a plate. Add butter, pecans, whipped cream or maple syrup. Leftovers can be stored in a freezer safe bag and frozen for at least a month or more.

What to Eat With Pumpkin Waffles?
- Scrambled eggs
- Bacon
- Yogurt
- Smoothie
- Warm cup of coffee
- Vanilla frappe
- Warm cinnamon applesauce
- Mug of hot carob
What is the Shelf Life of Pumpkin Waffles?
Store at room temperature in a sealed container for a couple of days. Otherwise, place them in a freezer safe bag with a sheet of wax paper between each layer of waffles and freeze for a couple of months.
What to Put on Pumpkin Waffles?
- Melted butter
- Flavored butter such as cinnamon butter or honey butter
- Sprinkle of cinnamon
- Maple syrup
- Honey
- Whipped cream
- Nuts such as pecans or walnuts or pistachios
- Pumpkin butter or apple butter
More Fresh Milled flour Recipes
Pancakes With Fresh Milled Flour
Pumpkin Waffles
Pumpkin waffles with fresh milled flour is the perfect fall breakfast. Warm, spiced, buttery and topped with maple syrup, nuts or cream. It is simply the best!
Ingredients
- 3 cups freshly milled soft white wheat flour
- 3 eggs
- 1/2 cup butter, melted
- 2 1/4 cups milk
- 2 tablespoons baking powder
- 3/4 teaspoon salt
- 1 cup pumpkin puree
- 2 teaspoons cinnamon
- 2 teaspoons pumpkin pie spice
- 1 teaspoon vanilla
Instructions
- Heat waffle iron. Add the eggs to a large bowl. Using a whisk, beat the eggs until fluffy. Mix in butter, milk, vanilla and pumpkin puree. In a separate bowl, mix together flour, baking powder, salt, cinnamon and pumpkin pie spice. Add dry ingredients to wet ingredients and whisk until smooth.
- Using a measuring cup, pour the batter into a waffle maker and cook according to the manufacturers instructions. (Our waffle maker takes about 4-5 minutes.)
- Remove waffles from iron. Place on a wire rack while you finish making the rest of the waffles.
- To serve, place a couple of waffles on a plate. Add butter, pecans, whipped cream or maple syrup. Leftovers can be stored in a freezer safe bag and frozen for at least a month or more.


