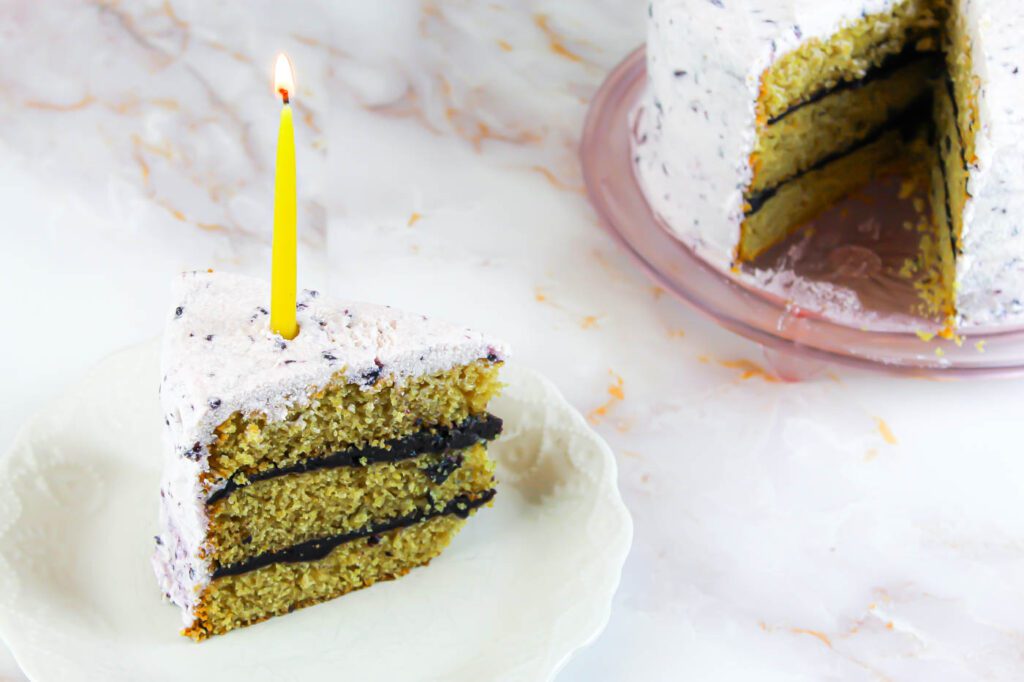
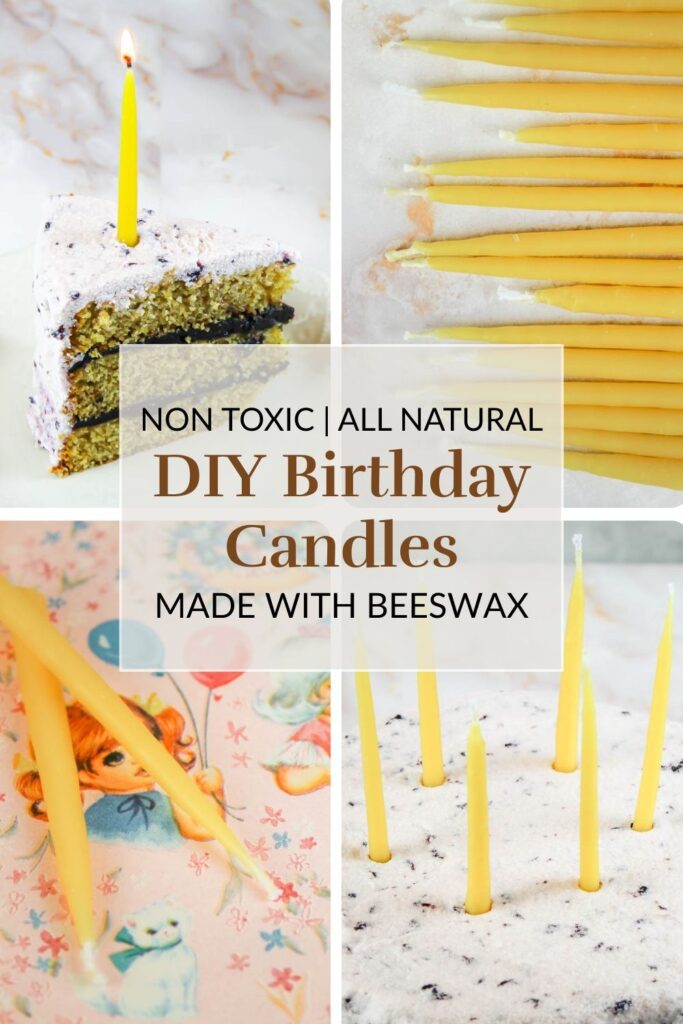
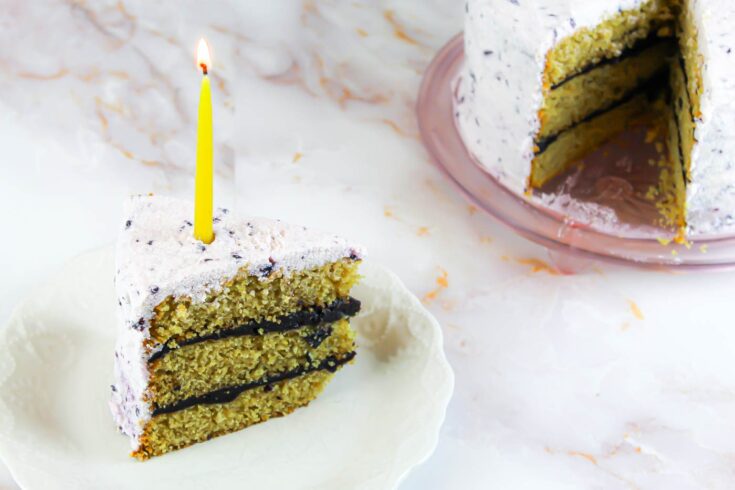
Make birthday celebrations extra special with these DIY beeswax birthday candles. Easy-to-make, non toxic and beautiful, this candle is a perfect addition to any cake or cupcake.
My daughters birthday is just around the corner. Every year we plan a get together with our friends and family to celebrate her life. I am not one for big events or fancy frills and expensive parties. But I do like to decorate and make her day special.
I usually jump onto Pinterest mid winter and begin dreaming up ideas. It is a fun past time that gets your through the cold winter days.
I’ve collected ideas regarding flowers and hand sewn banners to strawberries (because she loves all things berry) and girly pink ribbons.
Keeping with the handcrafted them and my love for beeswax, I decided to create some candles to go on top of her cake.
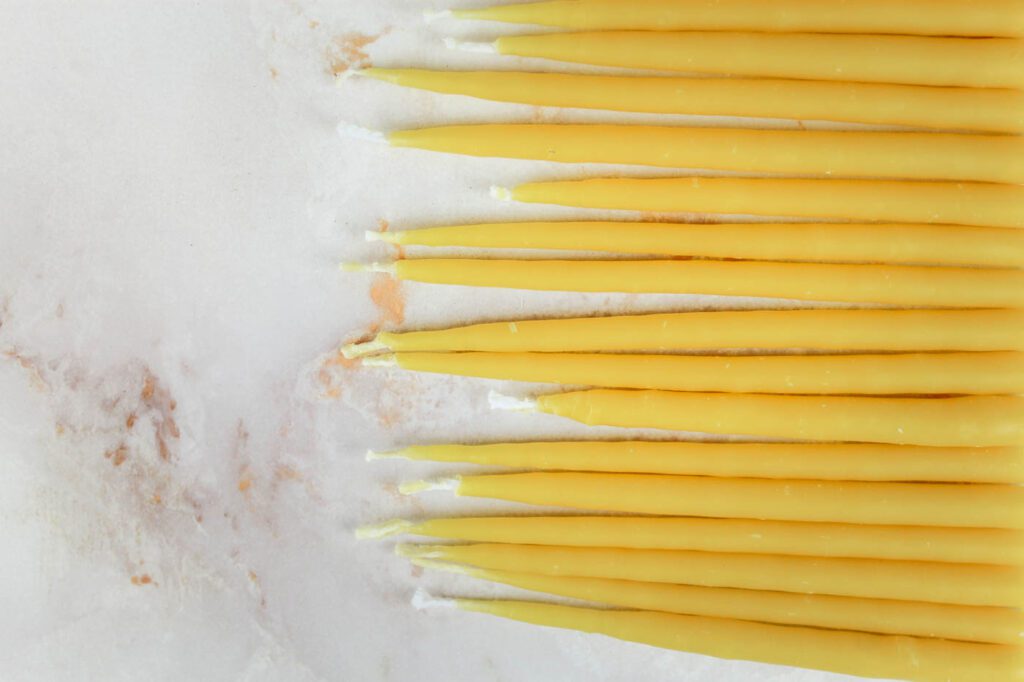
Considering I had just recently made a set of beeswax taper candles, I knew making DIY beeswax birthday candles would be easy. They are basically a taper candle but with less work. After just a few dips into the hot wax and about an hour of time, I had two dozen beeswax candles ready for my daughters birthday, my sister in-laws birthday and many more celebrations in the future.
Add a festive touch to your next birthday cake or baked good with some unscented non-toxic birthday candles. They are easy and so much fun to create! Continue to scroll below to learn how to make beeswax candles.
Why You’ll Love This Tutorial
Extra Special Way to Celebrate – Have fun honoring the birthday boy or girl with a handcrafted candle made by you!
Natural Choice – No additives or paraffin wax, just 100% natural DIY beeswax birthday candles made with a cotton wick.
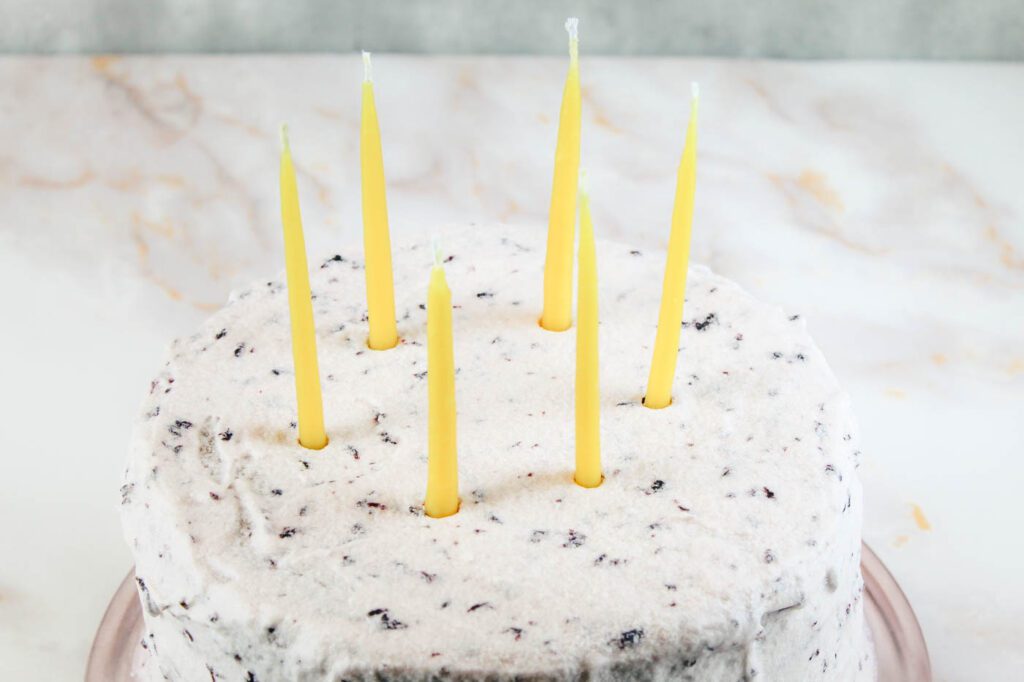
Beautiful – These beeswax birthday candles are a great alternative to traditional candles and are lovely on top of a cake or cupcake.
Benefits of Beeswax Candles
- Non toxic candles.
- No additives or chemicals are used.
- Pure beeswax candles help purify the air and reduce odors.
- All natural birthday candles made with beeswax can neutralize pollutants in the home.
- Beeswax candles have a slower, long-lasting burn.
- Their soft, warm glow is very relaxing and adds a natural light to the home.
Do Beeswax Candles Smell?
Real beeswax candles, including these natural beeswax birthday candles have a subtle, sweet scent of honey that is pleasant and comforting.
Tips for Making Beeswax Taper Candles
- To make cleanup easier, line your work surface with paper towels or wax paper.
- Beeswax pellets are expensive but they melt very quickly. I buy a large brick of beeswax from a local beekeeper. Then I cut it down to small manageable pieces using our chop saw.
- Do not skip dipping the candles into a jar of cold water. The cold water cools down the wax, helping to speed up the curing process.
- The more you dip the candles, the more wax is removed from your container. Be sure to add more wax to the container or all future candles will not be the same size as the first ones you created. I like to continually as pieces of wax to the melting pot to ensure I have enough to pour into the container that I dip the candles into.
- After you have removed the weight, tear the beeswax off of the nut/bolt and toss back into the melting pot. This is a great way to use up the wax instead of discarding it.
- A wooden drying rack is perfect for cooling down the candles and allowing them to finish solidifying. Or you could place a ruler or paint stick across a box and dangle the candles.
- While the wax is still pliable, you can roll the candles between two sheets of wax paper or parchment paper to fix any bumps they may have.
- Leftover wax can be poured into a heat proof vessel to create a container candle or into a silicone mold to use in future projects.
- Use a sharp knife to cut the bottom of the candle to create an even surface.
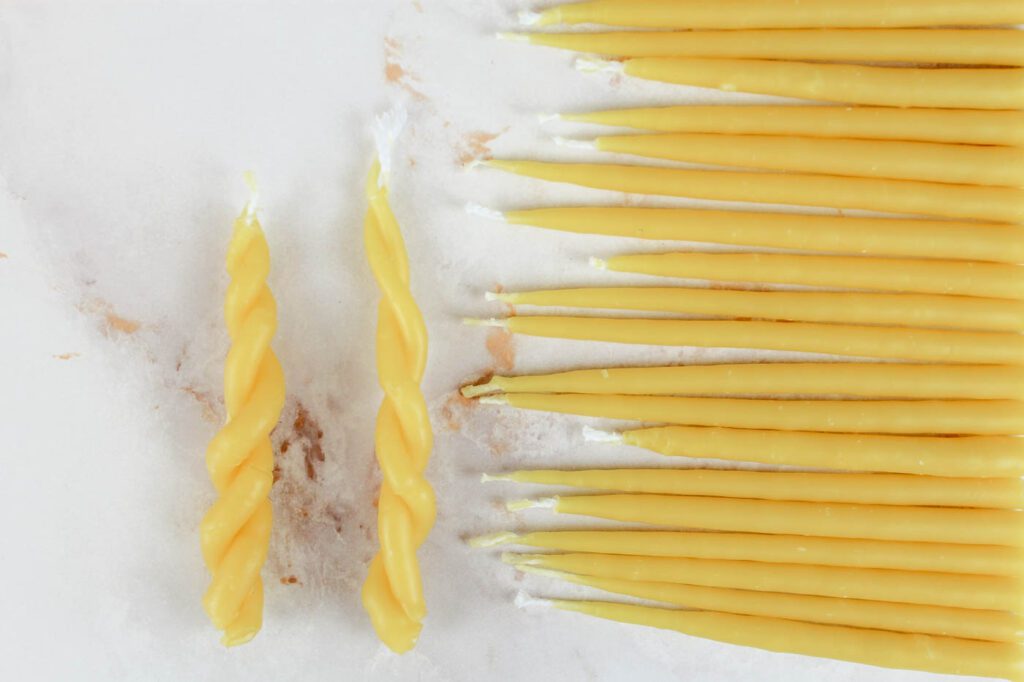
- If you want a pair of twisted beeswax candles, when the candle has cooled but is still pliable (usually a few minutes after they have been removed from the wax) you can take two candles and twist them together for a unique DIY birthday candle.
- Sometimes the wax can go up a little high on the end of the candle, covering the wick in wax where you want to light it at. To fix this, use a knife to gently scrap off the excess wax.
- If you only need a couple candles, split the recipe in half, creating only a dozen birthday candles.
- Trim the candle wick to about 1/4-inch prior to burning.
Supplies to Make Dipped Beeswax Candles
This post contains affiliate links, which means I make a small commission at no extra cost to you. In any case, I only link to products we actually use on our homestead and that I believe can truly benefit to you. See my full disclosure here.
Beeswax brick or pellets (1 1/4 pounds)
Braided candlewick (480 inches total)
Wax melting pot, optional
2-3 tall, narrow containers such as 24 ounce mason jars
Stock pot
Bolt, hex nut, washer or small screw
Scissors
Scale
How to Make Beeswax Birthday Candles
Makes: 24 five-inch birthday candles
Materials
1 1/4 pounds beeswax pellets or wax from local beekeeper, cut into chunks
480 inches braided candlewick, cut into 12 20-inch long pieces
2-3 tall, narrow containers such as a wide mouth mason jar or a wax melting pot
Stockpot
Washer, bolts or hex nuts
Directions
Place a tall wide mouth mason jar, wax melting vessel or narrow heat-proof container into a stockpot filled with a few inches of water. Add beeswax to jar. Turn burner to medium-low heat.
As the wax melts, you will need to add more wax to fill up the jar to create a deep amount of wax for dipping the wick into.
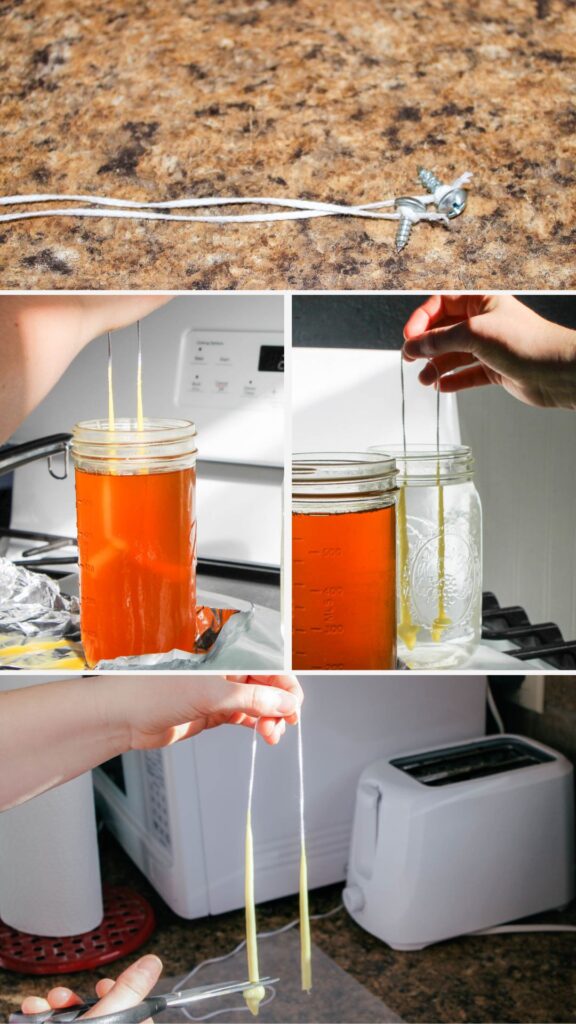
While the wax is melting, cut the wick into twelve pieces, 20 inches in length. Fold the wick in half and tie a bolt or nut to each end of the wick. This will act as a weight to help keep the candles in place as you dip.
Fill a tall jar with cold water. I used a quart size mason jar. Immersing the birthday candles into cold water speeds up the curing process.
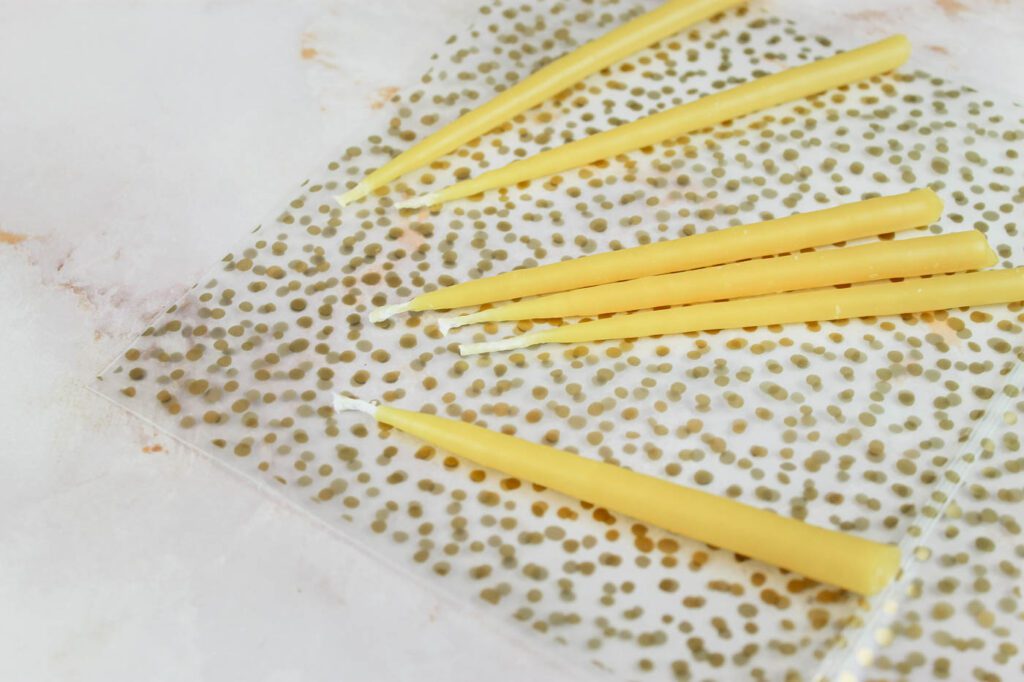
Once the wax has melted, it is time to start dipping. You can either dip the wicks directly into the melting pot or pour the hot wax into another jar. I prefer to use 3 jars — one for continually melting beeswax, one for dipping and the last jar for the cold water. Hold the center of the wick and slowly dip into the wax making sure they are as straight as possible.
After the wicks have been dipped into the wax, immediately dip into the jar of cold water. Repeat the process about 6-8 times, then use a pair of scissors to cut off the weight.
Hang the finished candles on a drying rack, cabinet knob or ruler set across a box for them to cure. This will take a couple of hours but I prefer to leave them overnight. Trim candle wick to 1/4-inch prior to burning.
Optional Steps
While the wax is still pliable, you can roll them candles between two sheets of wax paper or parchment paper to fix any imperfections they may have. You can also use a sharp knife to evenly cut the bottom of the candle. Lastly, if you want a pair of twisted beeswax candles, when the candle has cooled but is still pliable (usually a few minutes after they have been removed from the wax) you can take two candles and twist them together for a unique look.
What Size of Wick for Beeswax Birthday Candles?
I prefer to use a 24 ply braided candlewick when making these easy diy beeswax birthday candles.
What to Do With Leftover Beeswax?
Any leftover wax can be poured into silicone mold to use in future projects that need beeswax.
Additionally you can use leftover beeswax to make a container candle or reusable beeswax wraps.
How to Clean Up Beeswax
Occasionally when making homemade beeswax candles, there are drips of wax on the countertop, floor or your kitchen tools. While I do recommend lining your work surface with paper towels or wax paper, accidents do happen. Hot water helps to remelt the wax, allowing you to use a paper towel to clean it up. A plastic pan scraper or a credit card also helps to remove wax from unwanted areas. Never pour beeswax down the drain or place in the dishwasher.
More DIY Tutorials
DIY Beeswax Birthday Candles
Make birthday celebrations extra special with these DIY beeswax birthday candles. Easy-to-make, non toxic and beautiful, this candle is a perfect addition to any cake or cupcake.
Materials
- 1 1/4 pounds beeswax pellets or wax from local beekeeper, cut into chunks
- 480 inches braided candlewick, cut into 12 20-inch long pieces
- 2-3 tall, narrow containers such as a wide mouth mason jar or a wax melting pot
- Stockpot
- Washer, bolts or hex nuts
Instructions
- Place a tall wide mouth mason jar, wax melting vessel or narrow heat-proof container into a stockpot filled with a few inches of water. Add beeswax to jar. Turn burner to medium-low heat.
- As the wax melts, you will need to add more wax to fill up the jar to create a deep amount of wax for dipping the wick into.
- While the wax is melting, cut the wick into twelve pieces, 20 inches in length. Fold the wick in half and tie a bolt or nut to each end of the wick. This will act as a weight to help keep the candles in place as you dip.
- Fill a tall jar with cold water. I used a quart size mason jar. Immersing the birthday candles into cold water speeds up the curing process.
- Once the wax has melted, it is time to start dipping. You can either dip the wicks directly into the melting pot or pour the hot wax into another jar. I prefer to use 3 jars — one for continually melting beeswax, one for dipping and the last jar for the cold water. Hold the center of the wick and slowly dip into the wax making sure they are as straight as possible.
- After the wicks have been dipped into the wax, immediately dip into the jar of cold water. Repeat the process about 6-8 times, then use a pair of scissors to cut off the weight.
- Hang the finished candles on a drying rack, cabinet knob or ruler set across a box for them to cure. This will take a couple of hours but I prefer to leave them overnight.
- Optional Steps: While the wax is still pliable, you can roll them candles between two sheets of wax paper or parchment paper to fix any imperfections they may have. You can also use a sharp knife to evenly cut the bottom of the candle. Lastly, if you want a pair of twisted beeswax candles, when the candle has cooled but is still pliable (usually a few minutes after they have been removed from the wax) you can take two candles and twist them together for a unique look.
- Trim candle wick to 1/4-inch prior to burning.
Notes
- To make cleanup easier, line your work surface with paper towels or wax paper.
- Beeswax pellets are expensive but they melt very quickly. I buy a large brick of beeswax from a local beekeeper. Then I cut it down to small manageable pieces using our chop saw.
- Do not skip dipping the candles into a jar of cold water. The cold water cools down the wax, helping to speed up the curing process.
- The more you dip the candles, the more wax is removed from your container. Be sure to add more wax to the container or all future candles will not be the same size as the first ones you created. I like to continually as pieces of wax to the melting pot to ensure I have enough to pour into the container that I dip the candles into.
- After you have removed the weight, tear the beeswax off of the nut/bolt and toss back into the melting pot. This is a great way to use up the wax instead of discarding it.
- A wooden drying rack is perfect for cooling down the candles and allowing them to finish solidifying. Or you could place a ruler or paint stick across a box and dangle the candles.
- While the wax is still pliable, you can roll the candles between two sheets of wax paper or parchment paper to fix any bumps they may have.
- Leftover wax can be poured into a heat proof vessel to create a container candle or into a silicone mold to use in future projects.
- Use a sharp knife to cut the bottom of the candle to create an even surface.
- If you want a pair of twisted beeswax candles, when the candle has cooled but is still pliable (usually a few minutes after they have been removed from the wax) you can take two candles and twist them together for a unique DIY birthday candle.
- Sometimes the wax can go up a little high on the end of the candle, covering the wick in wax where you want to light it at. To fix this, use a knife to gently scrap off the excess wax.
- If you only need a couple candles, split the recipe in half, creating only a dozen birthday candles.
- Trim the candle wick to about 1/4-inch prior to burning.


