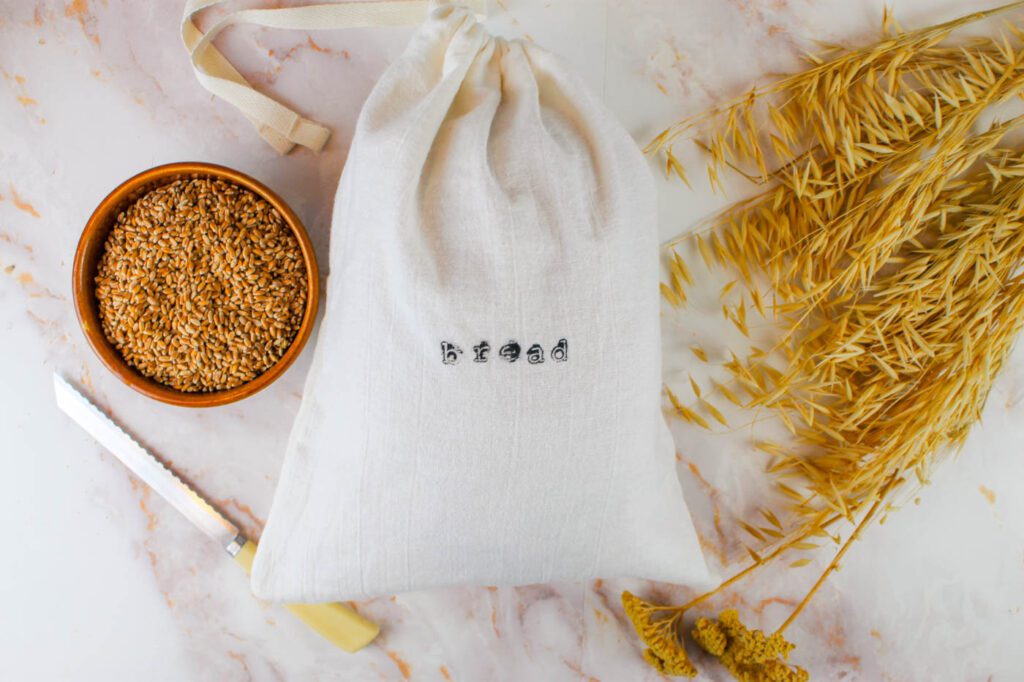
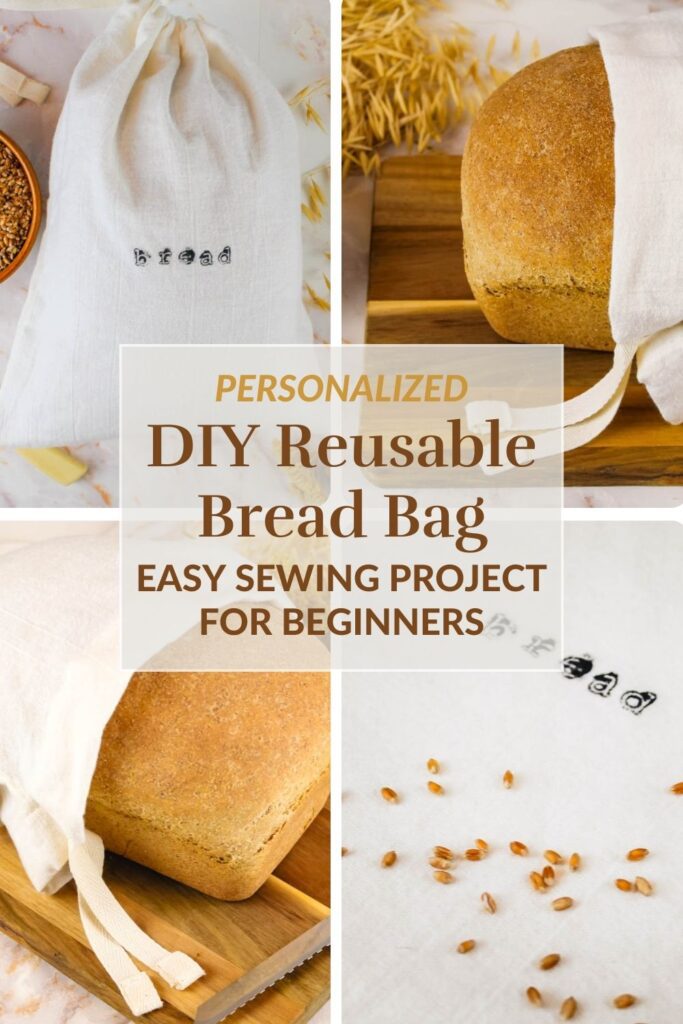
Useful and beautiful, this DIY reusable bread bag is a great way to keep your homemade bread fresh and delicious. In this easy sewing tutorial, learn how to make a drawstring bag using natural fibers. Personalize the bag with your name or favorite phrase using fabric paint and a simple rubber stamp.

As a homemaker, I am always baking up a batch of bread for my family, at least once a week, sometimes more. I like to serve soups and stews, steak or grilled chicken with a fresh sliced of homemade bread.
To keep the bread fresh, I opt for a bag made with natural fibers such as 100% linen or 100% cotton. I have a beautiful linen bag that my mom gave me when she purchased a banneton basket, but sometimes I need an extra one. Especially during those weeks where I have a more than one loaf of bread sitting on my kitchen counter.
Instead of ordering one online, I decided to dig into my sewing trunk and find some fabric to create my own DIY reusable bread bag.
I love the look of linen. It feels old fashioned and traditional. It comes in lovely, natural colors and works wonderfully for this project.
Cotton is another great choice when it comes to making your own bread bag. It is a natural fiber and comes in a variety of patterns and colors.
For this project, choose whichever fabric and style you prefer. You’ll need a simple sewing machine, thread and some twill tape. An iron isn’t required but it sure makes the process a lot easier. To personalize the diy drawstring bag, I used some fabric paint and vintage type rubber stamps. I decided to stamp “bread” on the front of the bag but you can add whatever you like or simply leave the bag plain.

Why You’ll Love This Easy Sewing Tutorial
Makes an Excellent Gift Idea – This personalized reusable bread bag is a wonderful gift to give to family or friends during the holidays. Personalize it with their name or favorite saying.
Keeps Your Bread Fresher for Longer – Created with natural fabric to help bread stay as fresh as the day you made it.
Reusable Bread Bag – Save money on using plastic bags, instead make a diy cloth bread bag that you can toss into the washer and use over and over again.
Great Sewing Tutorial for Beginners – Quick to whip up, no complicated steps and no need for a bread bag sewing pattern. Just cut one rectangle of fabric and sew it together to form a bag with a drawstring at the top.
Do Bread Bags Work?
Yes! A fabric bread bag, especially one made with linen or cotton is breathable, preventing mold buildup while maintaining the feeling of a fresh baked loaf of bread. I have found that when I store a loaf of sourdough bread within my reusable bread bag, it lasts much longer than had I stored it in a plastic bag or Tupperware container.
How Do You Store Fresh Milled Flour Bread?
For fresh, soft bread, store fresh milled flour bread in this DIY bread bag or an airtight container at room temperature. Fresh milled flour can stay fresh for up to a week. For longer storage, place the loaf of bread in a freezer safe bag and freeze for several months. Never store fresh milled flour bread in the refrigerator.
What is the Best Fabric for Making a Bread Bag?
The best fabrics to use for sewing a DIY bread bag are linen and cotton. Both of these natural fibers allow airflow and prevent moisture which can cause mold. A DIY cotton bread bread helps keep the crust crisp and the interior soft. Linen fabric is ideal as it is very durable and has antibacterial properties and is naturally hypoallergenic.
DIY Bread Bag Tips
- Cotton or linen is my preferred choice for this diy reusable bread bag. Synthetic materials or burlap would not be suitable for this project.
- If you would like to make a drawstring bag with extra flare, select a patterned fabric, as seen in the photos, trim off 4 inches from the main piece of fabric (24” x 12”) and then cut a 24” x 4” piece of patterned fabric. Sew these two pieces together, then zig zag stitch the raw edges.
- For extra storage, such as a recipe card or bread knife (if you plan to give this bag away as a gift), you could add a pocket to the front or back of the bag.
- Personalizing the bag is optional but adds a lovely touch.
- I find I like to test the stamp on a paper towel or scrap piece of fabric before I stamp the bag. Sometimes this also helps to get rid of excess paint.
- Be sure to clean the stamp regularly, if you plan to reuse it so that you don’t end up with a blob of paint on the bag rather than clear lettering.
- I purchased the rubber stamps from Hobby Lobby.

Materials and Tools You Will Need
This post contains affiliate links, which means I make a small commission at no extra cost to you. In any case, I only link to products we actually use on our homestead and that I believe can truly benefit to you. See my full disclosure here.
24 inch x 16 inch cotton or linen fabric
35 inches of 1/2 inch thick twill tape, ribbon or cotton cord
Coordinating thread
Fabric paint, optional
Letter stamps, optional

How to Sew a DIY Reusable Bread Bag
Makes: 1 bread bag
Tools
Sewing machine
Iron
Materials
24 inch x 16 inch cotton or linen fabric
40 inches of 1/2 inch thick twill tape, ribbon or cotton cord
Coordinating thread
Pins
Safety pin
Fabric paint
Letter stamps
Paper plate
Paper towels
Directions

Cut your piece of chosen fabric to 24 inches wide by 16 inches high.
Lay the rectangle flat and fold the short sides in 1/4 inch toward the wrong side of the fabric. Iron in place. Fold in 1/4 inch again and iron. Repeat with the second short side. Pin in place.
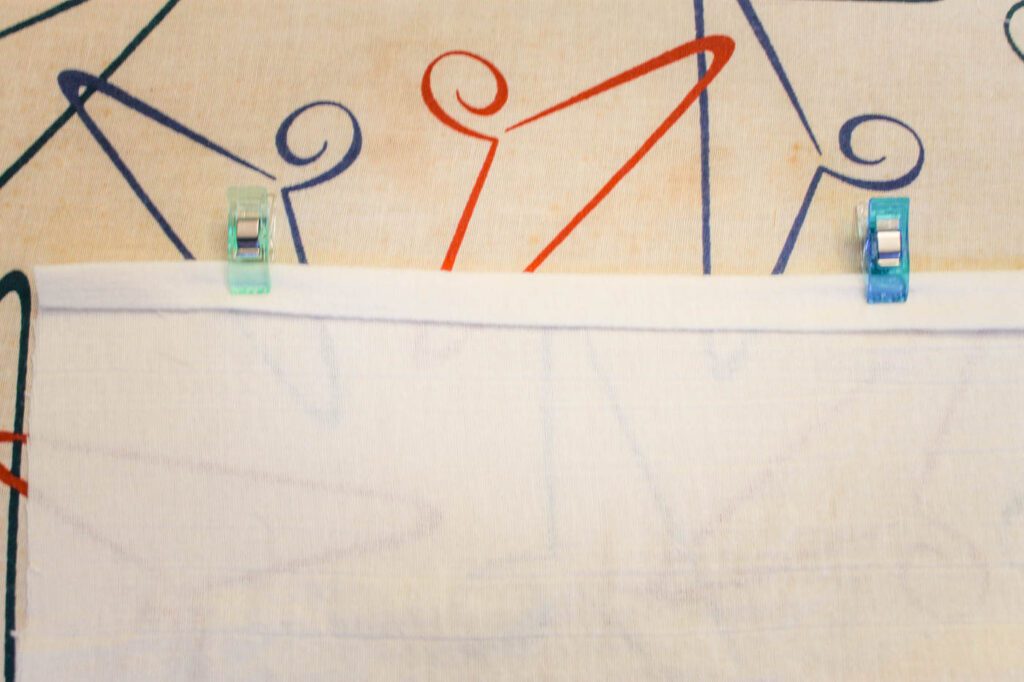
At the top of the bag, fold the fabric over 1/4 inch and iron towards the wrong side of the fabric. Fold the fabric over again 1 inch and iron in place. This will be the channel for the drawstring to fit into. Sew a narrow topstitch across the fold to secure in place. (Using the extension table on your sewing machine can make the process much easier.)

Fold the fabric in half with the right sides together. Match up the side seams. Starting below the top opening, sew a 1/4 inch seam along the right side and the bottom edge.
Finish the raw edges of the bottom of the bag with a zig zag stitch all the way around the right side and bottom of the bag.
Turn bag right side out. Cut your twill tape, bottom or cotton cord to 35 inches in length. If using twill tape or ribbon, fold the end edges over twice, then sew a small seam so that it does not unravel. Repeat with the other end of twill tape.
Stick a safety pin through one edge of the twill tape. Thread the safety pin through the top channel you created earlier until you reach the end. (If using a cotton cord, tie a couple knots in the end).

To personalize the bag with lettering, place a small amount of fabric paint on a paper plate. Dab the stamp into the paint. If you find you have two much paint on the stamp, stamp on a paper towel before stamping the fabric. This helps to remove excess paint.
Stamp your desired message in the center of the bag. I did the word bread but it could be a name, baked goods, fresh milled — anything you desire. Allow paint to dry or follow the fabric paint instructions on the bottle and your handmade bread bag is done!
Best Breads for Bread Bags
- Sourdough loaves
- Artisan bread
- Dutch oven bread
- Sandwich bread
- Brioche
- French bread
More Handmade Tutorials
DIY Reusable Bread Bag

Useful and beautiful, this DIY reusable bread bag is a great way to keep your homemade bread fresh and delicious. In this easy sewing tutorial, learn how to make a drawstring bag using natural fibers. Personalize the bag with your name or favorite phrase using fabric paint and a simple rubber stamp.
Materials
- 24 inch x 16 inch cotton or linen fabric
- 40 inches of 1/2 inch thick twill tape, ribbon or cotton cord
- Coordinating thread
- Pins
- Safety pin
- Fabric paint
- Letter stamps
- Paper plate
- Paper towels
Tools
- Sewing machine
- Iron
Instructions
- Cut your piece of chosen fabric to 24 inches wide by 16 inches high.
- Lay the rectangle flat and fold the short sides in 1/4 inch toward the wrong side of the fabric. Iron in place. Fold in 1/4 inch again and iron. Repeat with the second short side.
- At the top of the bag, fold the fabric over 1/4 inch and iron towards the wrong side of the fabric. Fold the fabric over again 1 inch and iron in place. This will be the channel for the drawstring to fit into. Sew a narrow topstitch across the fold to secure in place. (Using the extension table on your sewing machine can make the process much easier.)
- Fold the fabric in half with the right sides together. Match up the side seams. Starting below the top opening, sew a 1/4 inch seam along the right side and the bottom edge.
- Finish the raw edges of the bottom of the bag with a zig zag stitch all the way around the right side and bottom of the bag.
- Turn bag right side out. Cut your twill tape, bottom or cotton cord to 35 inches in length. If using twill tape or ribbon, fold the end edges over twice, then sew a small seam so that it does not unravel. Repeat with the other end of twill tape.
- Stick a safety pin through one edge of the twill tape. Thread the safety pin through the top channel you created earlier until you reach the end. (If using a cotton cord, tie a couple knots in the end.)
- To personalize the bag with lettering, place a small amount of fabric paint on a paper plate. Dab the stamp into the paint. If you find you have two much paint on the stamp, stamp on a paper towel before stamping the fabric. This helps to remove excess paint.
- Stamp your desired message in the center of the bag. I did the word bread but it could be a name, baked goods, fresh milled — anything you desire. Allow paint to dry or follow the fabric paint instructions on the bottle and your handmade bread bag is done!
Notes
- Cotton or linen is my preferred choice for this diy reusable bread bag. Synthetic materials or burlap would not be suitable for this project.
- If you would like to make a drawstring bag with extra flare, select a patterned fabric, as seen in the photos, trim off 4 inches from the main piece of fabric (24” x 12”) and then cut a 24” x 4” piece of patterned fabric. Sew these two pieces together, then zig zag stitch the raw edges.
- For extra storage, such as a recipe card or bread knife (if you plan to give this bag away as a gift), you could add a pocket to the front or back of the bag.
- Personalizing the bag is optional but adds a lovely touch.
- I find I like to test the stamp on a paper towel or scrap piece of fabric before I stamp the bag. Sometimes this also helps to get rid of excess paint.
- Be sure to clean the stamp regularly, if you plan to reuse it so that you don’t end up with a blob of paint on the bag rather than clear lettering.
- I purchased the rubber stamps from Hobby Lobby.


